
When I started this closet makeover, my goal wasn’t just to make it prettier. I wanted to completely rethink how the space functioned.
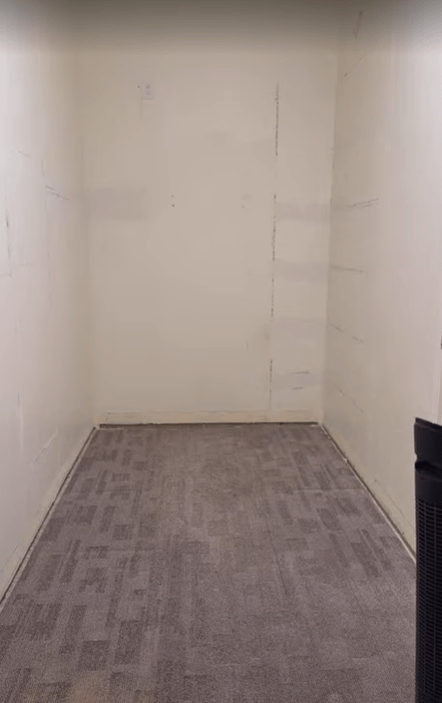
My closet is approximately 16 feet long by 5 feet wide, so while it has good length, it’s fairly narrow. The original closet wasn’t making the best use of that space, and visually, it felt dated and uninspiring. I wanted more storage, better organization, beautiful details, and—most importantly—that custom built-in look without the custom closet price tag.
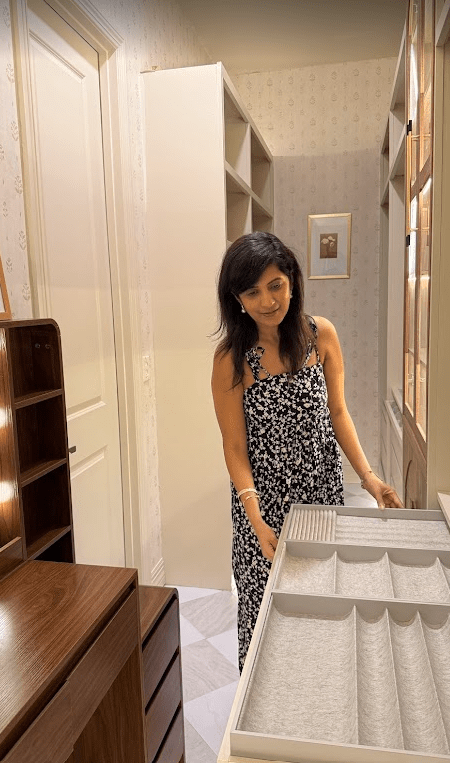
The solution? IKEA PAX wardrobes, a lot of DIY, and a few unexpected additions that made the space feel completely my own. Before we dig in the details here are my favorite additions in this space.
Here are some before pictures:
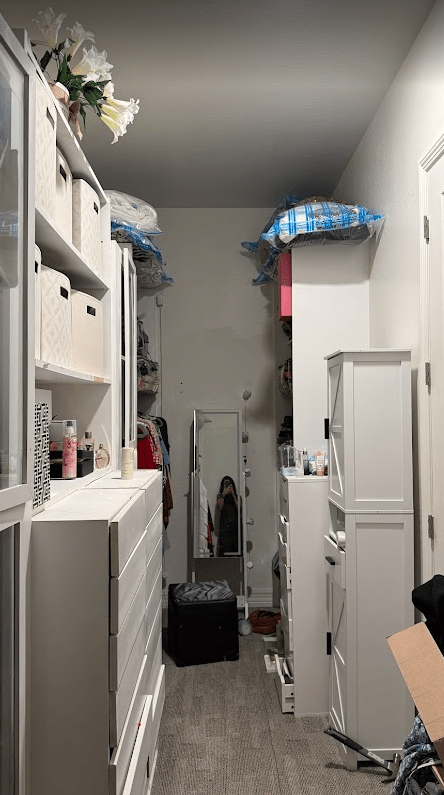
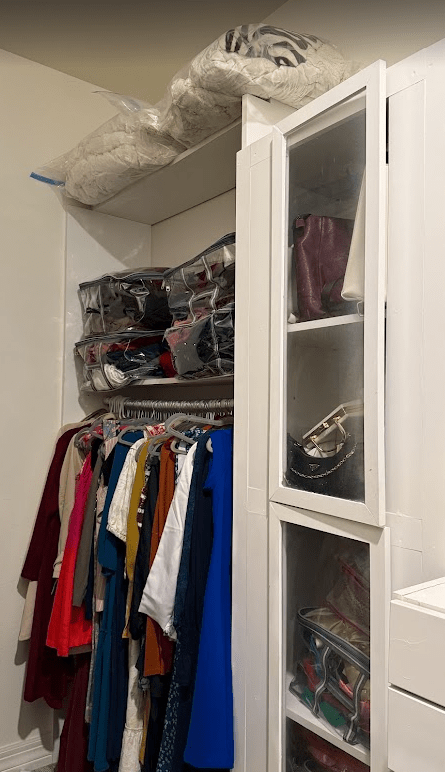
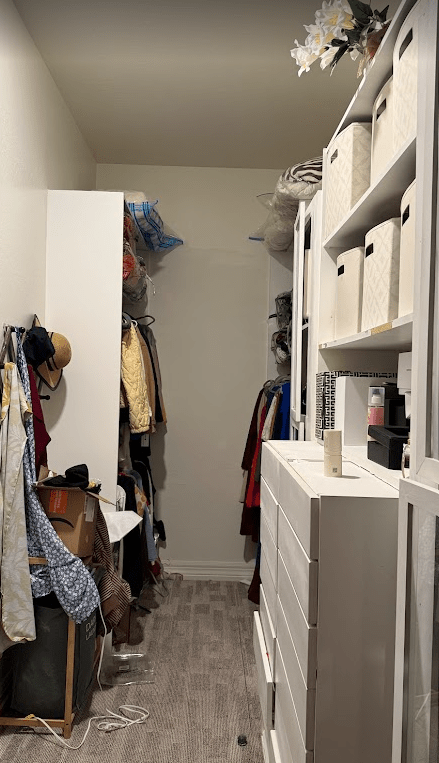
Here’s exactly how I did it.
Step 1: Demo Everything
Every good makeover starts with a little destruction!
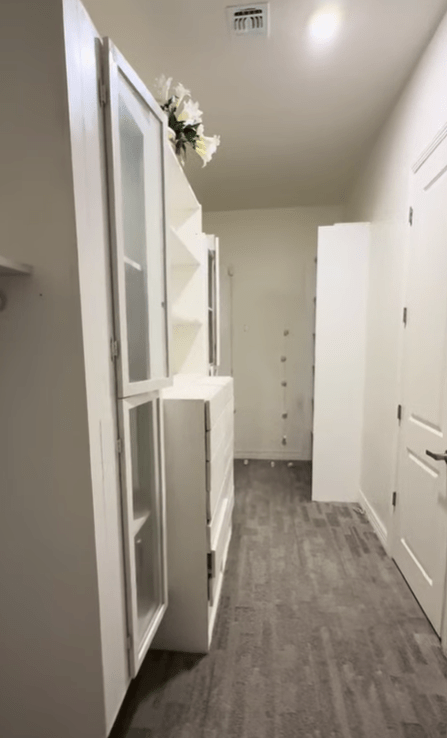
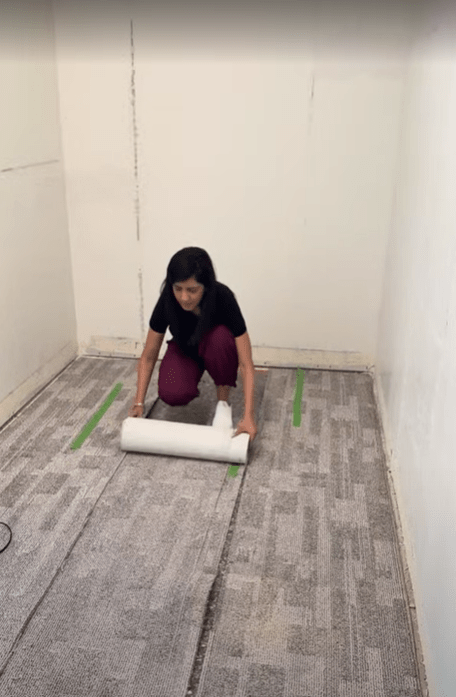
The first step was removing the existing closet system and essentially taking the room back to a blank slate.
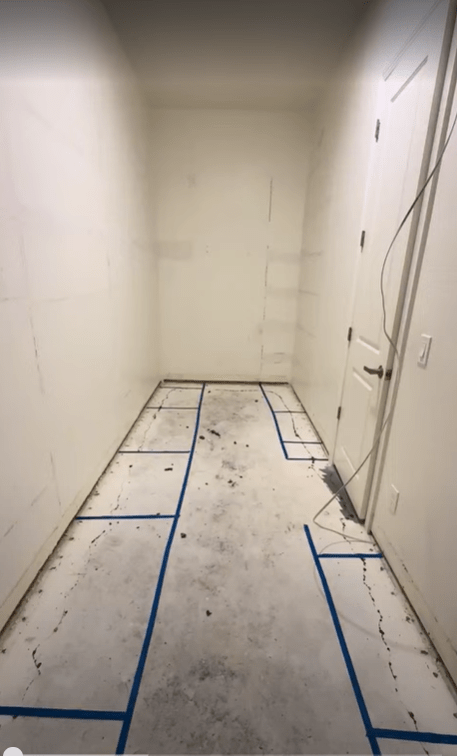
I also decided to rip out the carpet. Since this was going to be a complete transformation, I didn’t want to build beautiful new cabinetry around flooring I already knew I wanted to replace.
Removing the carpet gave me the opportunity to bring in new flooring with more pattern, warmth, and personality—and it immediately made the closet feel less like a basic builder-grade space and more like an actual room.
Once everything was cleared out, I could finally see the space properly and start planning.
See it all in action here.
Step 2: Plan the IKEA PAX Layout
This was probably the most important step of the entire project.
Before buying a single cabinet, I measured everything carefully and used the IKEA PAX Planner to figure out how I could maximize every inch.
My closet measures approximately 16′ x 5′, with the doorway breaking up one of the long walls. Because the closet is relatively narrow, I also had to be very intentional about cabinet depth.
My IKEA PAX Configuration
On the back wall, I used:
- Three 39″ x 22″ PAX frames
- One 29″ x 22″ PAX frame
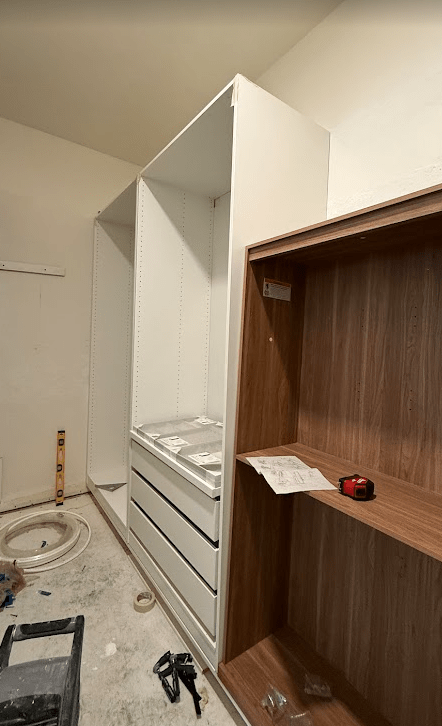
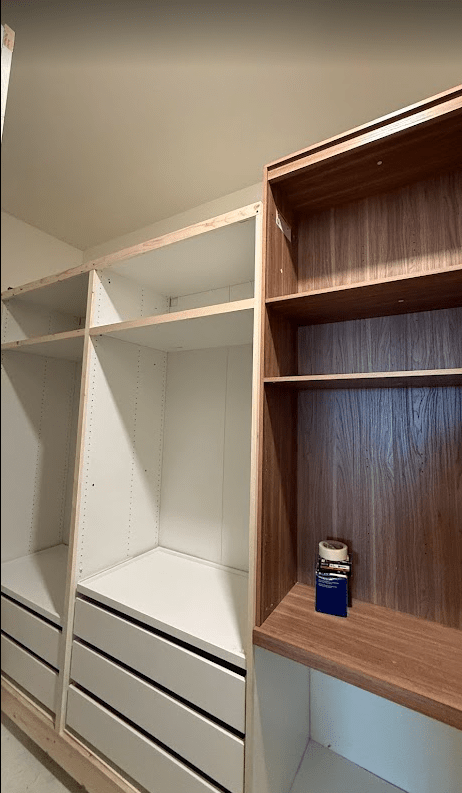
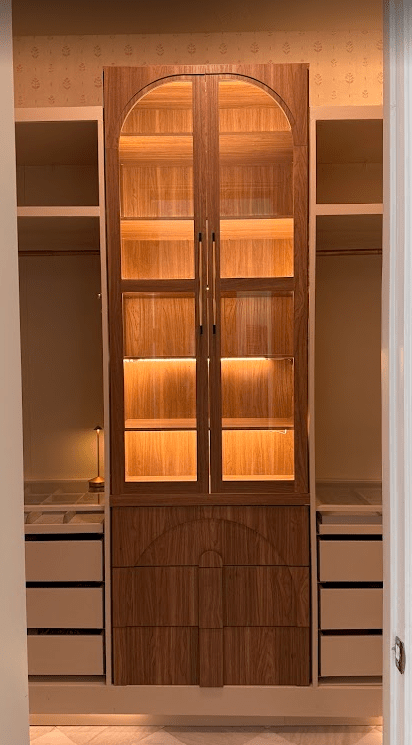
Instead of filling the entire wall with PAX units, I added a walnut-look cabinet from Amazon in the center. This became one of my favorite features in the room and created a beautiful focal point for displaying purses, accessories, and some of my prettier pieces.
There was still a small amount of unused space beside the cabinetry, so rather than wasting it, I installed a hanging rod for my long dresses. This is one of those little decisions that made the final layout much more functional.
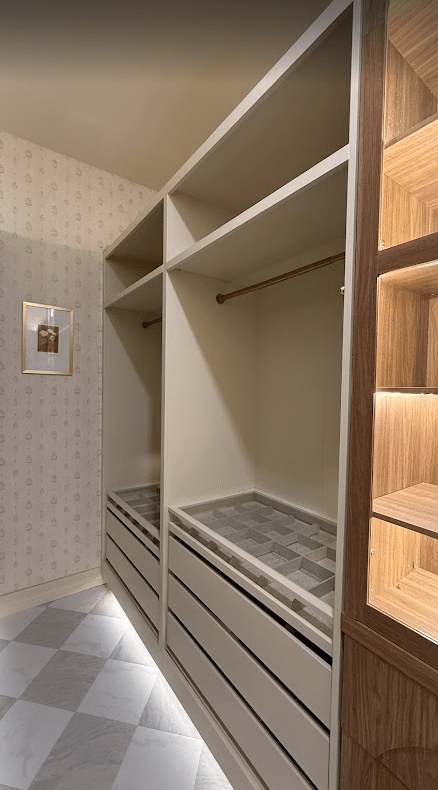
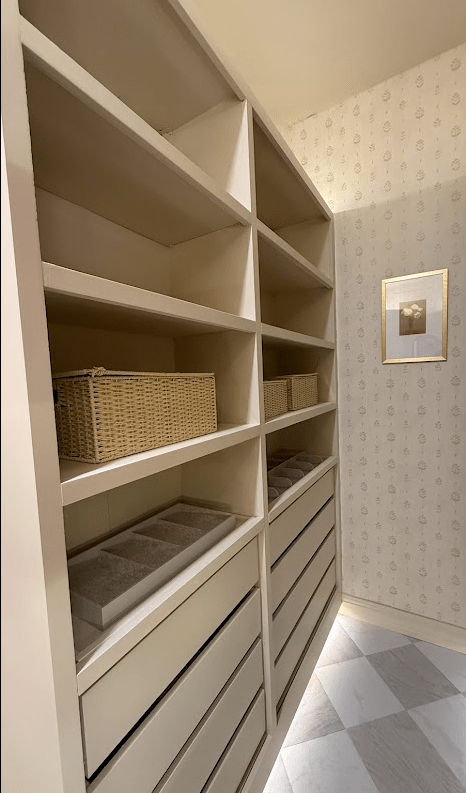
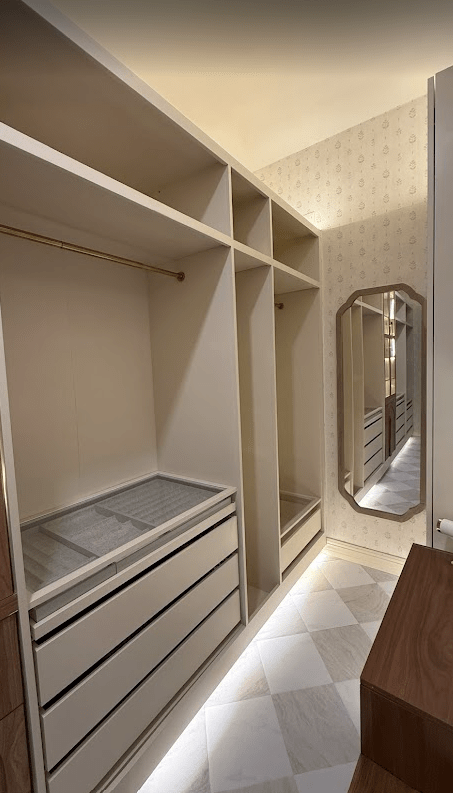
Because the closet is only 5 feet wide, I switched to the shallower 14″ PAX frames along the opposite wall to maintain comfortable walking space.
On this side, I used:
- One 39″ x 14″ PAX
- One 29″ x 14″ PAX
- Another 39″ x 14″ PAX on the opposite side of the doorway
I configured these with plenty of shelves and drawers for folded clothing and accessories.
One of the 39″ units also has a door and is dedicated to storing my Indian clothes, which I wanted protected but still easily accessible.
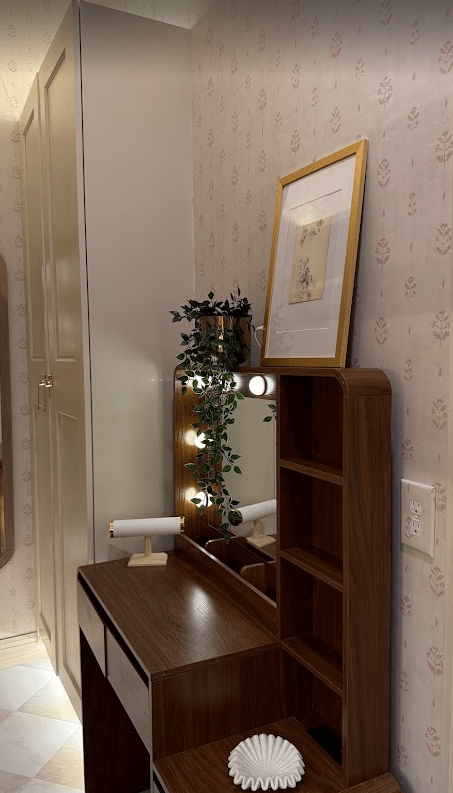
I also incorporated a full-length mirror and used the remaining wall space for a 39-inch vanity. It fit the area almost perfectly and gave me another functional zone without taking away from the closet storage.
My biggest tip: spend time on the layout before ordering anything. Measure walls, doors, baseboards, ceiling heights, outlets, and walking clearance. The IKEA planner is incredibly helpful, but your real-world measurements are what ultimately matter.
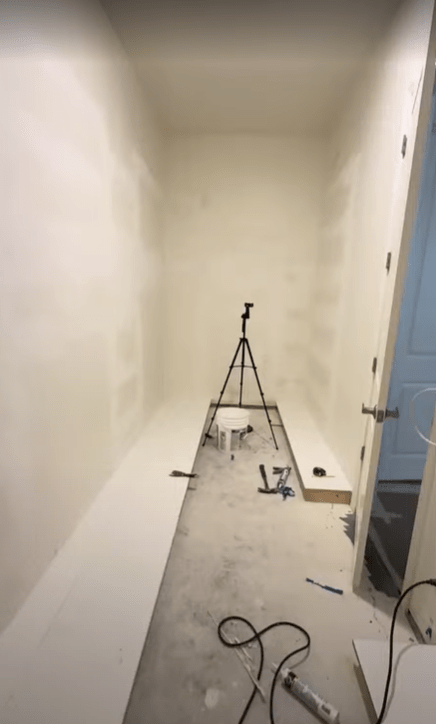
Step 3: Build a Raised Platform
Once the layout was finalized, it was time to start building.
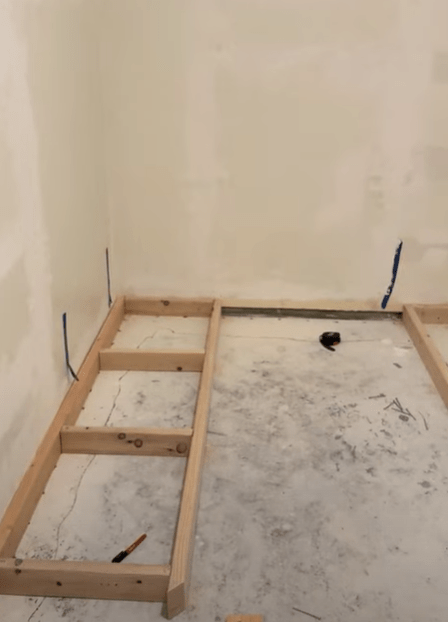
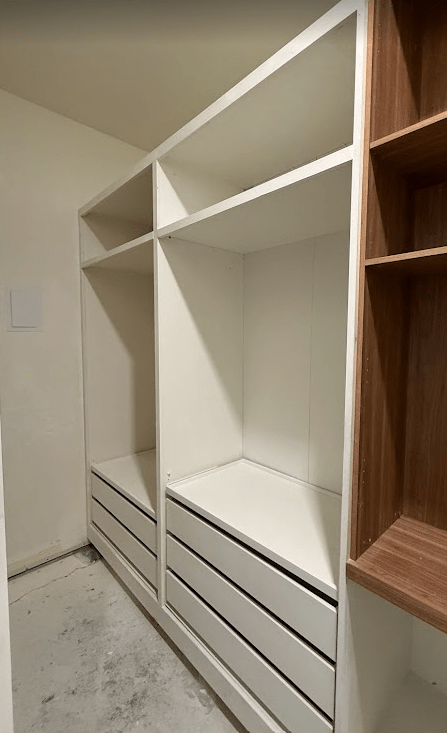
I knew I wanted the PAX units to look more like custom floor-to-ceiling cabinetry rather than freestanding IKEA wardrobes. I also wanted to incorporate lighting underneath the cabinets.
To accomplish both, I built a raised platform using 2×4 lumber.
After building the base, I reused boards from the original closet and installed them over the 2×4 framing to create a solid, level surface for the PAX units.
I intentionally allowed a small overhang at the bottom. This gave me space to conceal LED lighting underneath the cabinetry, creating that soft glow I had envisioned from the beginning.
Reusing some of the old closet material was also a great way to save money and reduce waste.
See it all in action here:
Step 4: Assemble and Install the IKEA PAX Cabinets
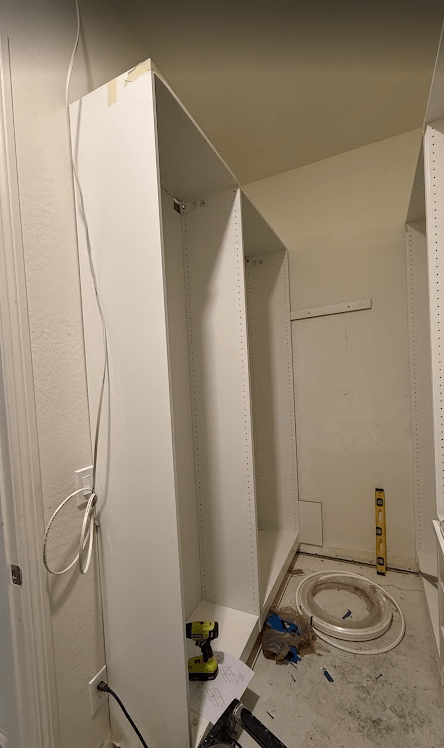
Next came IKEA assembly day—or, more accurately, many IKEA assembly hours!
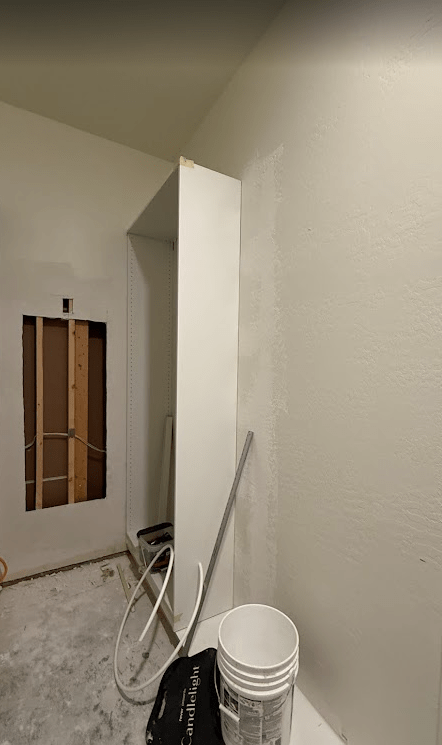
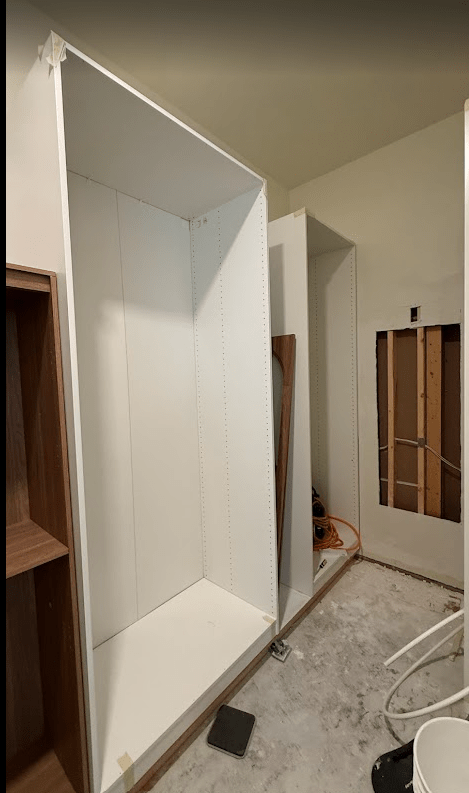
I assembled the PAX frames according to IKEA’s instructions and positioned them on top of the platforms.
Once the main frames were installed and secured, I moved on to the interiors—drawers, shelves, hanging areas, and all the pieces I had mapped out during the planning stage.
The actual assembly was fairly straightforward. The part that takes time is making sure everything is level, properly aligned, and secured, especially when several cabinets are sitting next to each other.
At this stage, it definitely still looked like IKEA.
That was about to change.
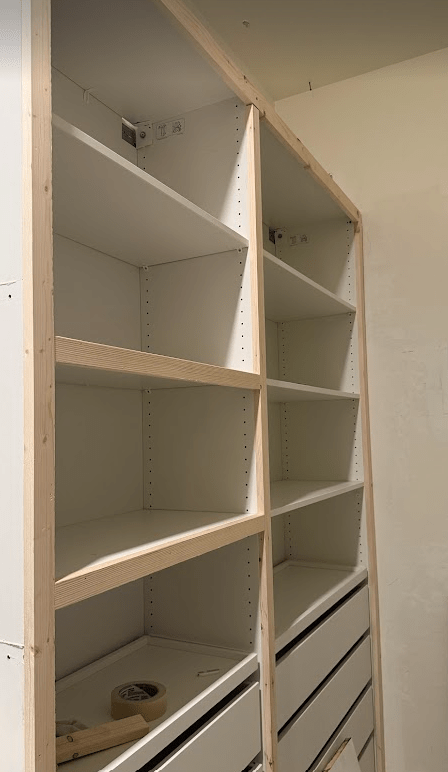
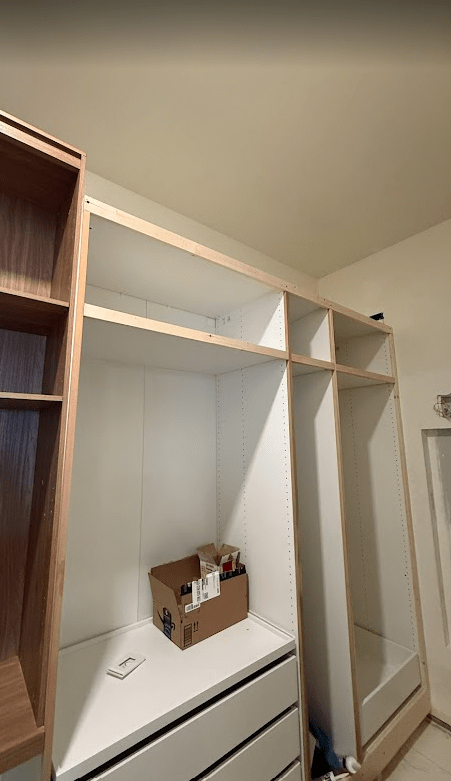
Step 5: Add Face Frames for a Custom Built-In Look
If there is one step that completely changed the appearance of these cabinets, this was it.
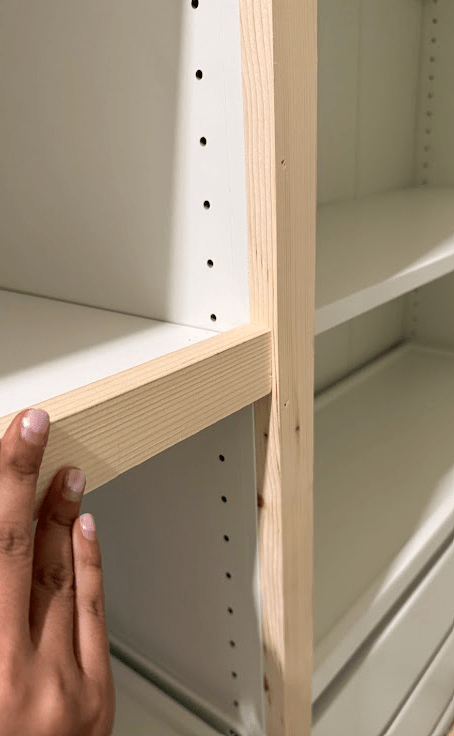
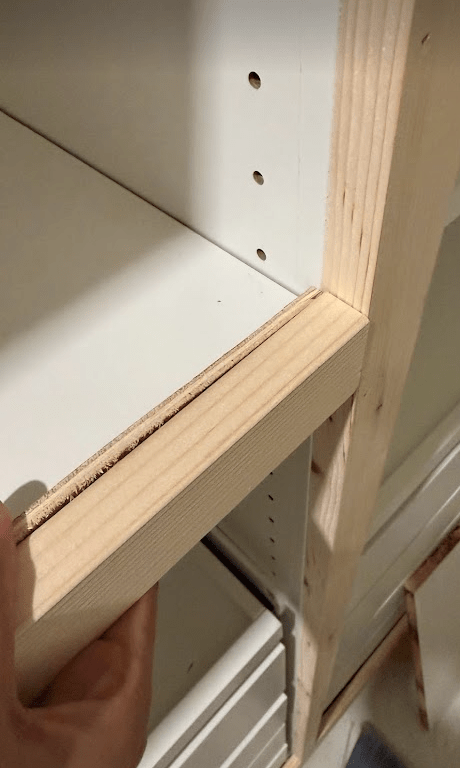
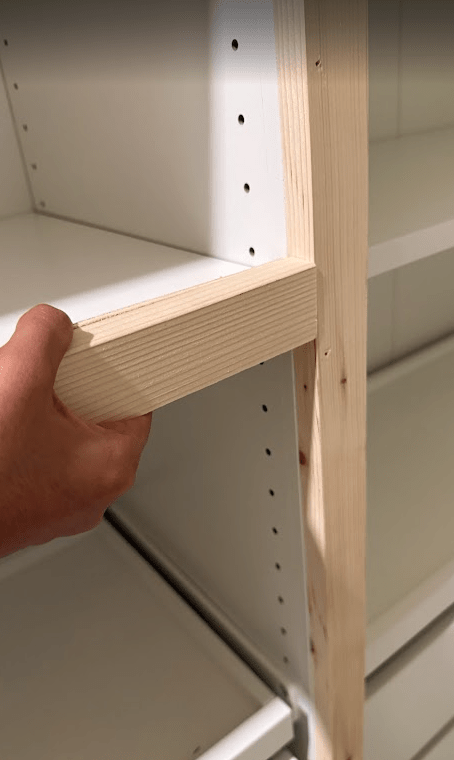
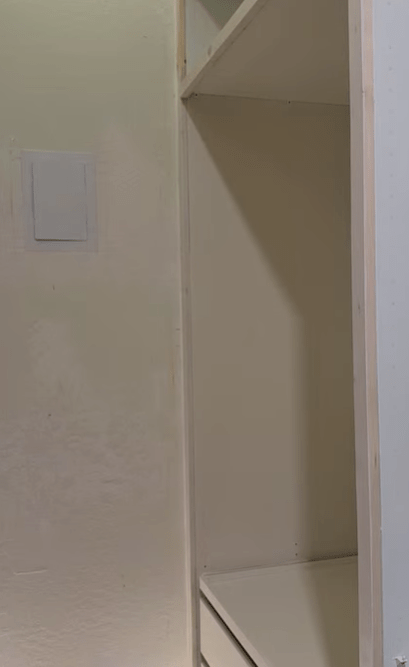
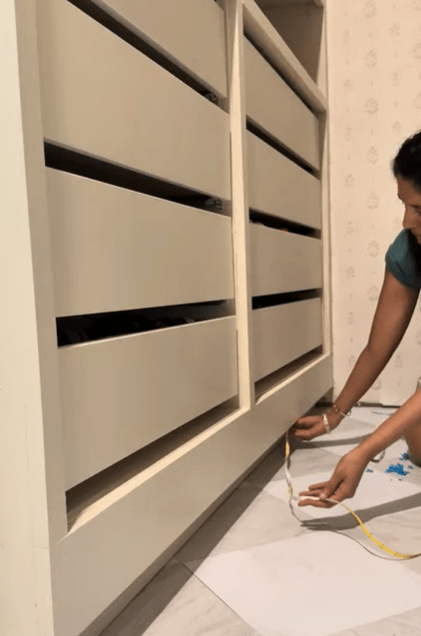
Where two PAX units meet, you naturally see seams between the cabinets. Those seams immediately give away the fact that you’re looking at multiple individual wardrobe units.
To disguise them, I added 1×2 face-frame trim across the cabinetry.
I installed the trim wherever the units joined and around the shelving where needed. Suddenly, instead of seeing several IKEA boxes sitting next to each other, the cabinetry began reading as one continuous built-in system.
It sounds like such a small detail, but visually it made a huge difference.
If you’re trying to make IKEA PAX look custom, don’t skip the trim work.
See it all in action here:
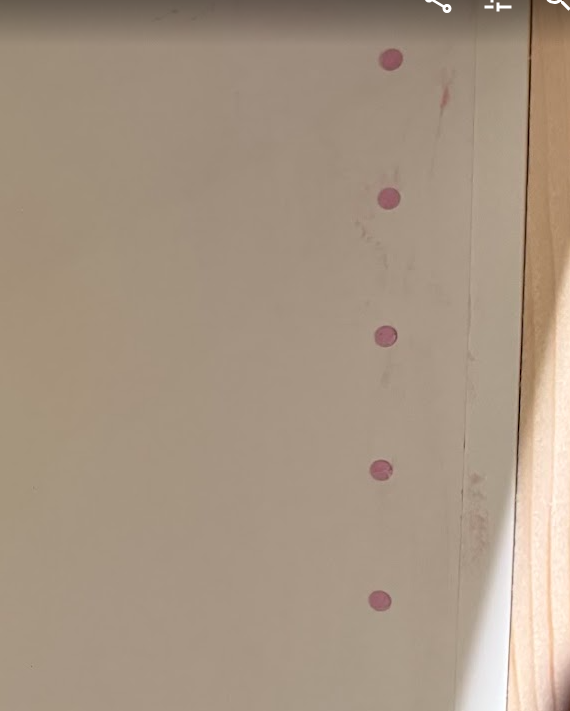
Step 6: Fill All Those IKEA Cabinet Holes
And then came the part I completely underestimated:
The holes.
So. Many. Holes.
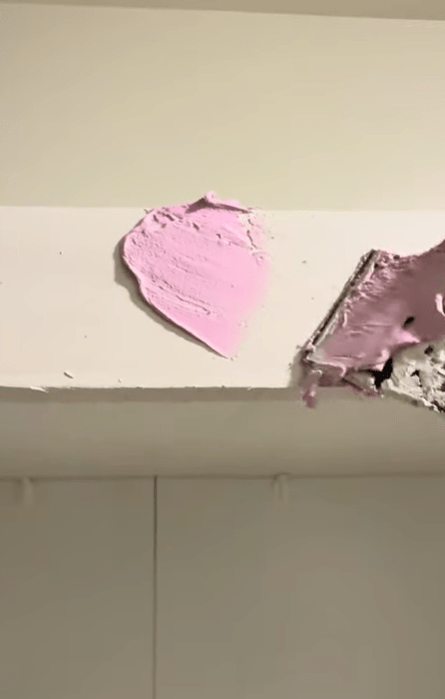
PAX wardrobes have rows of pre-drilled holes that allow you to customize shelf and drawer placement—which is fantastic for functionality but not so fantastic when you’re trying to create a high-end built-in appearance.
I honestly lost count of how many there were.
My daughter and I tag-teamed this part and filled the unused cabinet holes throughout the closet.
Was it tedious? Absolutely.
Was it worth it? 100%.
As soon as those little holes disappeared, the cabinets looked cleaner, smoother, and significantly more custom.
Step 7: Prime and Paint the IKEA PAX
Now it was finally time for paint.
Painting IKEA cabinetry requires the right preparation because you’re not dealing with unfinished wood. Proper sanding and priming are extremely important if you want the finish to actually last.
I have a separate detailed tutorial on how I painted my IKEA cabinets, so I’ll link that here rather than going through every step.
But the basic process was:
Prep → Sand → Prime → Sand Again → Paint
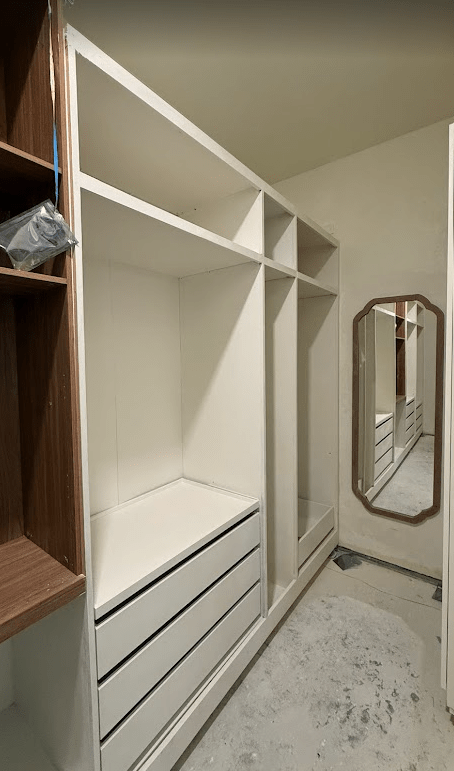
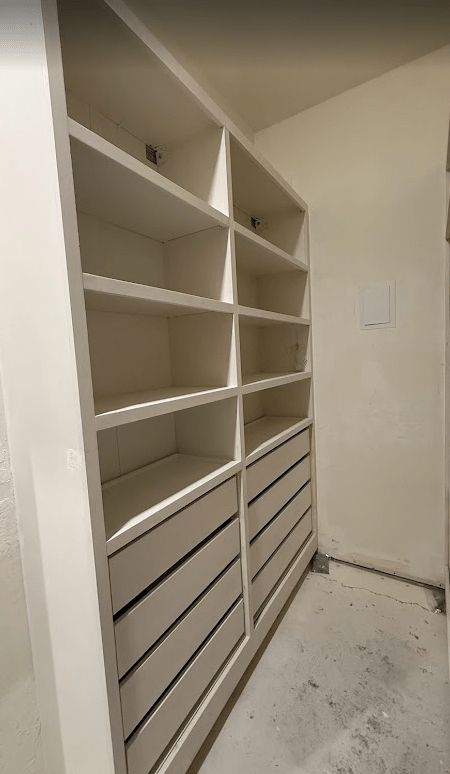
I primed everything before applying my finish coats and chose Sherwin-Williams Natural Linen for the cabinetry.
Natural Linen gave me exactly what I wanted—a warm, soft neutral rather than a stark white. It also worked beautifully with the warmer elements I planned to introduce through the flooring, wallpaper, lighting, and walnut cabinet.
Once the paint went on, the transformation was HUGE.
At this point, the PAX units barely looked like IKEA anymore.
See it all in action here:
Step 8: Install the New Flooring
With the cabinetry handled, I turned my attention back to the floor.
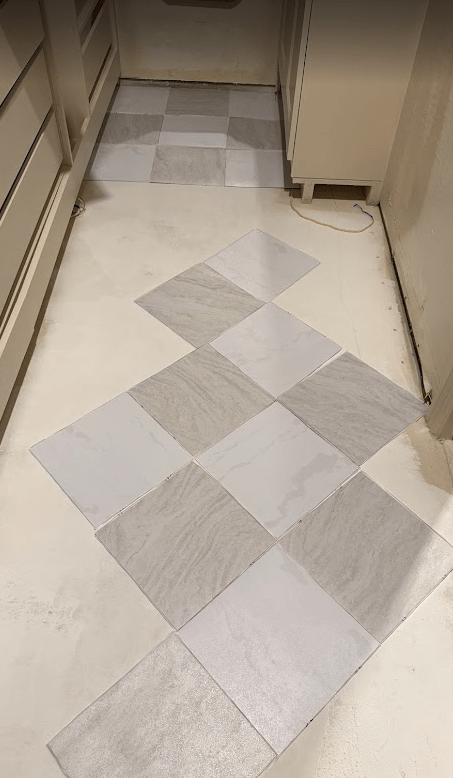
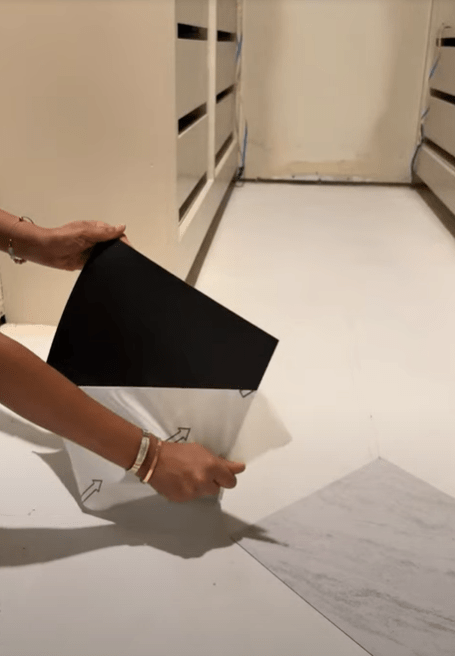
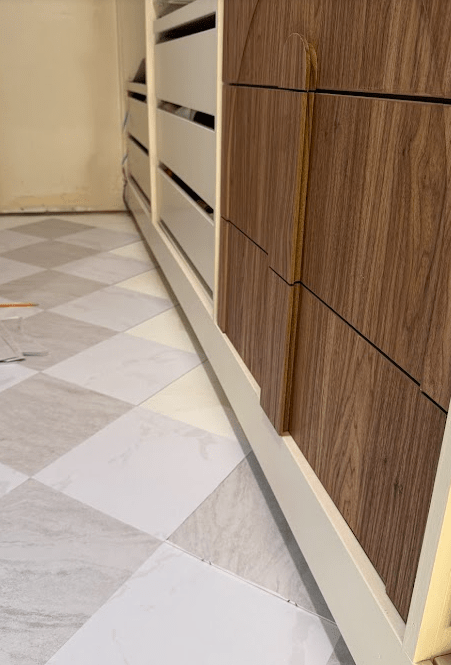
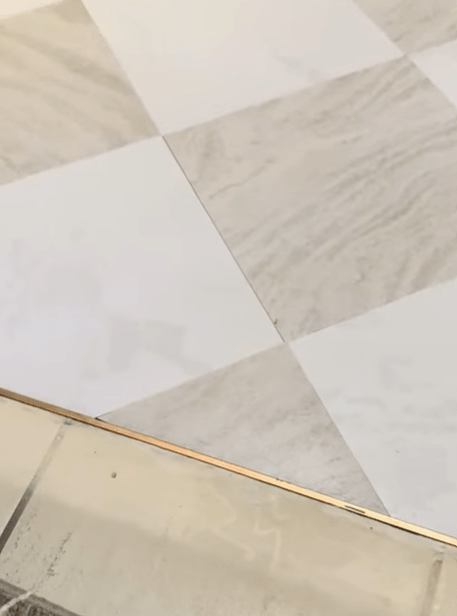
I chose peel-and-stick tile for this project.
Normally, flooring is an area where durability is extremely important, but a closet isn’t a particularly high-traffic space. Peel-and-stick tile allowed me to add pattern and personality without turning this into another major renovation project.
It was also something I could tackle myself fairly easily.
I have a full peel-and-stick tile installation tutorial that I’ll link here with details on floor prep, laying out your pattern, installation, and cutting around edges.
One thing I would definitely recommend is planning your tile layout before sticking anything down. In a patterned floor, where that first tile starts can affect how the entire room looks.
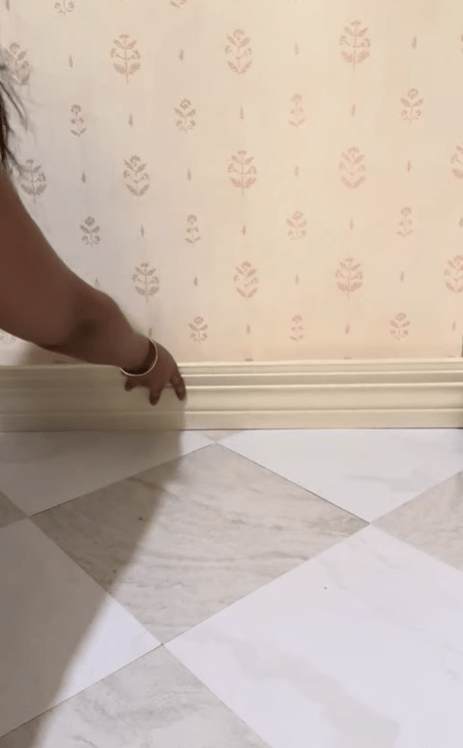
Once the flooring was finished, the space immediately felt warmer and much more intentional.
See it all in action here:
Step 9: Add Wallpaper
From the beginning, I knew this closet needed wallpaper.
This is my closet, after all. If there was ever a place where I could have a little fun with color and pattern, this was it!
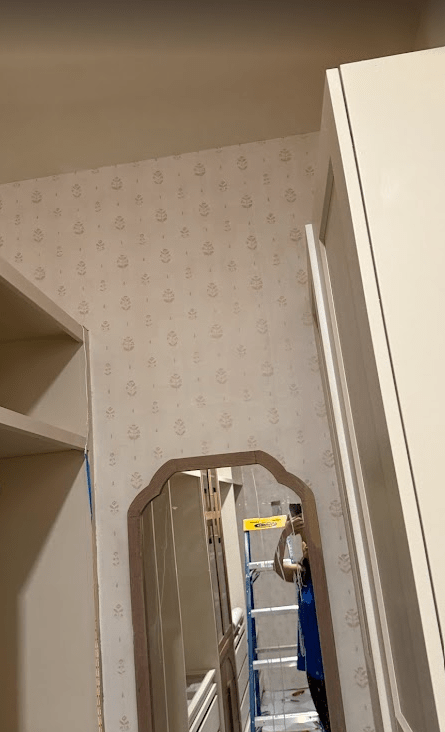
I went through quite a few wallpaper samples before choosing a soft, subtle pink block-print wallpaper. It brought in just enough color without competing with everything else happening in the room.
The wallpaper I chose was water-activated, and installation was surprisingly simple.
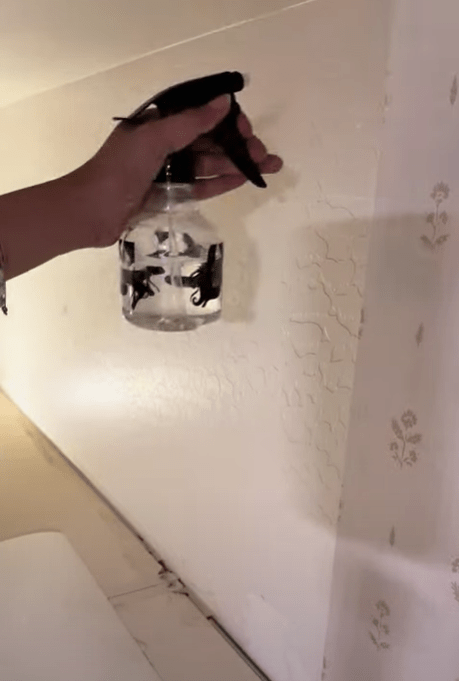
I sprayed the wallpaper with water to activate the adhesive, lightly sprayed the wall as well, positioned the paper, and smoothed it into place.
One thing I loved about this method was having a little flexibility to reposition the wallpaper while installing it.
Against the Natural Linen cabinets and patterned flooring, that subtle pink added exactly the personality the closet needed.
See it all in action here:

Step 10: Add the Finishing Details
At this point, the major construction was finished, but the little details are what really brought everything together.
I added my closet rods, lighting, mirror, hardware, and other finishing touches before assembling and installing the vanity.
I also styled the walnut cabinet with my handbags and accessories so that it became the focal point I had imagined when designing the layout.
And suddenly, this didn’t feel like an IKEA closet anymore.
It felt like my closet.
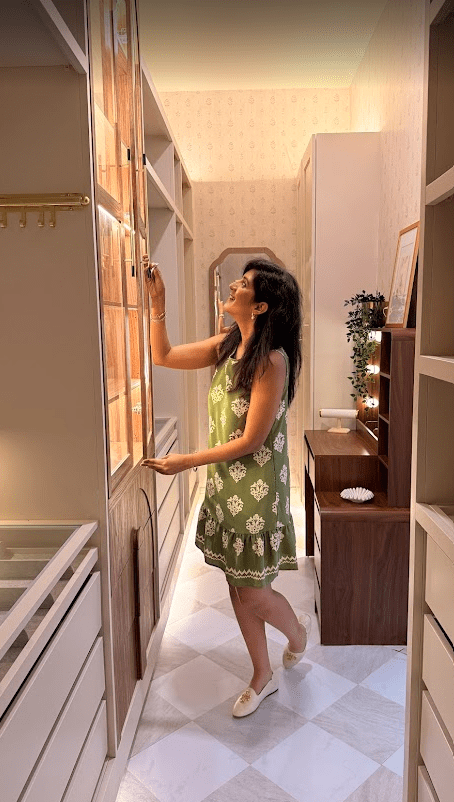
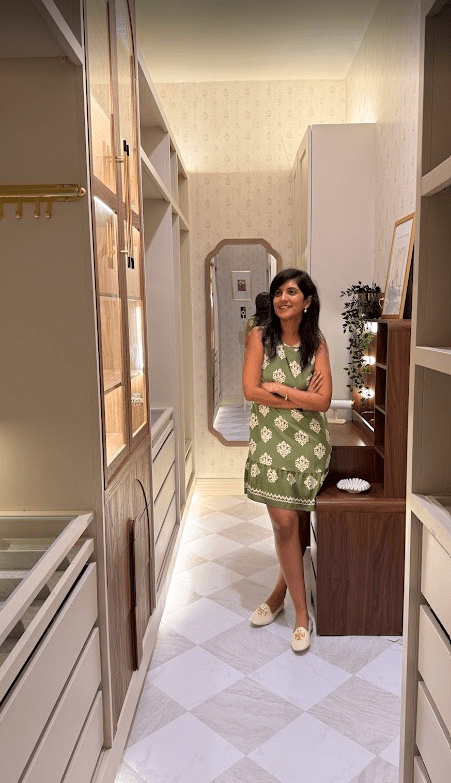
The Final Reveal
I still can’t believe this is the same room.
What started as a dated, poorly utilized closet is now a space that feels functional, warm, custom, and completely personal.
And while IKEA PAX provided the foundation, I think the magic really came from everything we did around those cabinets—the raised bases, hidden lighting, face frames, filled cabinet holes, custom paint, flooring, wallpaper, walnut display cabinet, vanity, and all those little finishing details.
The biggest lesson from this project is that you don’t necessarily need custom cabinetry to create a custom-looking closet.
Start with a system that works for your budget, spend time getting the layout right, and then focus on the details that make it feel built specifically for your home.
Was filling thousands of IKEA holes on my original DIY wish list? Definitely not.
Would I do it again after seeing this transformation?
Absolutely.
And now I finally have a closet that is just as pretty as it is functional.
Share this:

Categories: Uncategorized

