
I had been wanting something special for my living space for a long time, but everything I liked was either way too expensive, the wrong color, or just not the exact design I had in mind. I wanted something warm, custom, modern, and unique something that matched the cozy, earthy vibe of my home.
So, instead of settling, I decided to build my own coffee table.
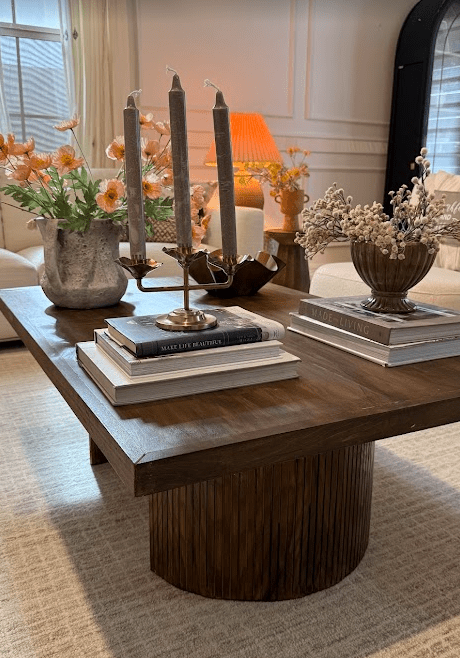
This DIY coffee table has a wide oak wood top, chunky edges, and two beautiful rounded fluted bases. The best part is that it looks custom and high-end, but it was made using basic boards, pole wrap, stain, and a little patience.
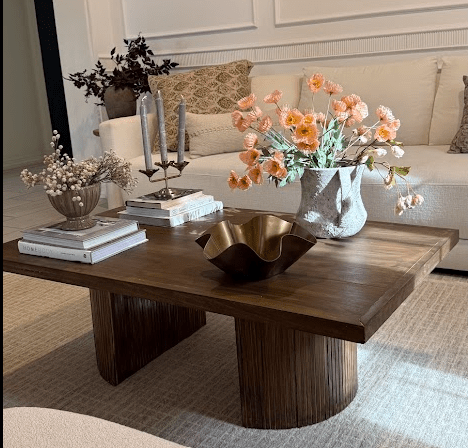
Finished Coffee Table Dimensions
My coffee table top is approximately 47 inches long.
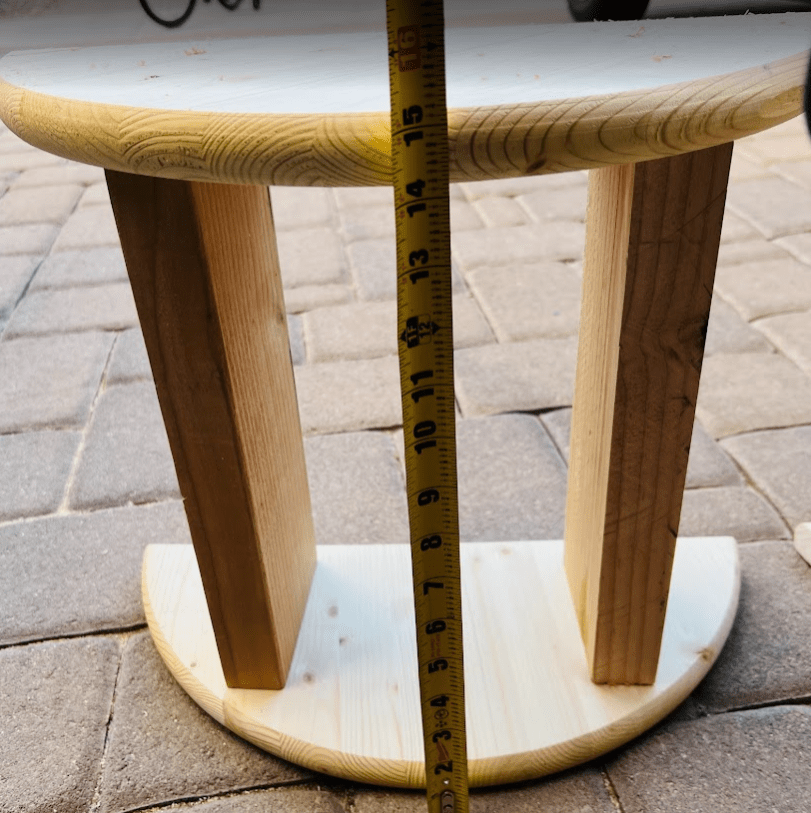
The base sections are approximately 15 inches tall, which gave the coffee table a nice low-profile living room height while still feeling substantial and sturdy.
You can adjust the measurements based on your space, but this size worked beautifully in front of my sofa.
Materials Used
For this build, I used:
- 1×8 oak boards OR 1×8 poplar board – 2 count
- 1×2 oak board OR 1×2 poplar board for the chunky edge – 2 count
- Round wood boards for the base sides – 2 count
- 2×4 boards for internal base support – 1 count
- Pole wrap
- Pocket hole jig
- Pocket hole screws
- Wood glue
- Wood filler
- Steel mending brackets
- 1.5″ screws screws to attach the base to the tabletop
- Sandpaper
- Tamarind wood stain by Behr
- Polyacrylic
- Clamps
- Drill
- Mitre Saw or get them cut at Lowes/Home Depot
- Brad nailer
- Measuring tape
- Level or straight edge
Step 1: Select Straight Boards
Before you even start cutting, this is one of the most important steps: choose the straightest boards you can find.
When you are at the store, hold each board from one end and look down the length of the board at an angle. This helps you see if the board is bowed, twisted, or curved.
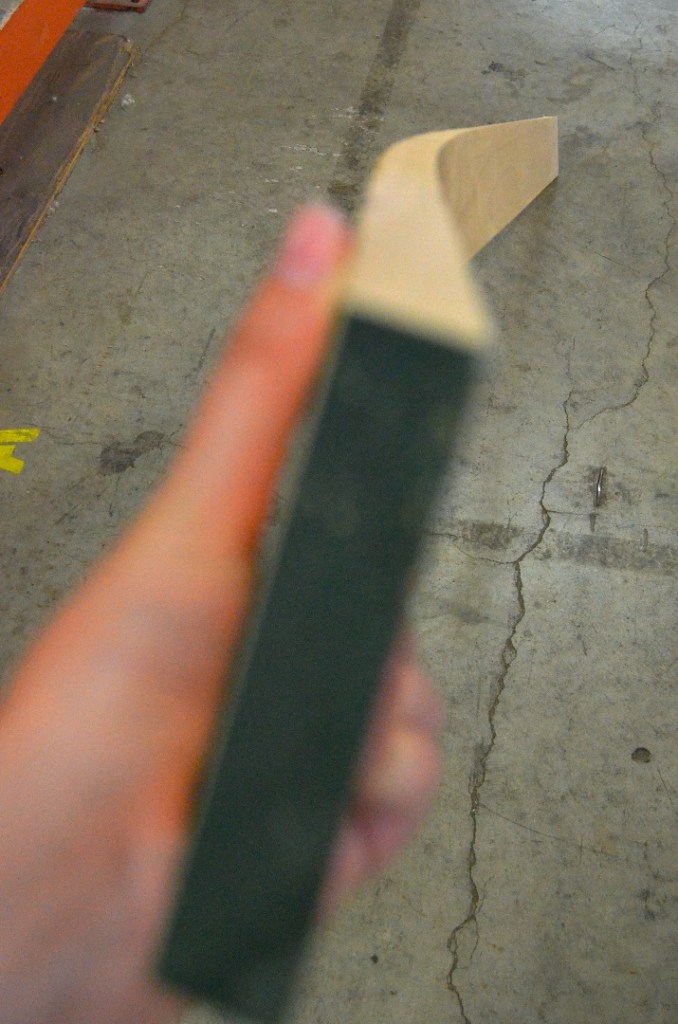
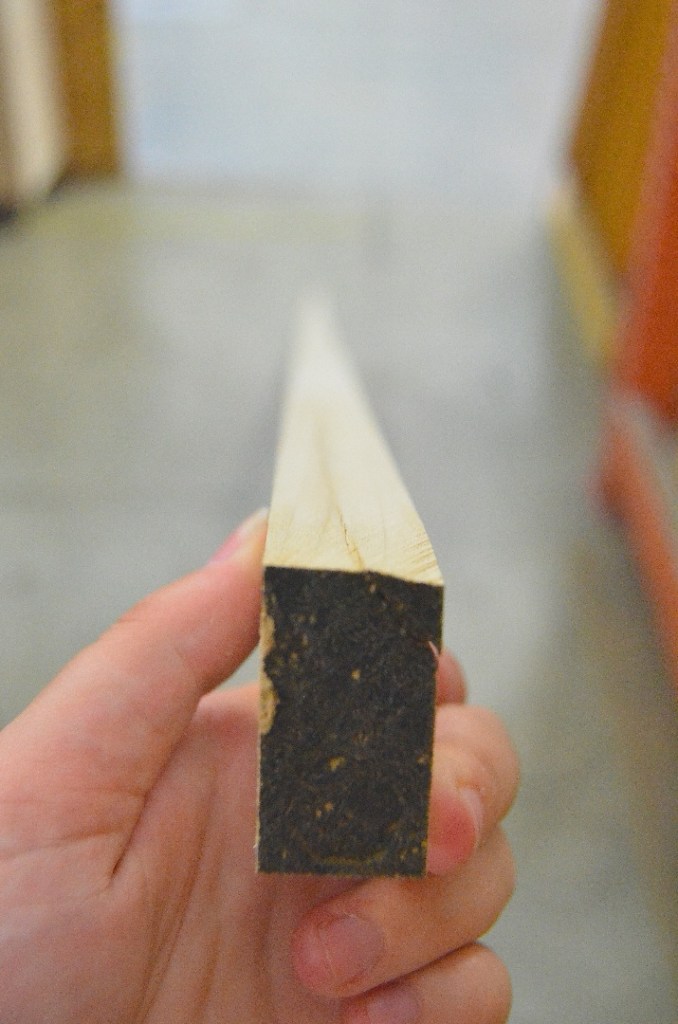
Avoid boards that look like they are bending sideways or cupping. Since this coffee table top is made by joining multiple boards together, straight boards will make the tabletop easier to assemble and help everything sit flat.
Take your time with this step. Good boards make the entire build easier.
Step 2: Cut the Oak Boards for the Tabletop
For the top of my coffee table, I used 1×8 oak boards. You can also use poplar boards to keep the cost low.
I cut each board to 45 inches long. I used four boards total to create the full tabletop.
Once all four boards were cut, I laid them next to each other and checked the arrangement. I moved the boards around until I liked how the grain looked together.
This is a small detail, but it makes a big difference in the final look.
Step 3: Join the Boards Together
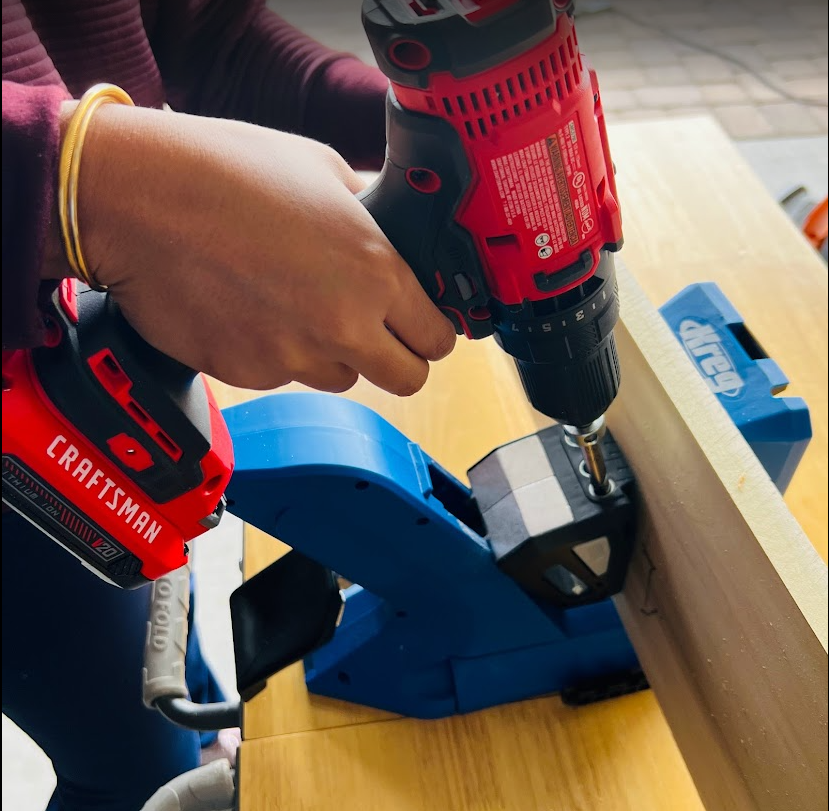
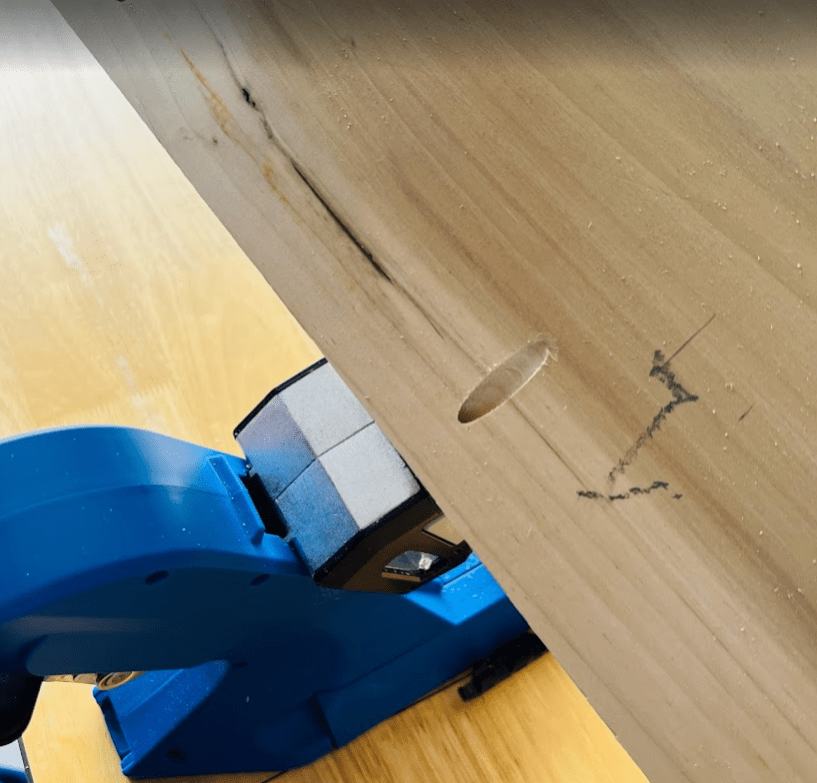
To join the four boards and create one solid tabletop, I used pocket holes and wood glue.
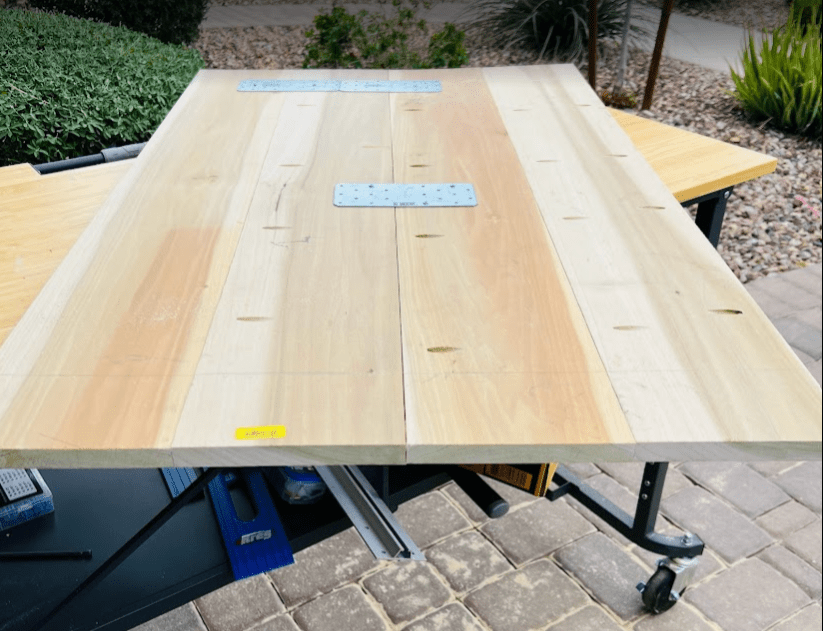
I drilled pocket holes along the underside of the boards. Then I added wood glue between each board and secured everything together with pocket hole screws.
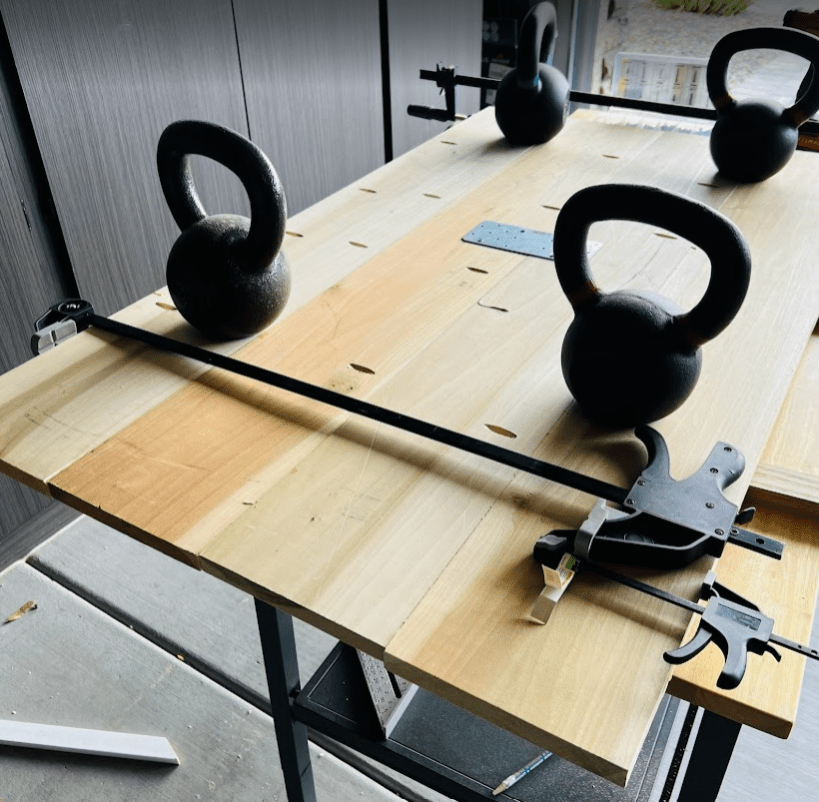
Make sure the top surface stays as level as possible while attaching the boards. Clamps are very helpful here.
Once everything was attached, I let the glue dry fully before moving to the next step.Because the tabletop is made from multiple boards, I wanted to make sure everything stayed level and strong over time.
To do this, I added steel brackets underneath the tabletop.
These helped reinforce the boards and keep the top flat. I attached them from the underside so they are not visible once the table is finished.
This step is optional, but I highly recommend it if you are building a wider tabletop from multiple boards.
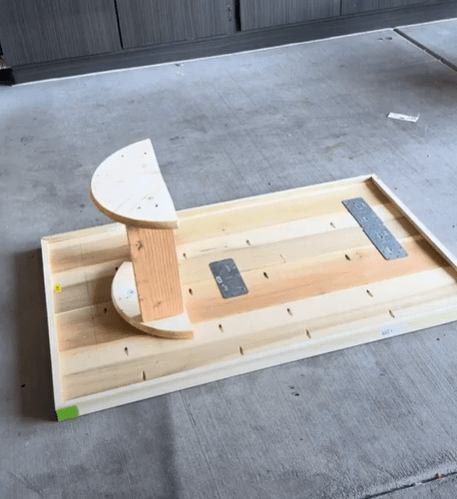
Step 4: Build the Rounded Base Pieces
For the base, I wanted something unique, not just straight legs or a basic box base. I wanted a curved, sculptural shape.
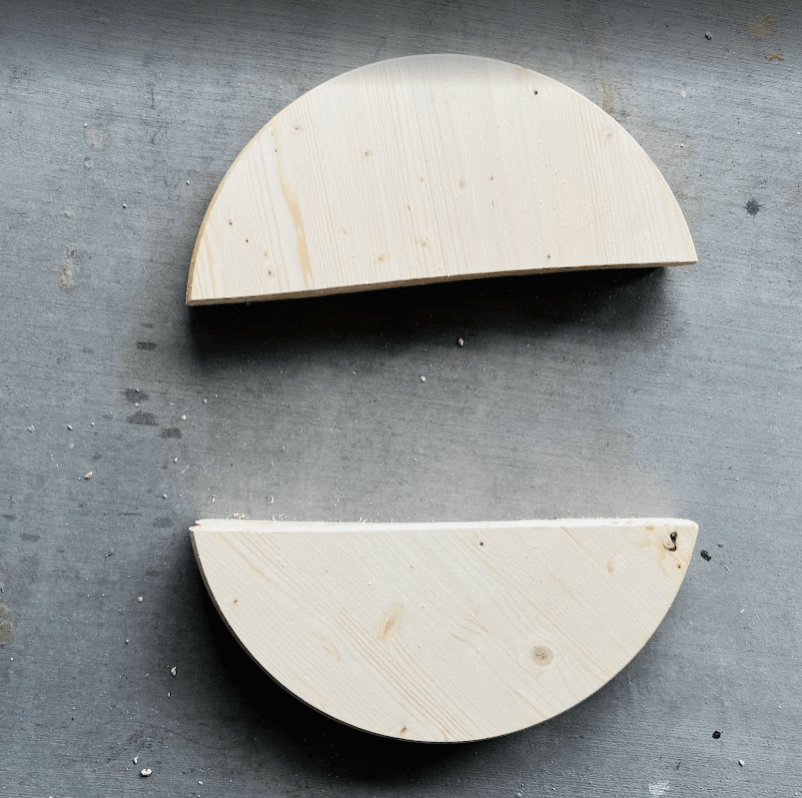
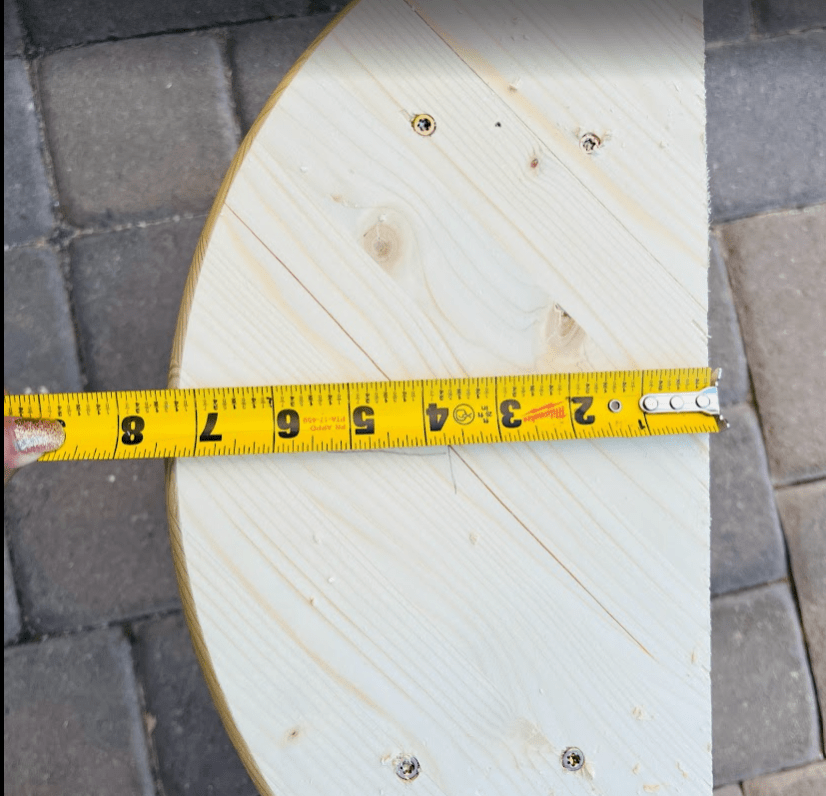
I started with round wood boards and cut them in half to create semi-circle shapes. Then I cut them further down slightly to get the size and shape I wanted.
Each base has a rounded top and bottom piece, which creates the frame for the fluted pedestal-style base.
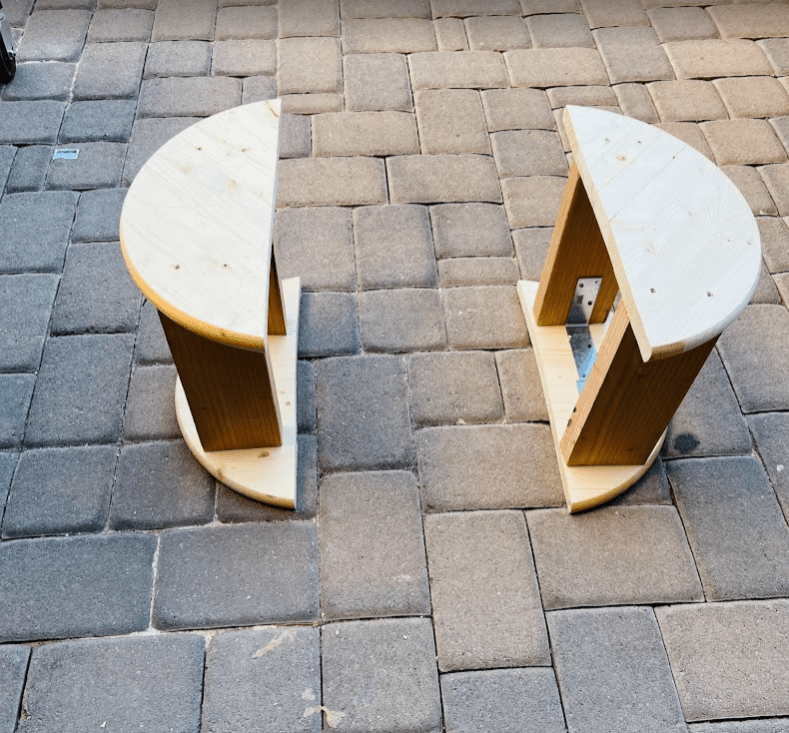
I made two of these bases — one for each side of the coffee table.
Step 5: Add 2×4 Supports Inside the Base
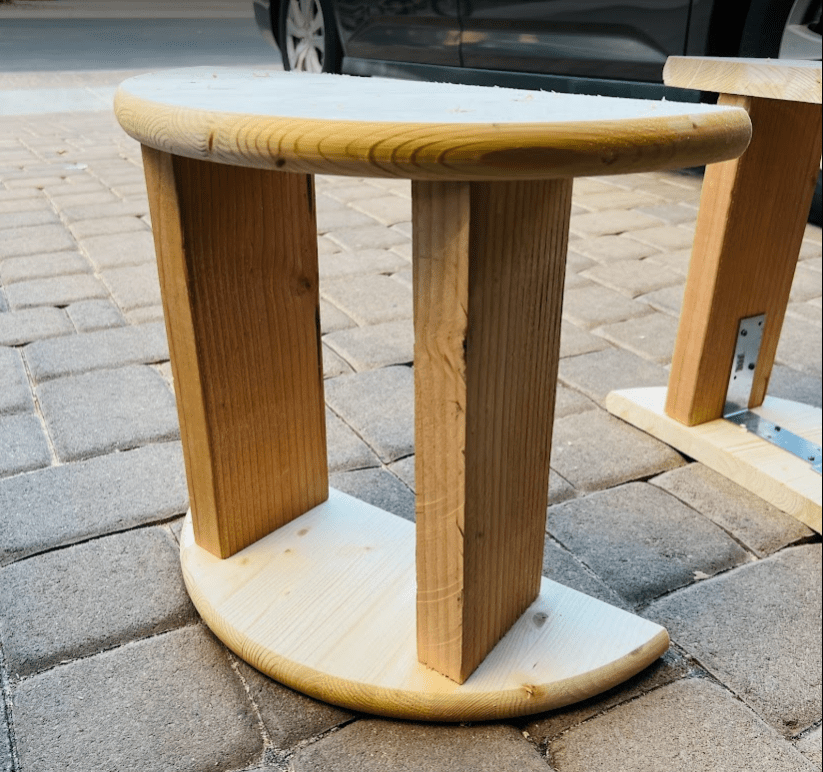
To connect the top and bottom rounded pieces, I used 2×4 boards as internal supports.
These 2x4s hold the two curved pieces together and create a strong structure for the base.
I attached the 2x4s securely using screws and wood glue. Make sure the base is straight and level before everything is fully tightened. I also used L brackets on the second piece as my rounded top was splitting.
The finished base section was around 15 inches tall.
Step 6: Attach the Bases to the Tabletop
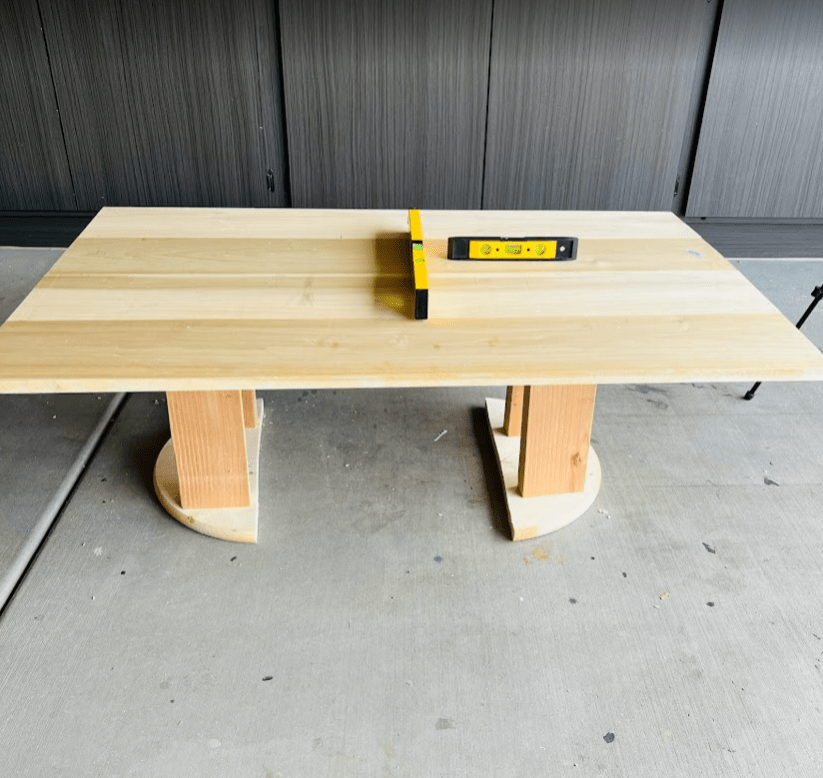
After both bases were built, I placed them under the tabletop to decide the exact position.
Once I was happy with the placement, I attached the bases to the underside of the tabletop using longer screws.
Make sure the screws are long enough to hold the base securely, but not so long that they go through the top of the table. For my build I used 1 1/4 inch screws.
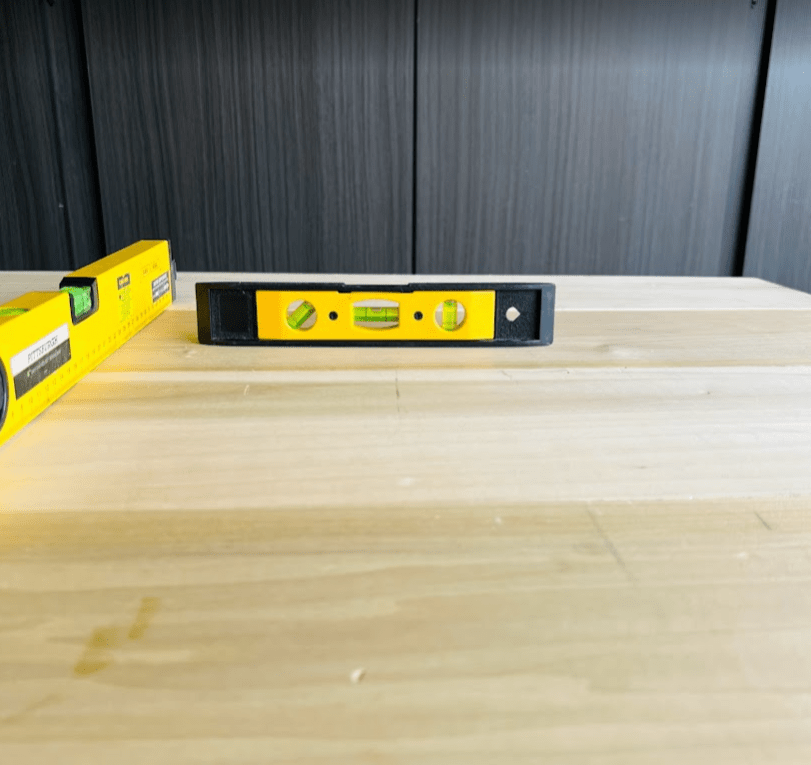
Check that both bases are aligned evenly before securing everything.
Step 7: Wrap the Base with Pole Wrap
This is the step that completely transforms the look.
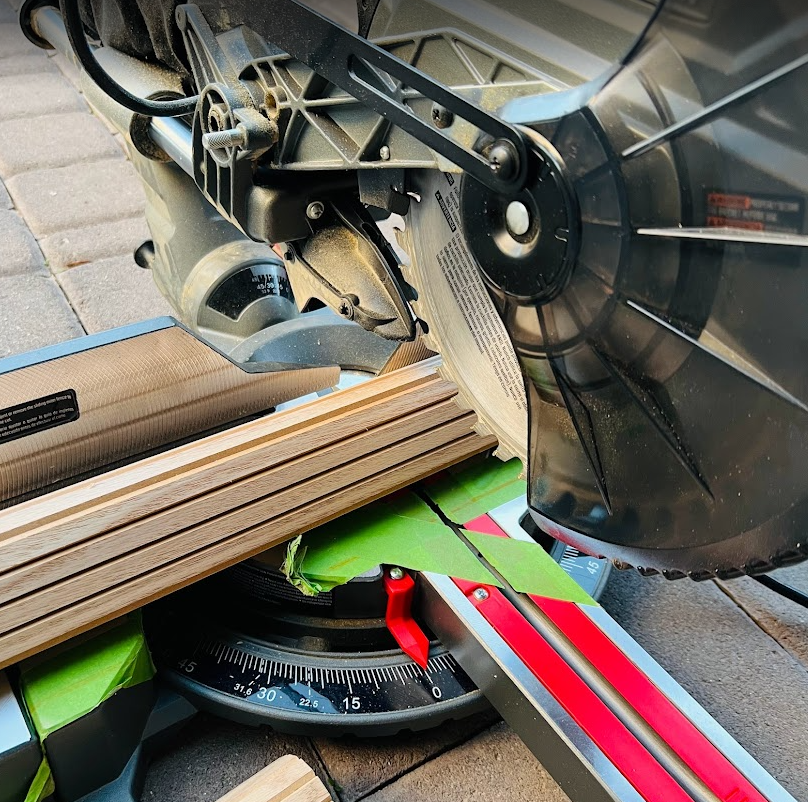
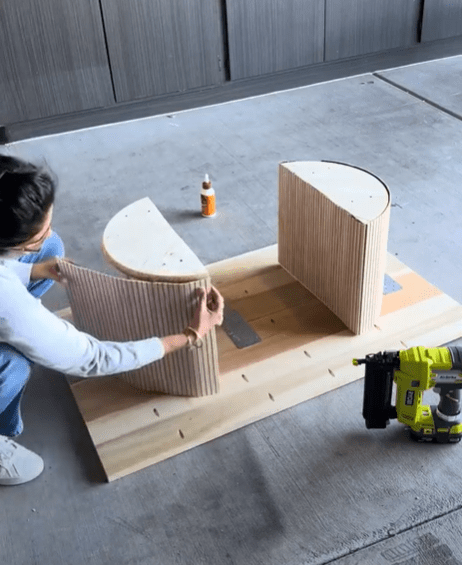
Once the base structure was built, I wrapped the rounded sides with pole wrap.
The pole wrap gives the base that beautiful fluted, ribbed texture and makes the whole coffee table look much more custom and designer-inspired.
I carefully wrapped the pole wrap around the curved base and secured it in place using a brad nailer. Take your time here so the lines stay straight and clean.
I repeated the same process for the second base.
Step 8: Add a Chunky Edge
I wanted the tabletop to look thicker and more custom, so I added a 1×2 board around the edges.
This gives the illusion of a much chunkier slab-style top without needing to buy a thick, expensive piece of wood.
I attached the 1×2 boards around the sides using wood glue and nails. Make sure the edges are aligned nicely with the tabletop.
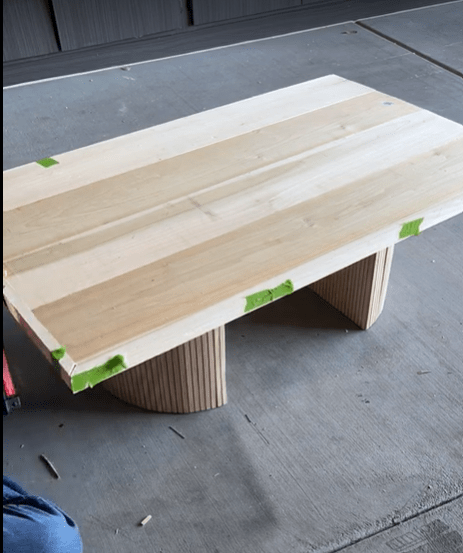
After this step, the table already started looking more finished and high-end.
Step 9: Fill Gaps and Smooth the Top
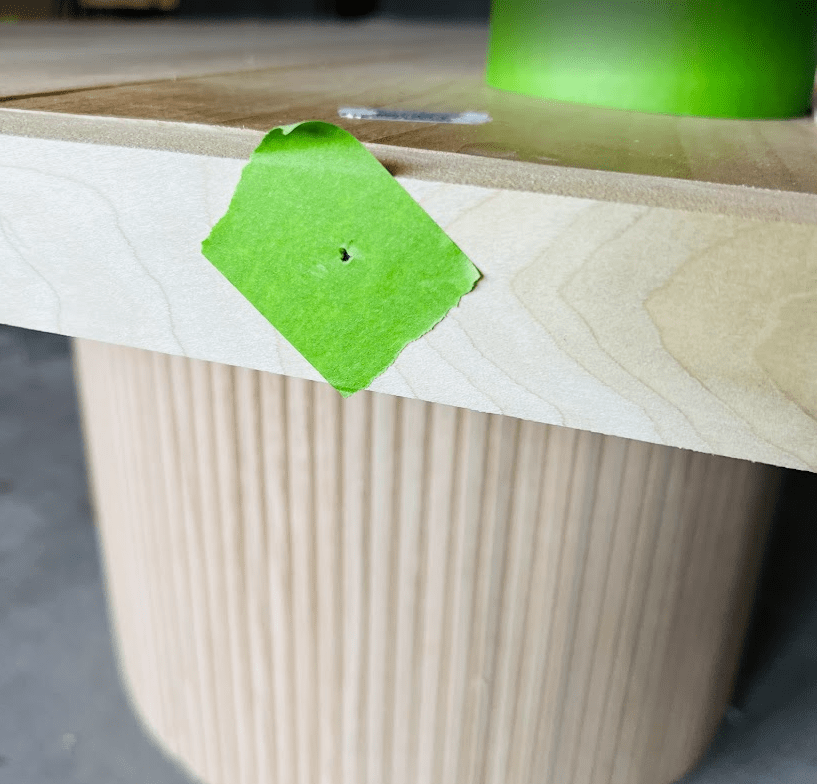
Once the top was assembled, I filled all visible gaps, seams, and nail holes with wood filler.
This step helps everything look like one solid piece instead of separate boards attached together.
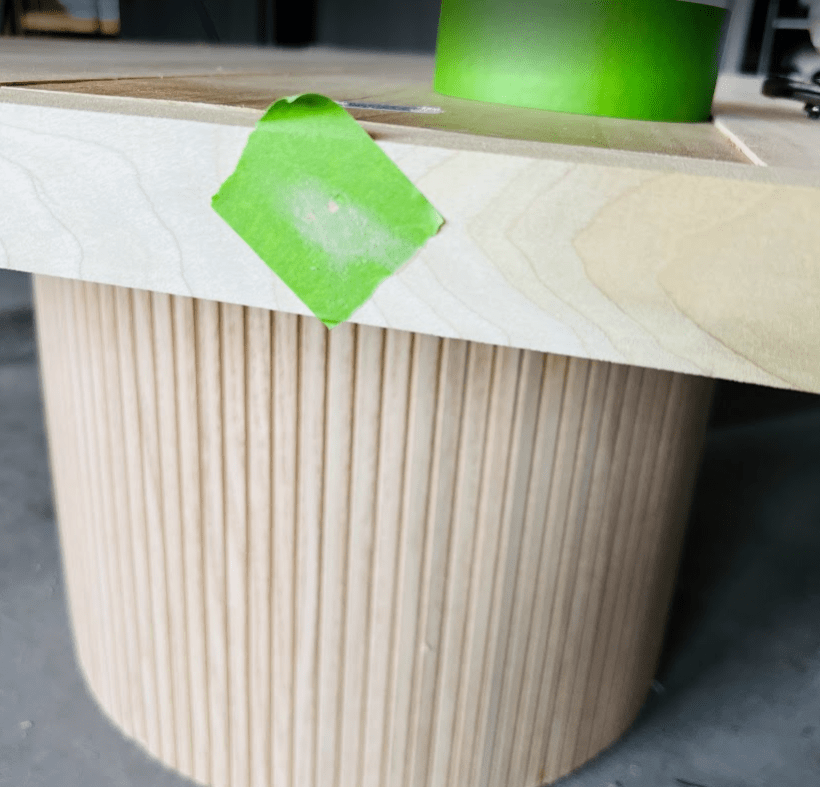
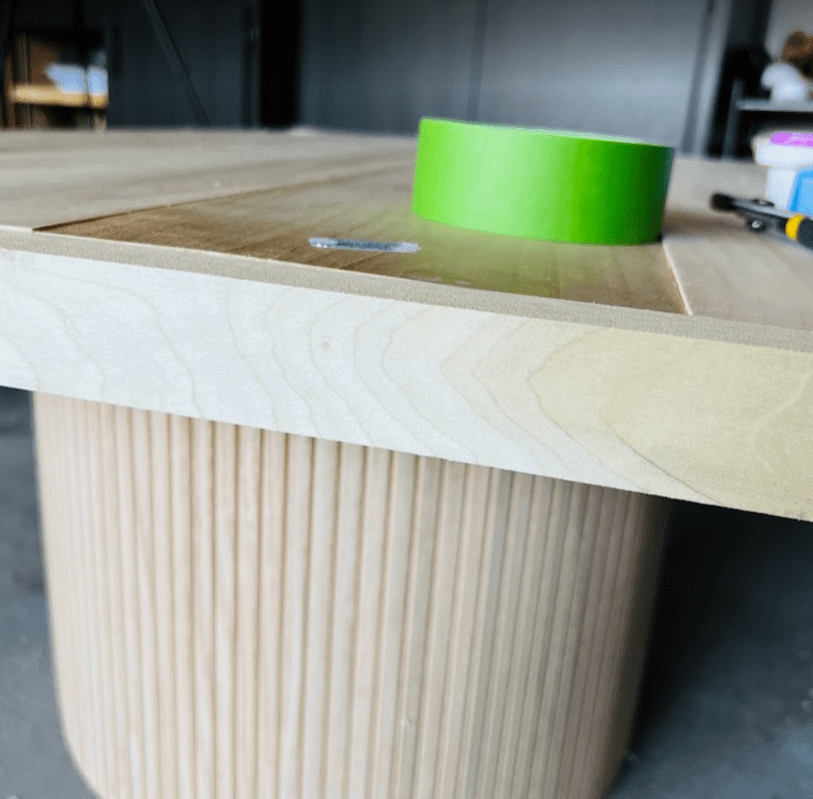
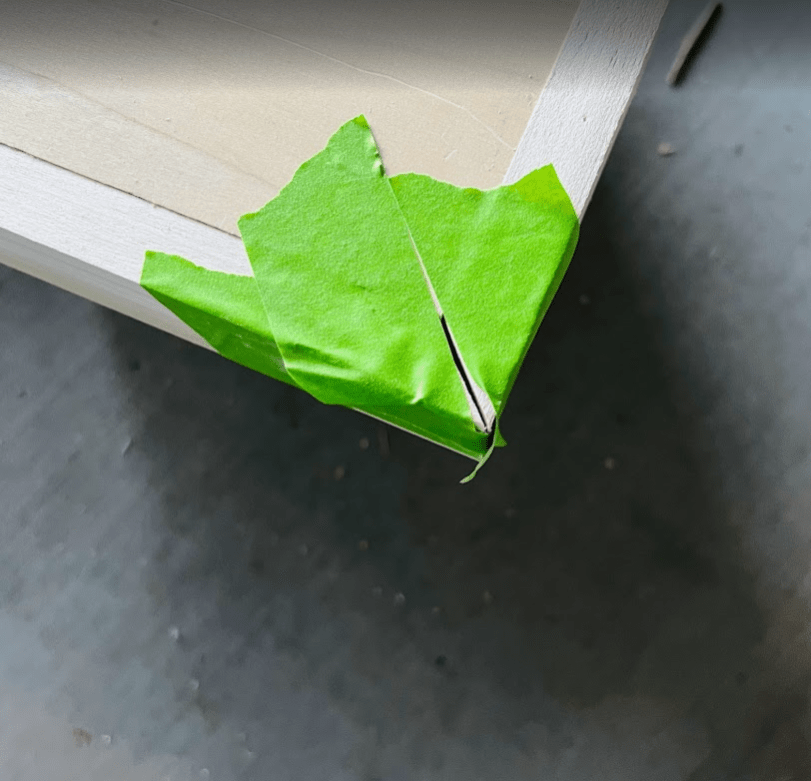
After the wood filler dried, I sanded the entire tabletop smooth. Pay extra attention to the edges and seams so everything feels even to the touch. I love using my viral painters tape hack – just add painters tape to the wood section before nailing, fill using wood filler and take the painters tape off.. no sanding needed!
Step 10: Sand Everything
Before staining, I sanded the entire coffee table.
I focused on:
- The tabletop
- The chunky edges
- Any wood-filled seams
- The bases
- The pole wrap edges
Sanding helps the stain absorb evenly and gives the table a smooth, finished look.
After sanding, wipe everything down really well to remove dust.
Step 11: Stain the Coffee Table
I tested a few stain colors before deciding on my favorite.
The one I loved most was Tamarind stain by Behr.
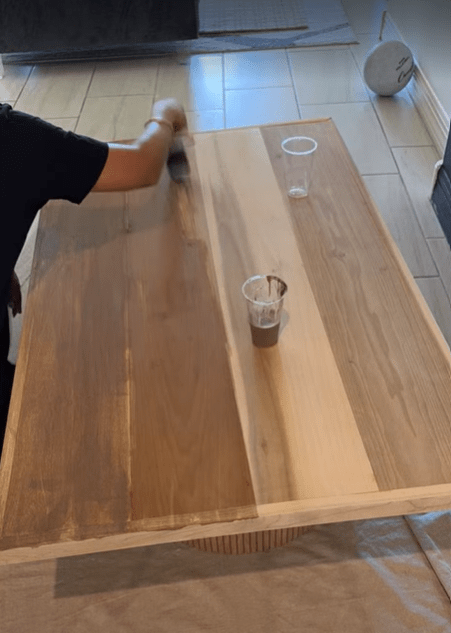
It gave the table a rich, warm, dark wood tone that matched the vibe of my space perfectly.
I applied a couple coats of Tamarind stain until I got the depth of color I wanted. Always wipe off the excess stain and let each coat dry properly before adding another one.
Step 12: Seal with Polyurethane
Once the stain was completely dry, I sealed the table with polyurethane.
This step protects the wood from everyday use, spills, decor pieces, and cleaning.
I applied a couple of coats, letting each coat dry according to the product instructions.
For a coffee table, sealing is very important because it gets used constantly.
Step 13: Style the Coffee Table
Once everything was dry, I brought the table into my living room and styled it.
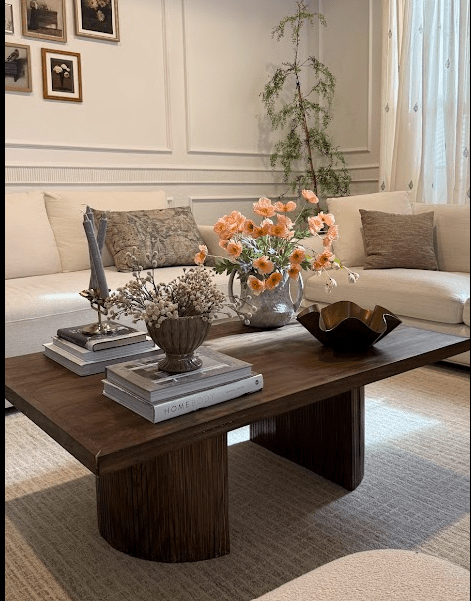
I kept the styling warm and cozy with books, florals, candles, and a few decorative accents. The rich wood tone, fluted base, and chunky top added so much character to the room.
This table turned out exactly how I imagined — custom, warm, functional, and perfect for the space.
Final Thoughts
This DIY coffee table was such a satisfying build because it solved a problem I kept running into: I could not find the right table at the right price.
By building it myself, I was able to customize the size, color, shape, and design to match my home perfectly.
The oak top gives it a timeless look, the chunky edge makes it feel substantial, and the fluted rounded bases add that designer-style detail I wanted.
This project does take some planning and patience, but it is absolutely worth it.


