
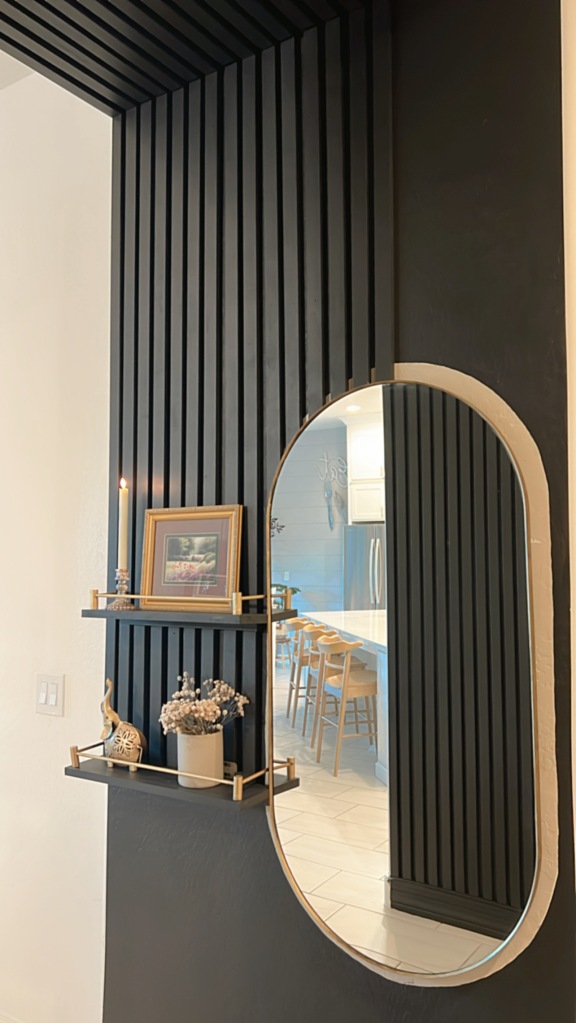
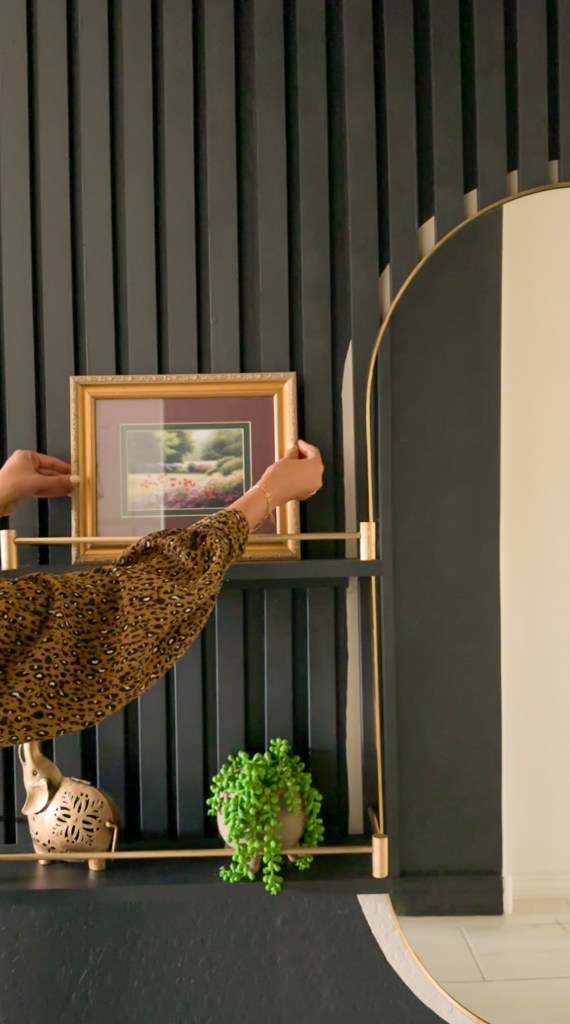
It was a Friday afternoon and I thought of making an impromptu visit to IKEA. My kids love IKEA just to be in the play area and spend time enjoying their favorite meal at the canteen! We returned home with a few kitchen items and an oval wall mirror.
So when I started this project, all I really wanted to do was to hang this Ikea mirror in our hallway, then I thought how about painting the back wall black? Oh.. how about adding some contrasting border to this mirror? WAIT.. how about SLATS? YES SLATS!!!! And that’s how my friends a simple task snowballs into a full blown project here!!
I have added wood slats around our house and that is one feature that I absolutely LOVE! Also, one of the most requested tutorial on my Instagram page
Wood slat feature walls combine elegant, sleek lines with authentic wood grain, creating a timeless intersection of natural and human design. While they look gorgeous, figuring out how to achieve the look is not always easy. Luckily, there are a few ways you can go about incorporating this gorgeous feature into your home, I am going to share all the tips and tricks to achieve this look.
Let’s get right into it!
Materials required
1x2x8 ft MDF board OR common board OR Poplar board
Measuring tape
Pencil
- How much lumber?
Before we begin with details lets get into specifics on how to measure the amount of materials you need. Although, we are using 1in x 2 inch slats but the actual slats measure approx 3/4in x 1.5inch. Easy way to measure is to take the width of the wall and divide it by two. You may need a couple extra to this number. My walls are 10ft long so we went with 10ft boards, but depending on your wall height you can either choose from 8ft or 10ft boards.
I wanted slats to go little over half the width of my walls. For around 33″ I used 15 slats. Let’s look at different types of lumber options available.
Option 1 : Primed MDF board
Perfect if you are painting your slats, have smooth finish and are straight. For this project, I used these,
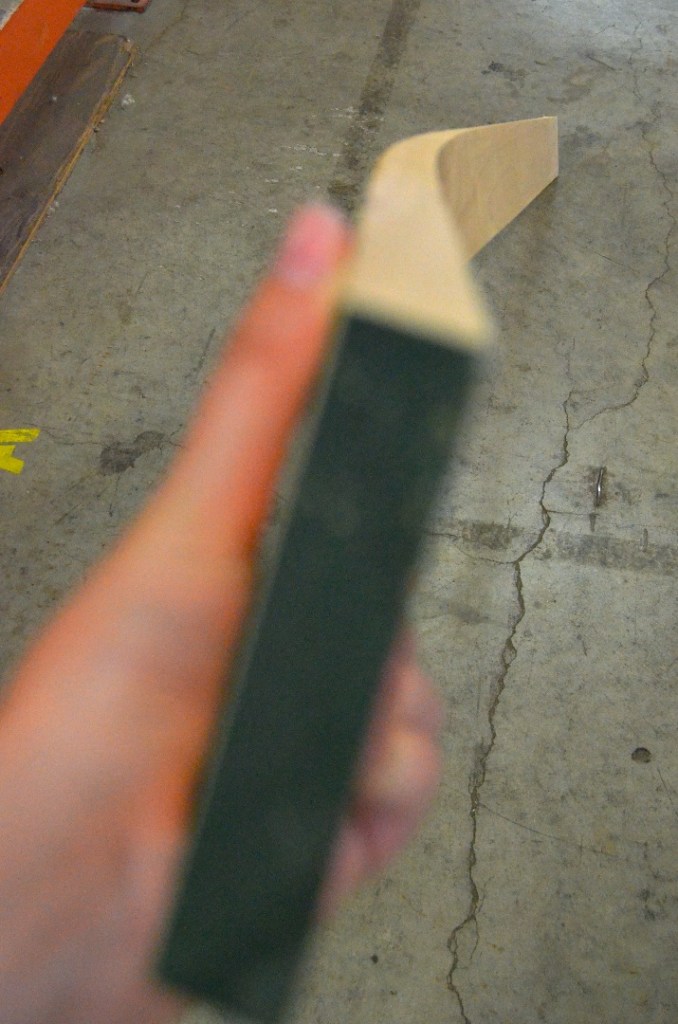
Option 2 : Common board
Affordable, but need to make sure if each slat is straight. May sometimes be uneven and needs sanding for smooth finish. Can be stained or painted. The best way to check for a curved board is by “sighting” several edges. Rest one end of the board on the floor and hold the other end at about face level. Close one eye and look along the nearest edge- it should look straight (don’t worry about perfection, if you think it looks straight you’re good to go). Rotate the board 90 degrees and sight along another edge. Check both ends for cupping.
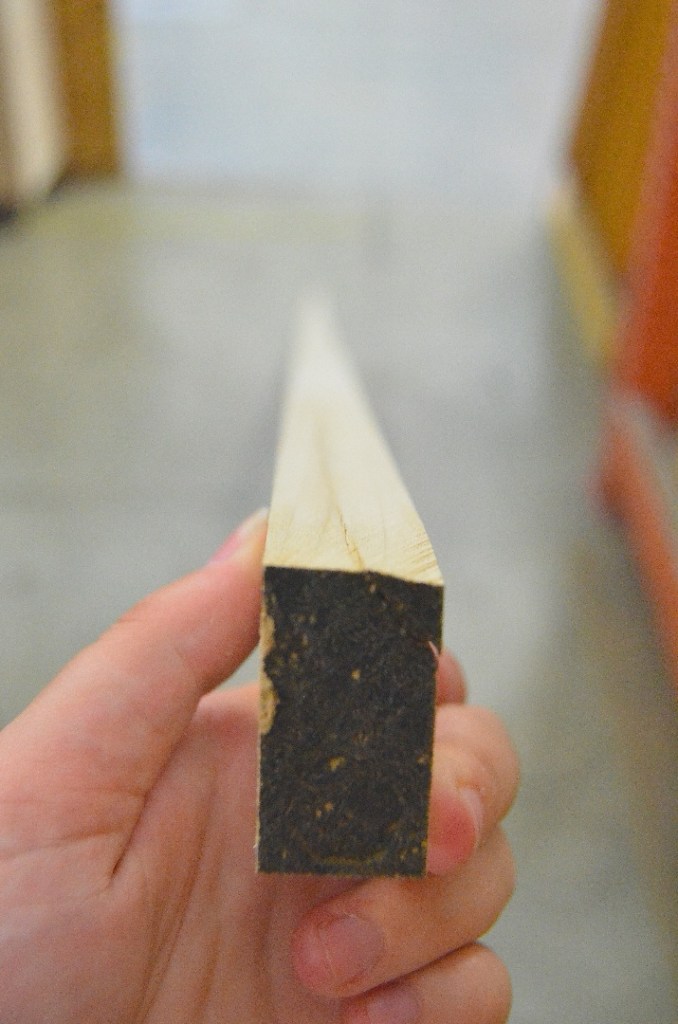
Option 3 : Poplar boards
Smooth finish, can be stained or painted. But slightly pricey. Ideal if you plan to stain the slats.
Option 4 : Cut a plywood sheet
You can also purchase a plywood sheet and rip it to small slats using a table saw, but in interest of keeping this tutorial beginner friendly we are going to skip that method.
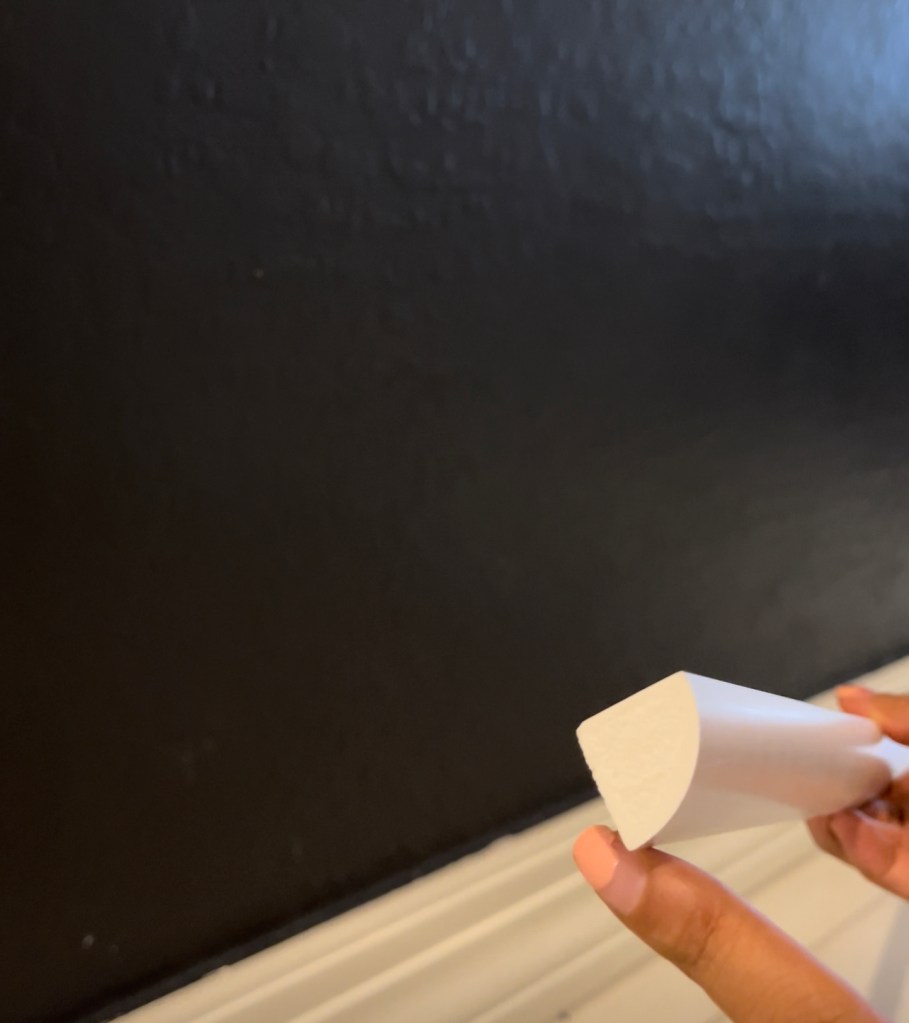
2. Paint the wall
There are many ways to add slats, you could have a contrasting wall and slats, or same colored slats. You can paint the slats or you can stain them. I knew I needed the slats painted so I used primed MDF. If you want to stain the slats them you can either buy common or poplar boards.
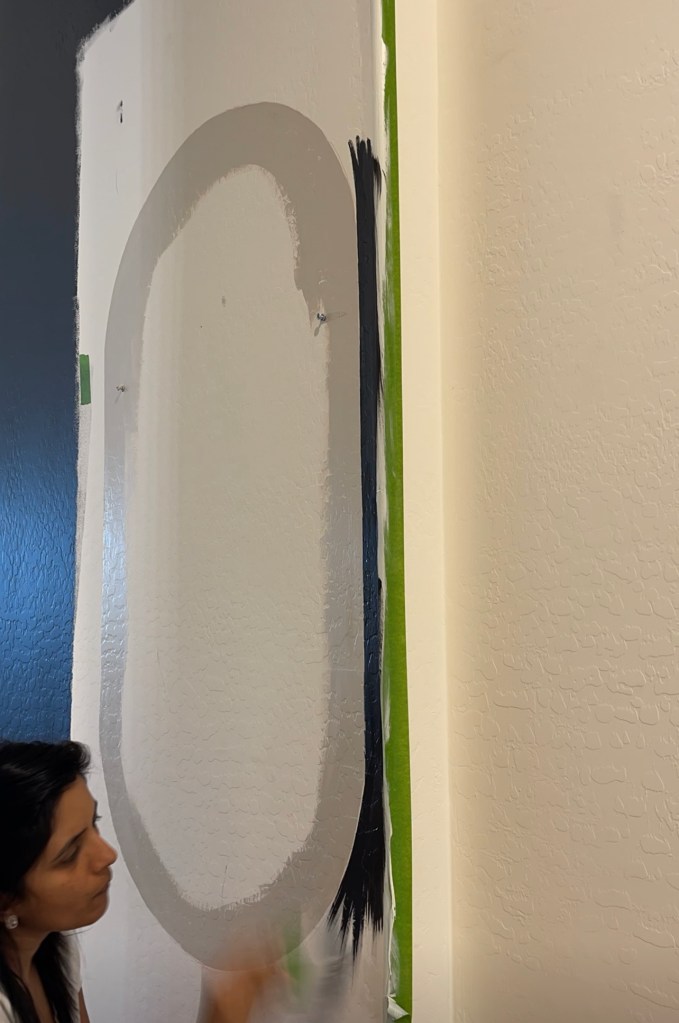
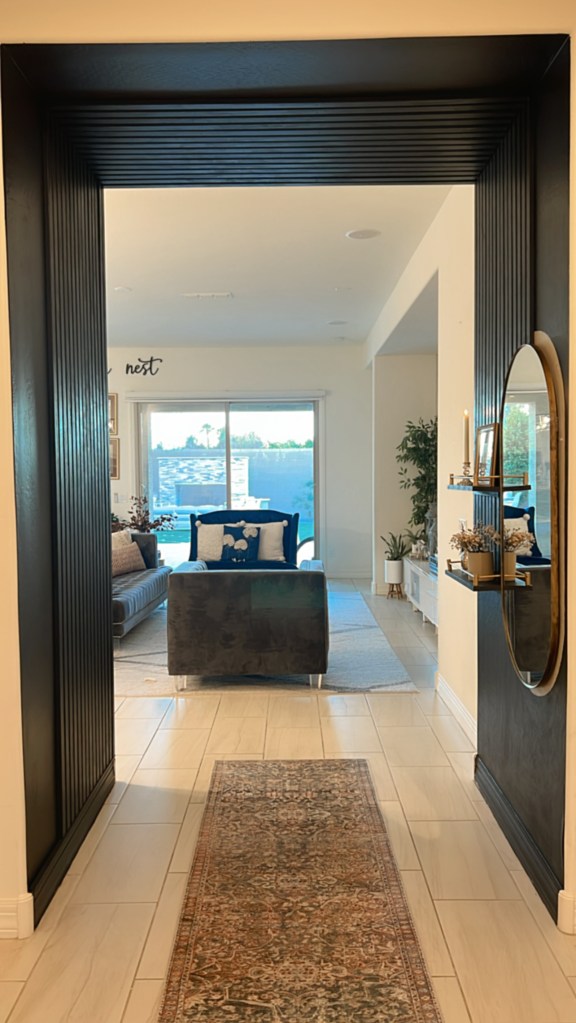
I really wanted this wall to stand out in our long hallway so I decided to go all black. I used color Blackish from Clare paint. I first mounted the mirror to the wall and did a free hand border of about 2″ and painted it with a left over light beige color. Then painted rest of the wall in the new color. I also painted all the slats in the same color.


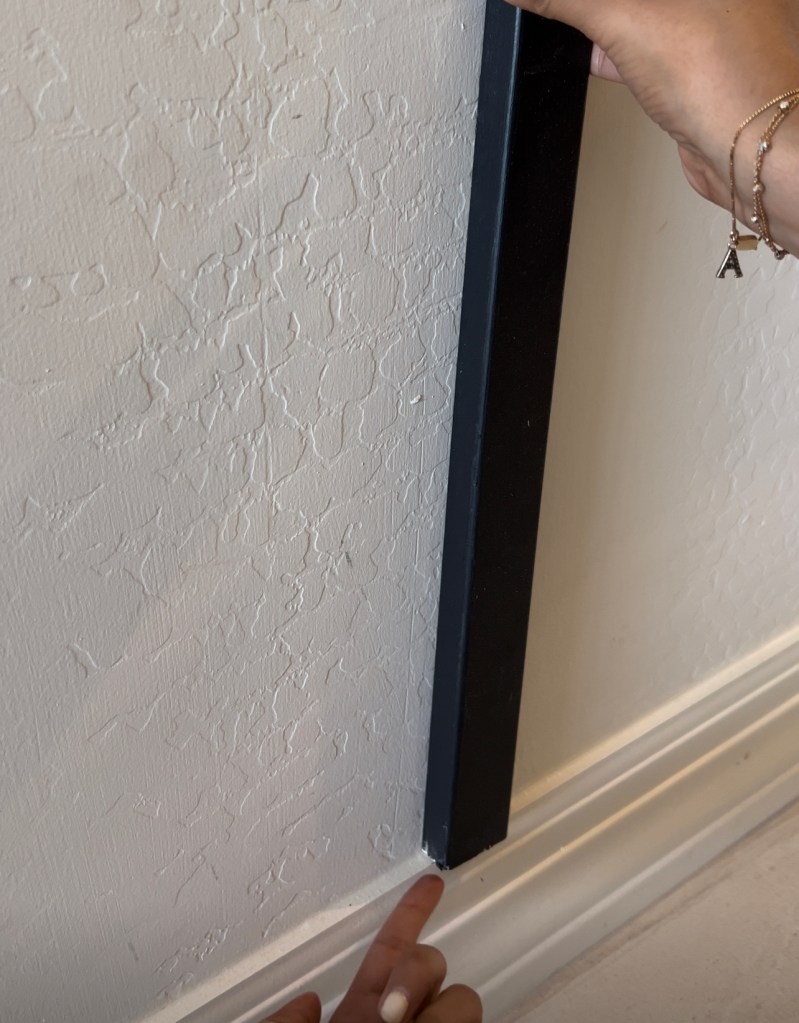
3. Baseboard overhang? Install the quarter round
Now that we have the walls and slats ready, let’s begin the install. Since our slats are approx 3/4 thick, installing them over your baseboards will create an overhang. One option is to rip of the baseboards and install thicker ones. OR the second and my favorite option is to use a 3/4in quarter round to extend the baseboards and create a lip for your slats to sit on.
Cut your quarter round to the length of your wall. Now place one flat side facing the wall and other flat side facing up. You should have the rounded edge facing you. Now nail it to the wall using your brad nailer making sure to hit as many studs as possible. Caulk the edges where the baseboard meets the quarter round. The end result is so clean and professional, no one can ever tell the baseboard wasn’t ripped out.

4. Prep and cut the slats
Now that we have the area prepped for our slats, measure and cut the slats to length. You can either cut it using a miter saw or a Miter box (just $15).
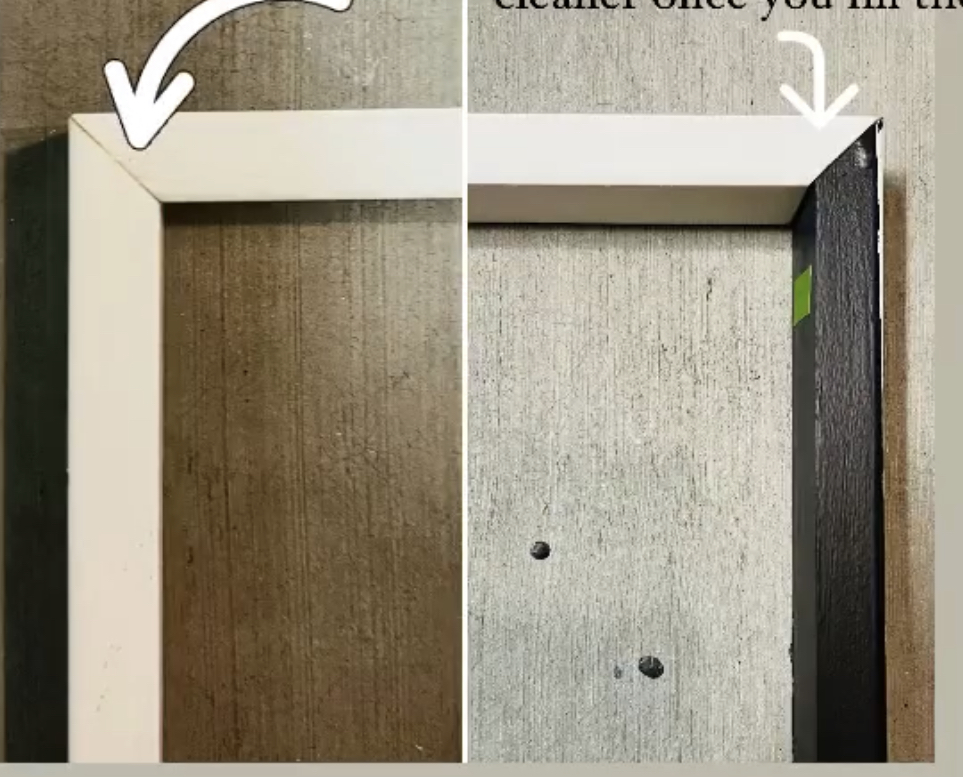
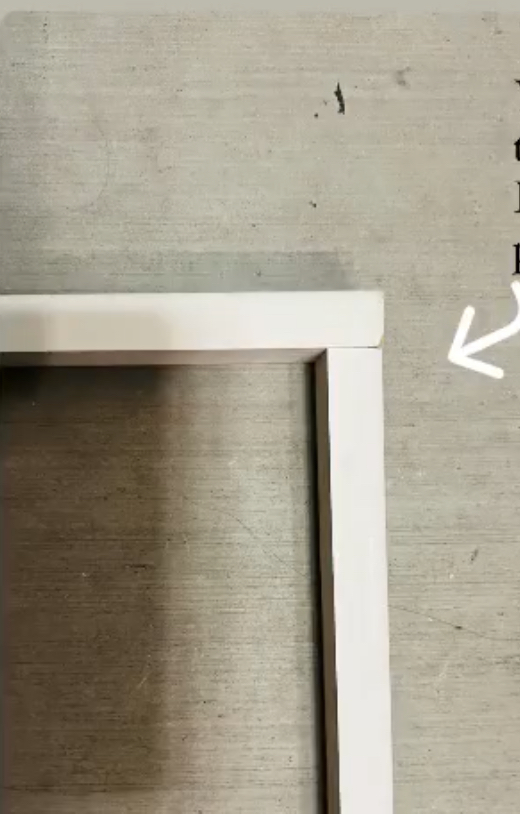
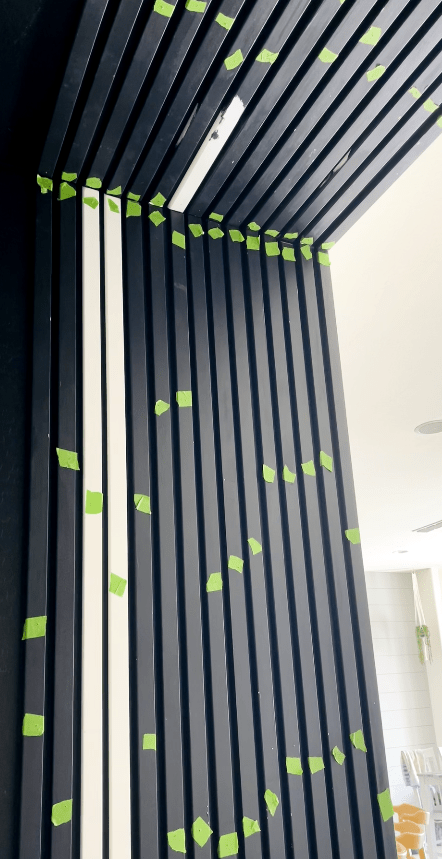
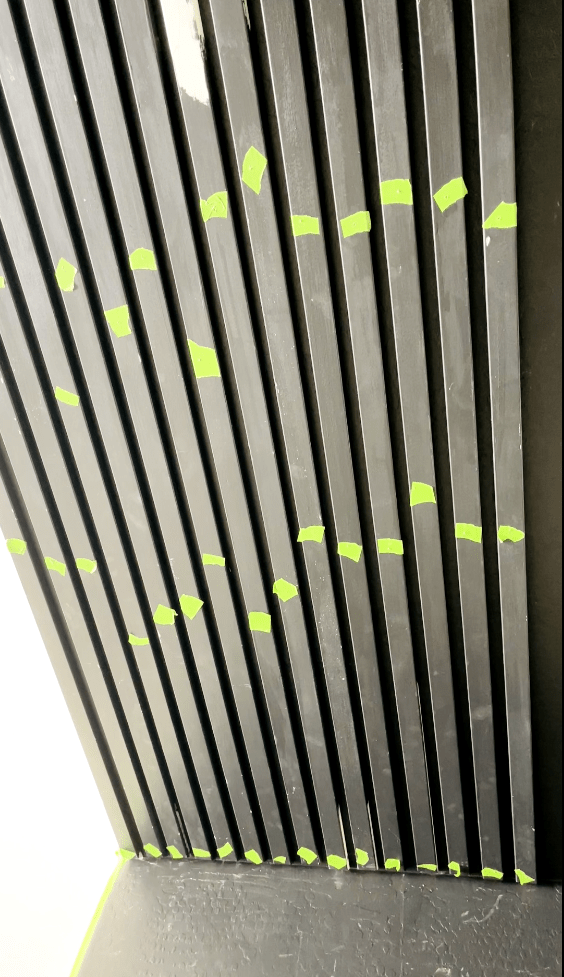
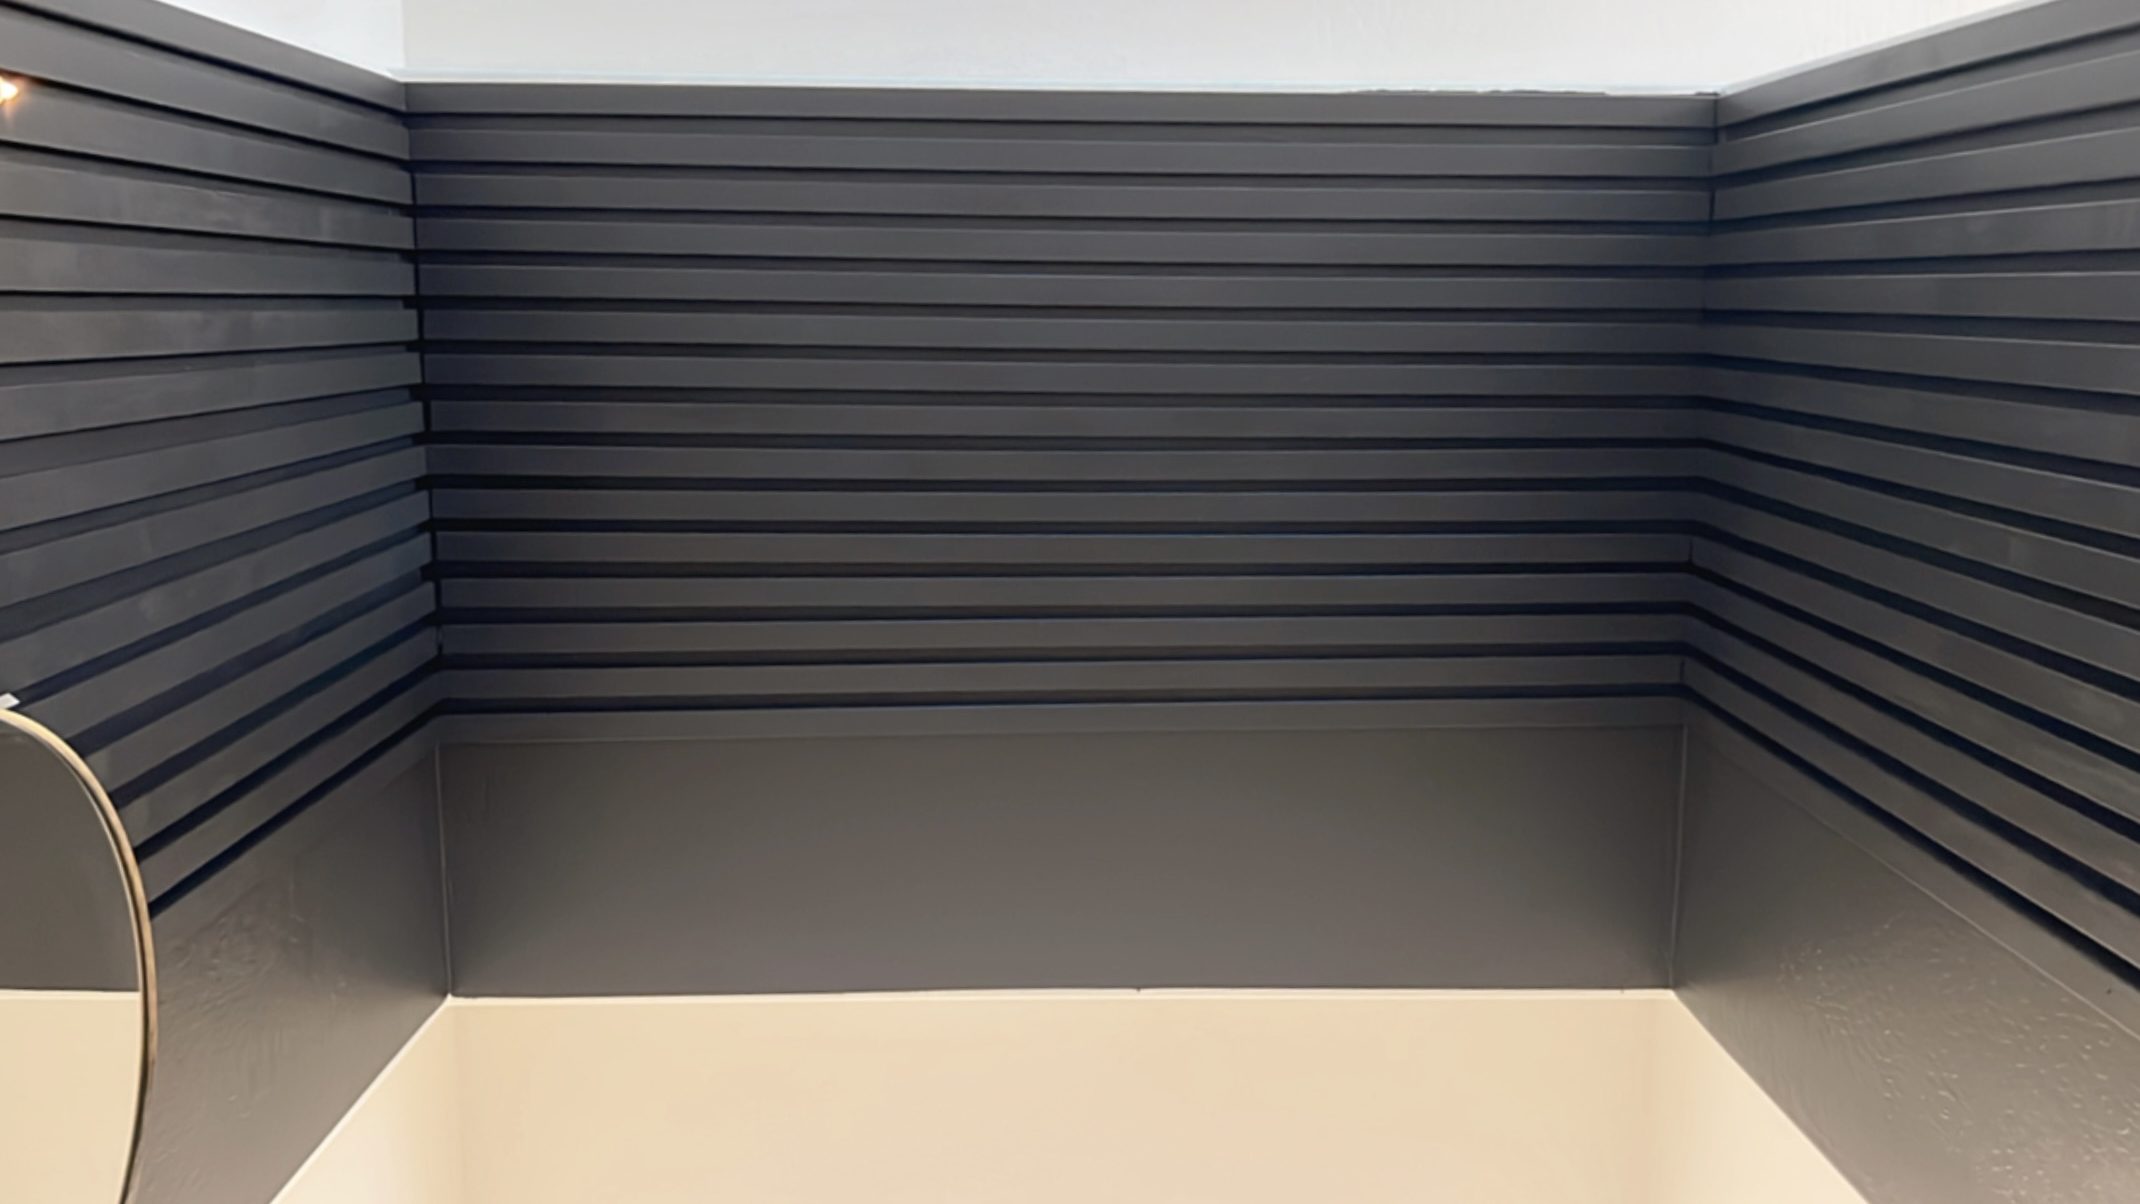
I wanted to take the slats on three sides, so I cut one side at a 45 deg angle. Why? Because when I cut the next slat that goes on the ceiling, I will have the edge meeting this slat at a 45deg angle too and when they join together the seams are almost invisible. See below the example of using butt joints (without the angled cuts) VS Mitered edges. Those gaps will almost disappear after wood filler.
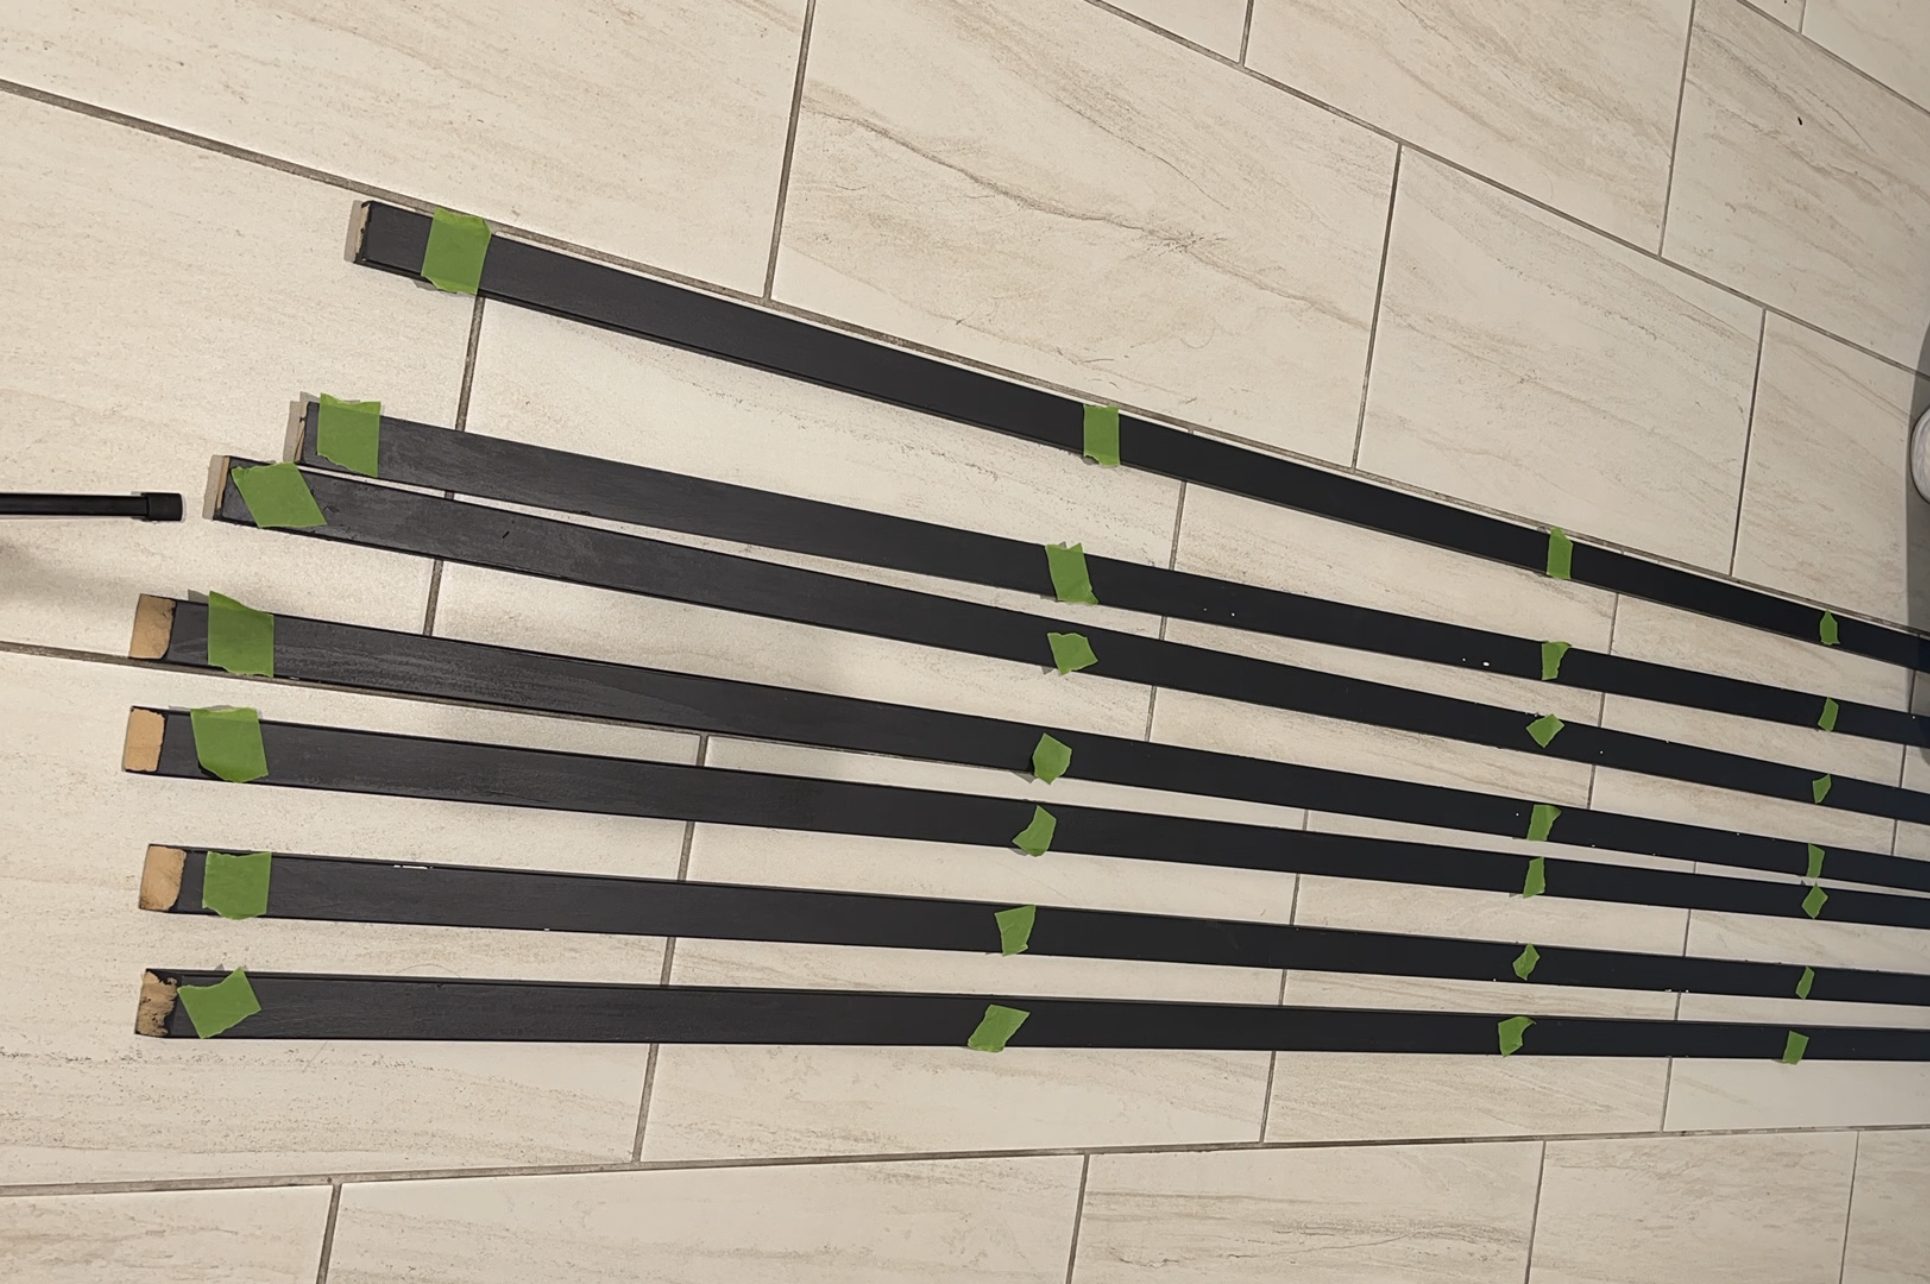
For the ceiling slat, I had both the edges cut at 45 deg angles. And for the third side, I had one side that met the ceiling slat at 45deg and second side remained straight.
Next tape the slats using frogtape. I taped them at approx 2′ apart.
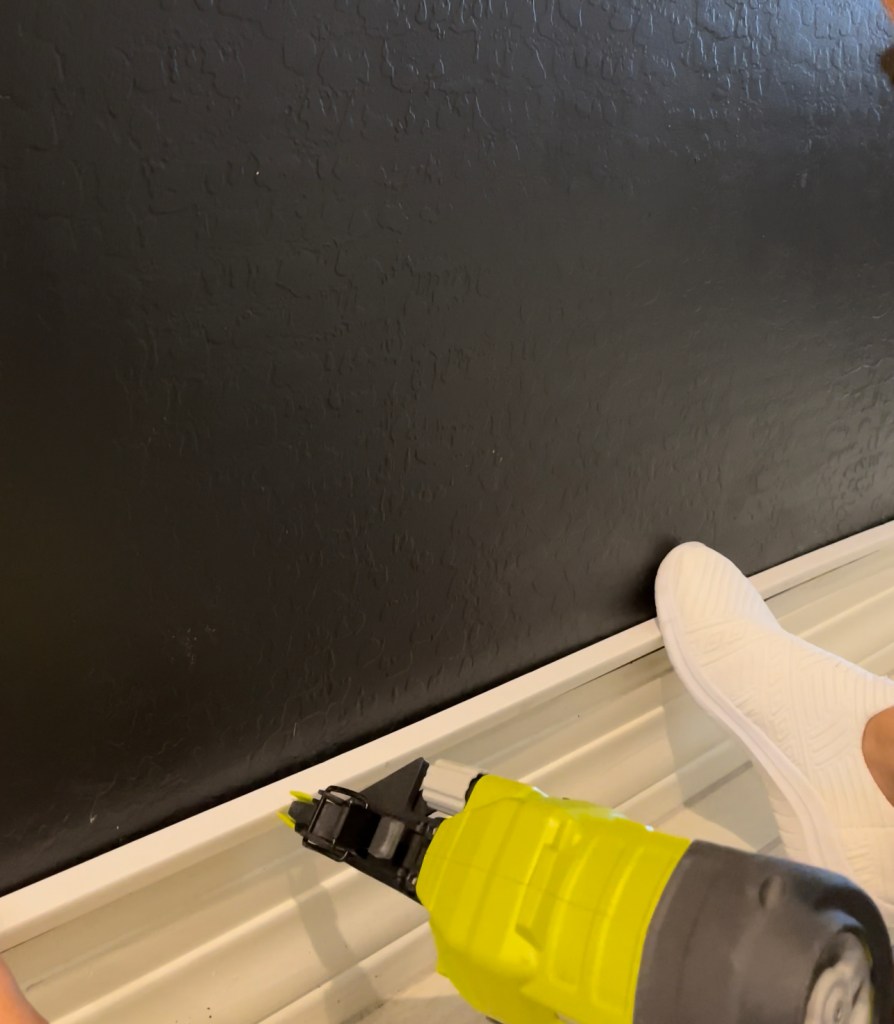
5. Nail the slats
First let’s understand if we should just nail the slats to the wall or apply glue and then nail them. My vote is always NO GLUE! When working on feature walls it’s important to acknowledge that your preference could change few years down the lane and if we use glue, ripping these down will cause significant damage to your walls. Without glue, it would mean just a bunch of holes that can be easily repaired.
Take the first slat and using a level make sure that it is straight. It is super important to get the first slat right as all your slats are going align based on this. When nailing the slats you want to hit the studs so they are well secured. but typically stud are 16 or 24 inches apart so there are chances that you may not hit the stud on each slat. To ensure the slats still stay secure, nail them at an angle where you have taped the slat. I nailed them on alternate angles, like say first one I have the nailer tilted on the right side the next one I will tilt the nailer on left side. Creating this criss-cross pattern will ensure the boards are super secure.

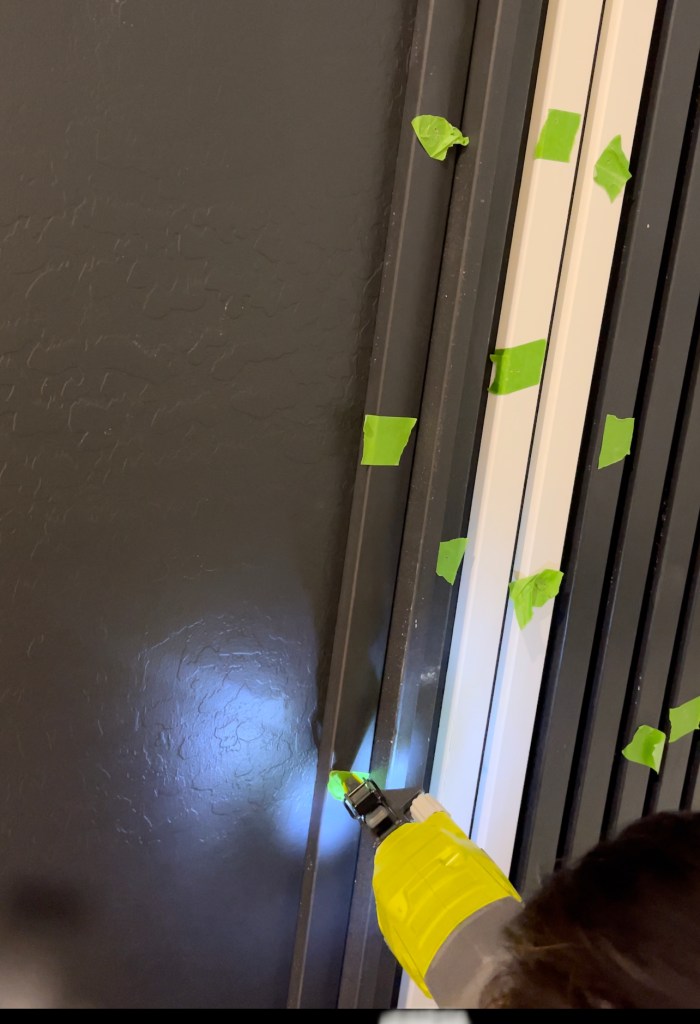

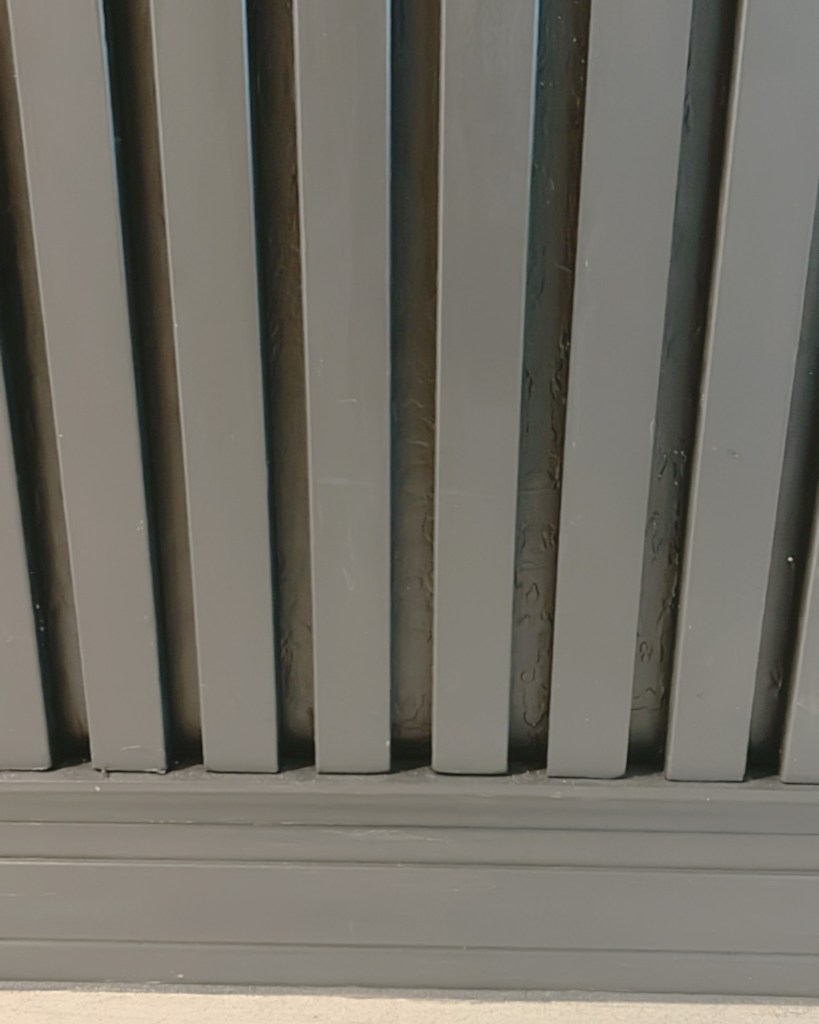
Once the first slat is up, use a scrap slat to add gap between the slats. I’ve found that it’s easiest to install repeating trim work if I use a spacer. For the slat wall, I cut one of the slats slightly shorter than the rest and used it as a spacer. This would ensure that the wood slats and spacing were the same. The spacer was cut shorter than the slats so that it would be easier to remove once the slat was installed. I nailed the next slat again using the criss-cross pattern. Once the slat was secure, I removed the spacer and moved on to the next!
Repeat the process with the other two sides and secure all the slats to the wall.

6. Caulking, nail holes and paint touch-ups
Now that all the slats are installed, I like to caulk the first and last slat to give it a more finished look. Also, make sure you have caulked where the baseboard meets quarter round.
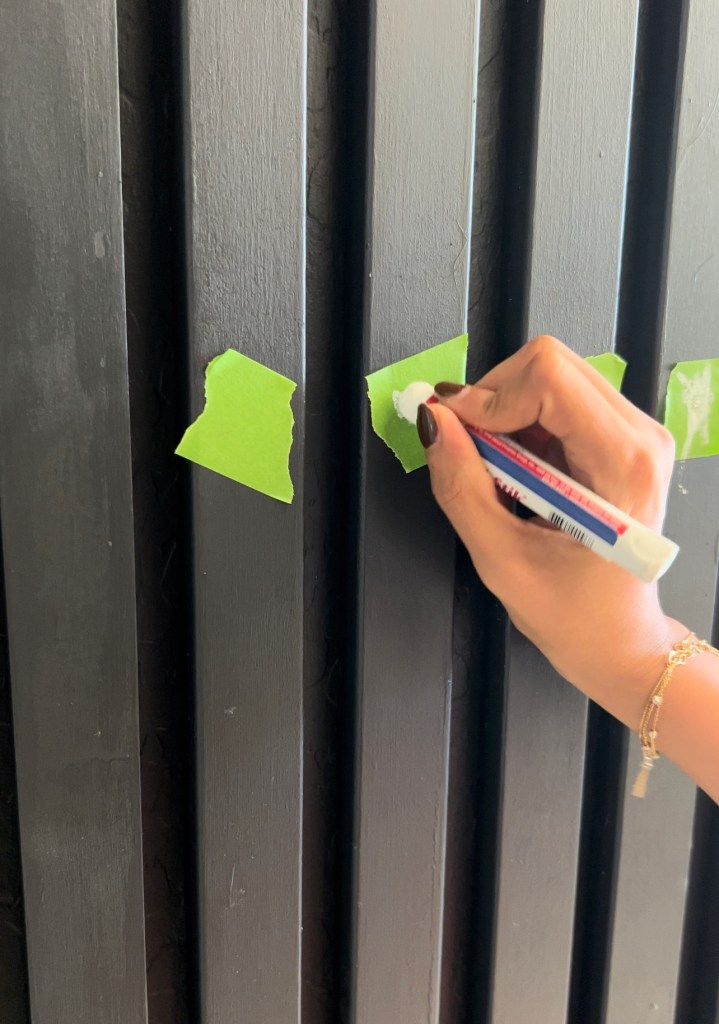
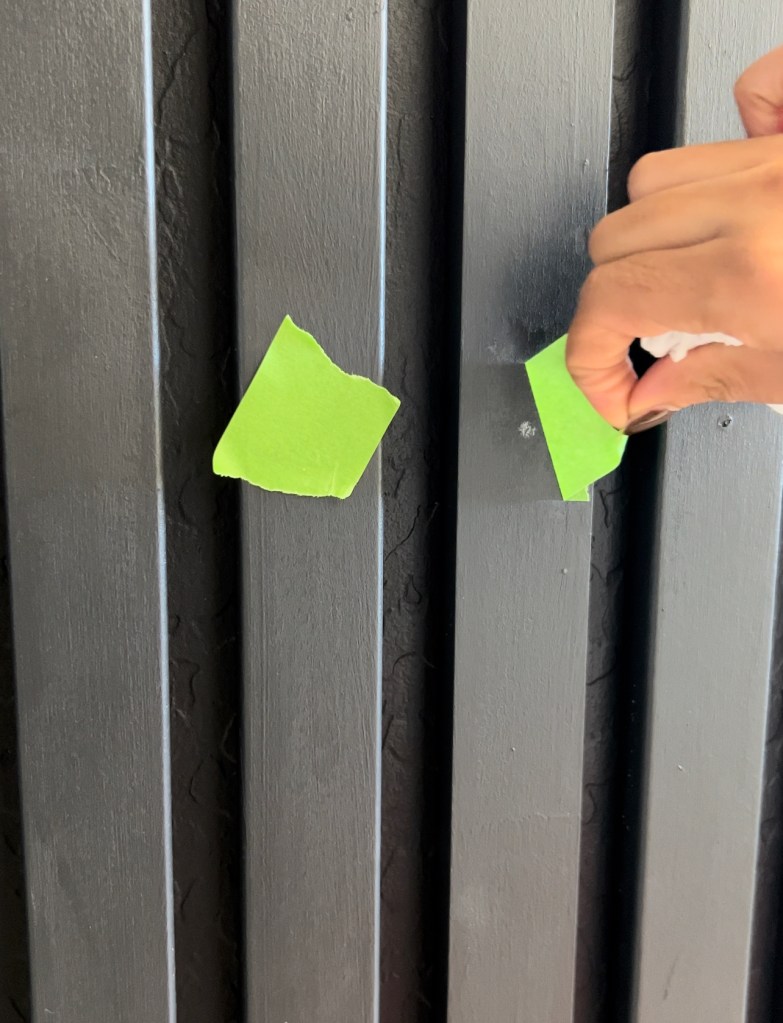
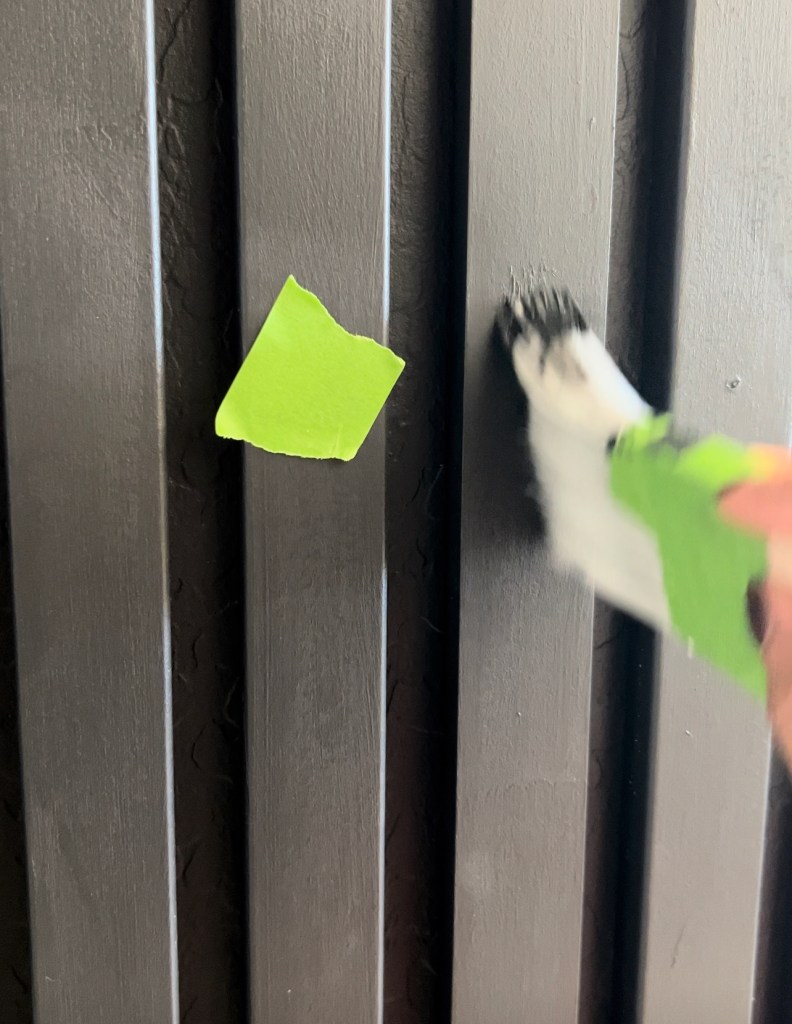
Next, time to fill in all the nail holes. Sometimes nails may have slightly popped out, in cases like these I prefer to use a nail setter. A nail set is a small metal tool that allows you to hammer the finish nail flush to, or slightly below, the surface of the wood while keeping the hammerhead a safe distance away. Once the nails are set, I used a fill stick to fill nail holes, it as easy as scribbling with a pen. You just scribble with the stick on the painters tape where you have nailed the wall. Now just peel off the tape and paint over. It’s such an easy hack to fill nail holes without sanding or smudging! Saves SO much time!
AND there you have it a stunning feature that was easy to whip and so satisfying to try ! I am SO obsessed with how the slats look. I have them all around our home. One in our primary bedroom, next in my laundry and this is the third one in our hallway… 😉
Love this idea? Follow me on Instagram for many such ideas!!
7 responses to “DIY affordable slat wall”
-
Wow! I have been trying to calculate how many and how to put up a slat wall on my own. I am so impresseed by your blog. This is exactly what I’m doingto my wall. Thnak you
!LikeLike
-
I am so glad this helps you out! Good luck with your accent wall!!
LikeLike
-
saw a few hacks.. lol thanks ill update you on my project
LikeLike
-
this is an awesome idea. I realized once I was at the end of the page that the mirror alignment is on some other level. Holy cow that’s such a good idea. I love the effect once everything is aligned properly. I have been a carpenter in the Philadelphia area for 15 years now mostly commercial construction, never have I seen a technique like this. It is so cool to see a design from the mind so clever anyhow, well done! And thank you for sharing. Dan
LikeLike
-
Thank you so much! I am so glad that you found this technique useful. Means a lot coming from such an experienced carpenter! Thanks!!!
LikeLike
-
At first I liked the idea of the 3/4″ quarter round turned flat side up on top of baseboard. But when looking at pic it looks like a dust trap. But then however you finish there will be a dust trap. 😐
LikeLike
-
I was worried about it too.. but happy to report that 3 years of installing this and never had to clean it yet!
LikeLike
Share this:

Categories: Accent Wall, Beginner Friendly, DIY

Leave a comment