
Saturday morning and I am in midst of chaos for hosting my daughter’s birthday party and our little dictator comes up with a last minute request!
“Mumma, can you make something fancy where my friends and I can take nice pictures? PLEASEEEEEE… It’s my birthday!! “.
Parenting is an art of concealing your emotions to say “Go to hell!!!” especially to these humans you have created!! Believe me I am losing my mind, one kid at a time!!
But like all mamma’s I had to oblige to this unreasonable request because we never win against these negotiators!!
I bought this pack of crepe papers months ago because I saw some viral tiktok on making paper flowers. Guess what, 5 months down, and I haven’t even opened them yet. It was time to put them to use!

Materials:
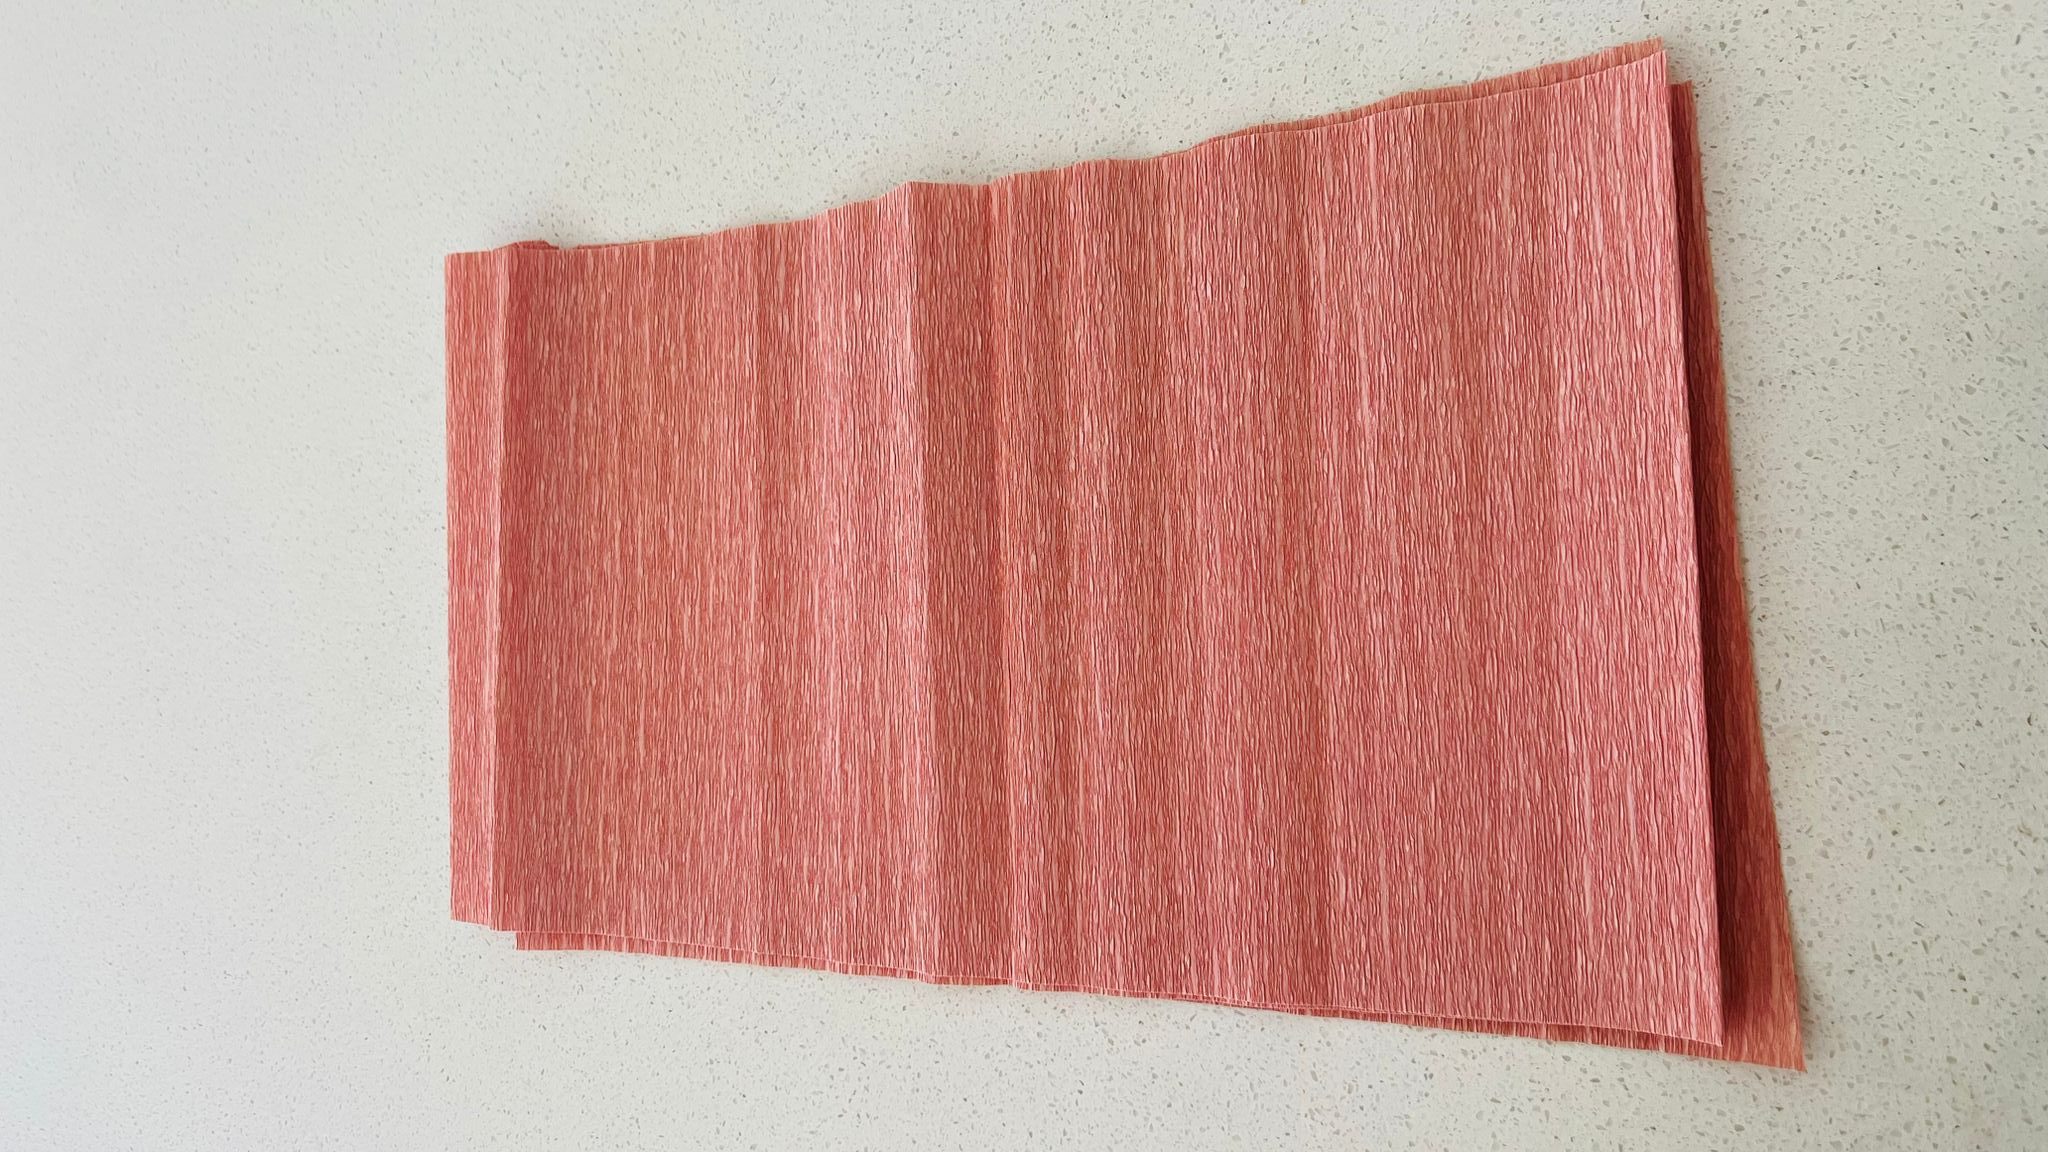
- Crepe paper rolls (in your desired colors). Mine are from Amazon.
- Scissors
- Clear packing tape or twine
- Frame or a sturdy base to attach the backdrop
That’s it!!!
Step 1: Purchase crepe paper rolls in the colors of your choice from Amazon or any local craft store. Getting premium quality paper is key, the ones I got came as a package with 8 rolls of large sized crepe paper streamers in 4 colors, each 20-inches in width and 6.56-feet in length. I used 3 of those colors for my backdrop.
Step 2: First start with cutting the roll into half. You should now have two 10″ rolls from one large roll.

Step 3 : Now, Fold your crepe paper (as pictured below). By folding the paper, you can make several cuts at once and not have to cut the full length of the streamers!
Step 4 : Cut the crepe paper into strips, approximately 4 inches long and at every 1/2 inch on your crepe paper. Do this on both the sides. This will create a fringe effect that adds texture and depth to the backdrop.

Step 5 : Unfold the crepe paper and lay it flat. Apply clear tape on one end. If you are attaching it to a frame then add some twine. Repeat this process with all the crepe paper rolls. I used 6 large paper rolls which gave me twelve 10″ rolls.
Step 6 : Hold up one of the short edges of the crepe paper and tape it to the top of a frame or an sturdy base that you have chosen for your backdrop. Make sure to secure it tightly so it hangs straight and doesn’t sag.
Step 7 : Now comes the fun part! Take the crepe paper that is hanging down and twist it along its length to introduce a 3rd dimension to the decoration. You can twist it loosely for a more relaxed look or tightly for a more structured appearance. Repeat this process for all the crepe papers that you have cut and attached to the frame. Tape the other side back to your frame.

Step 8 : Hang the twisted crepe papers side by side, slightly overlapping them to create a seamless and cohesive backdrop. You can experiment with different color combinations and lengths to achieve the desired look.
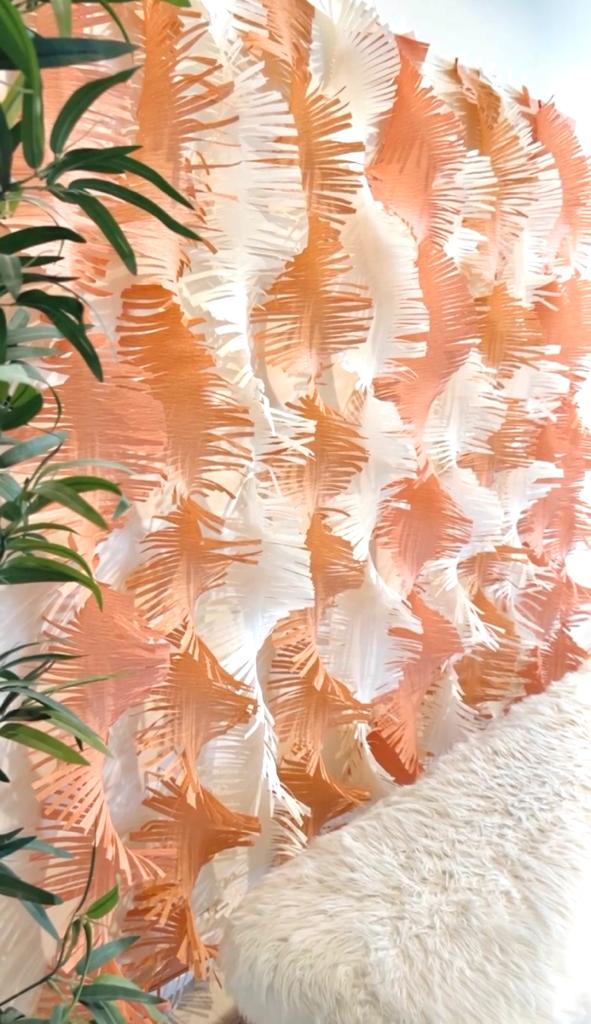
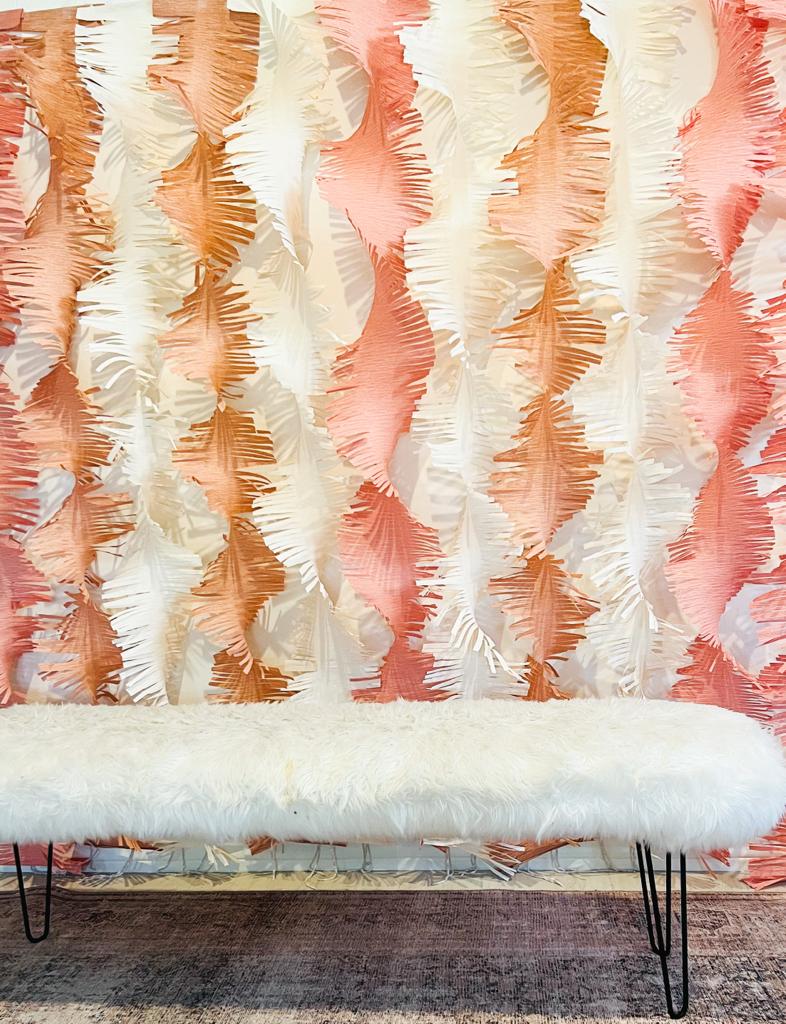
Step 9 : Step back and admire your handiwork! You now have a stunning crepe paper backdrop that adds a pop of color and a touch of whimsy to your event décor.

Conclusion:
With just a few simple steps and minimal supplies, you can create a last-minute DIY crepe paper backdrop that is not only affordable but also adds a unique and eye-catching element to your party decor. Whether it’s for a birthday party, baby shower, or any other special occasion, this backdrop is sure to impress your guests and make your event memorable.
Happy crafting!
Looking for more easy and affordable backdrop ideas, do check out this outdoor glamping idea!
Follow me on my Instagram page for more such creative ideas!
One response to “DIY Fringe streamers backdrop under $25”
-
I’m going to do this next weekend for the bridal shower I’m throwing. Thanks so much for sharing this project and the amazon link!
LikeLike
Share this:

Categories: Beginner Friendly, DIY, Home Decor

Leave a comment