
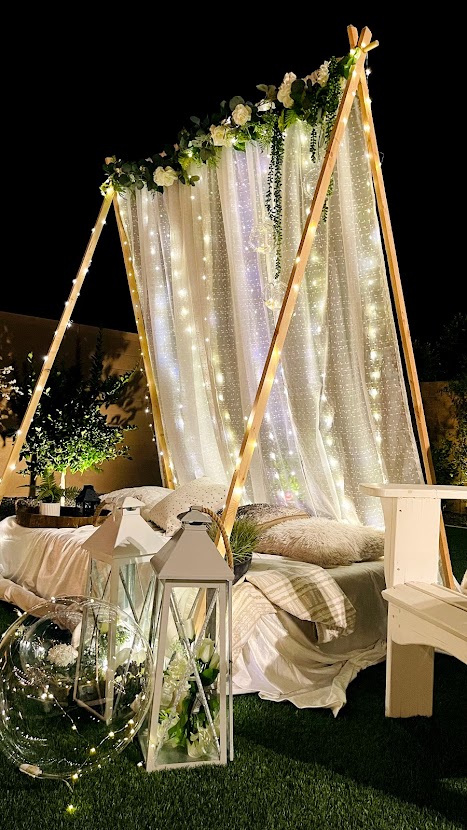
Some myths about DIY I constantly hear – you need lot of equipment’s, expertise, time, patience!! Well I am here to bust them all, a project that almost anyone can attempt. A DIY Glamping tent! Ready in less than an hour!!!
The beauty of this project is – it’s so so versatile. It can be used in your backyard for glamping, or date night, party backdrop for birthdays, baby showers.. possibilities are just endless. I am already dreaming of using it for our Diwali party, this would be just perfect backdrop for some family pictures. WAIT, did I tell you that all you need to build this was a DRILL. Yes, you heard me right… just one basic household tool!!
Let’s get to it!!

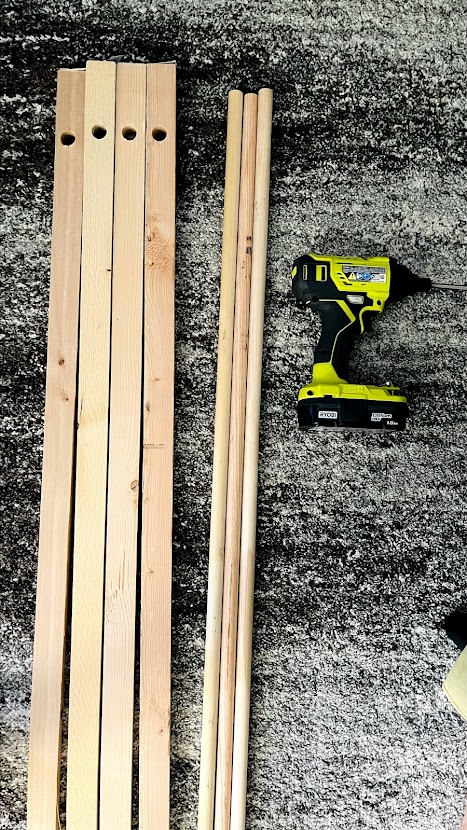
You need
Drill – I use THIS.
4 – 1x2x8ft furring strip boards.
Decor I Used
For Variation 2
- Start by marking 6″ from the top and 2.5″ from the bottom of each 1×2 board. 6″ hole will act as your top section for tent and 2.5″ would be our bottom. Drill holes on these markings using a 3/4in drill bit. Repeat for each board. This is pretty much all that is needed from your drill.
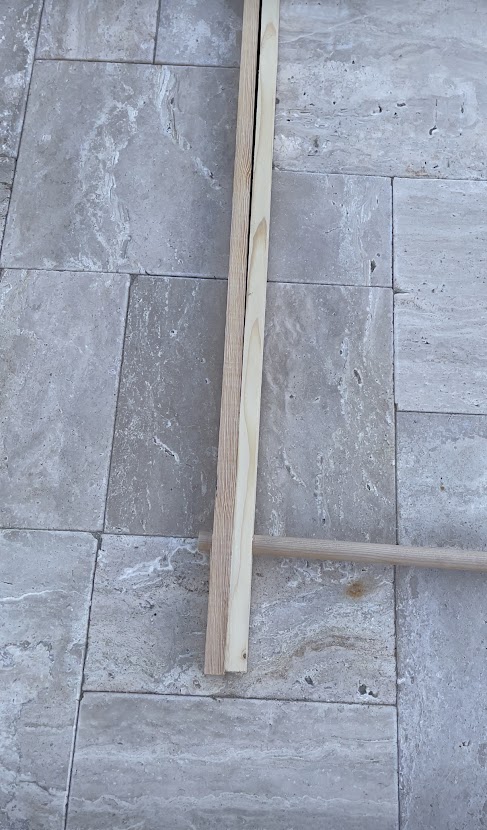
- Sand the drilled holes and boards to be sure it’s smooth. You don’t want your background fabric damaged due to any rough edges.
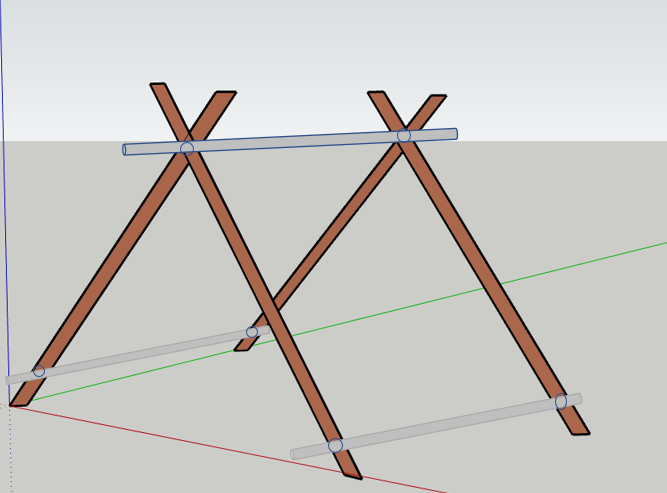
- Now, let’s get to assembling. Start by placing two boards on top of each other making sure drilled holes are aligned. Now take your first dowel and insert it through the top 6″ hole.. use few clockwise twist motions get them pass through both. Leave around 2inch overflow for stability.
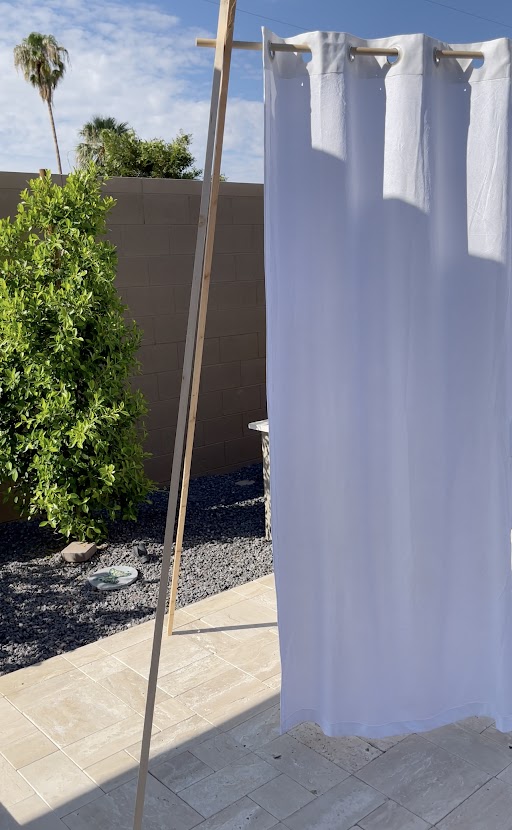
- Take your backdrop curtain and slide them in through the dowel. I used 9′ long sheer curtain. This step is completely optional and can be customized to your needs.
- Take the next two boards and attach it to the other side in similar manner like above making sure that you leave atleast 2″ overhang on the other side too. At this point you should have the tent standing with the backdrop curtain.
- Adjust the tent to your desired length. Take the second dowel and attach it to the lower holes on one side and repeat the process for the third dowel. Your tent is now ready to glam!
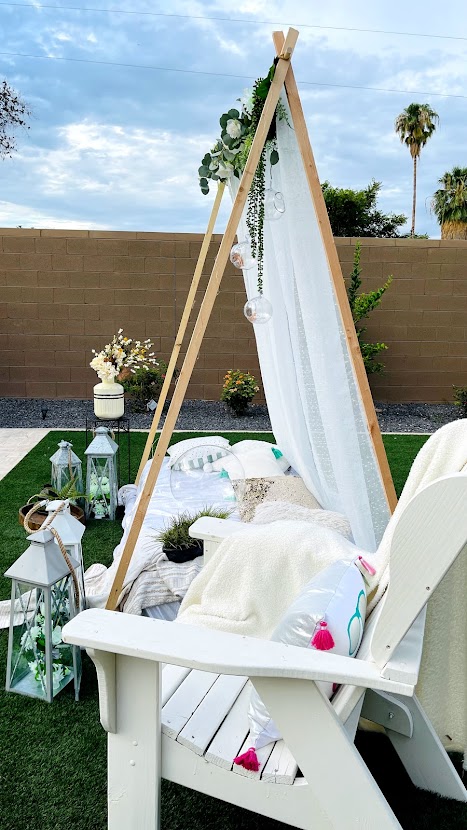
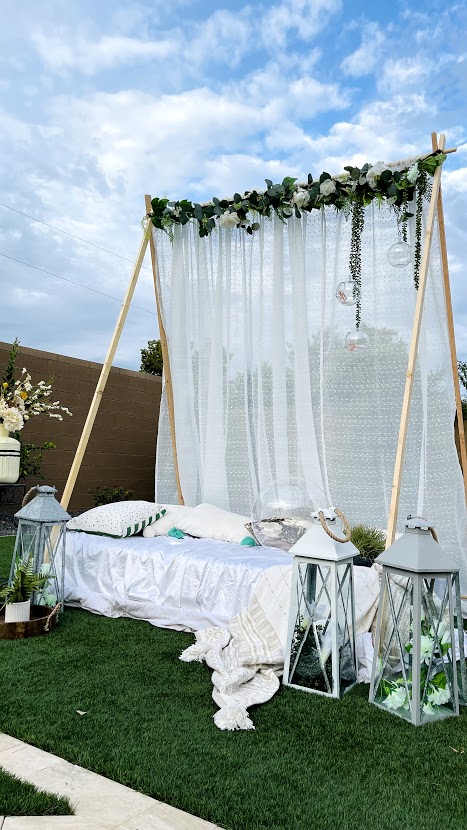
- Added a kids mattress at the bottom, covered it with some sheets. Vines, globes and fairly lights on the top. Tada! We are ready for a peaceful and fun family time!!
I have a entire story highlight saved on Instagram detailing the process.

If you ever try this, do tag me. I would LOVE to see your versions!!
Update:
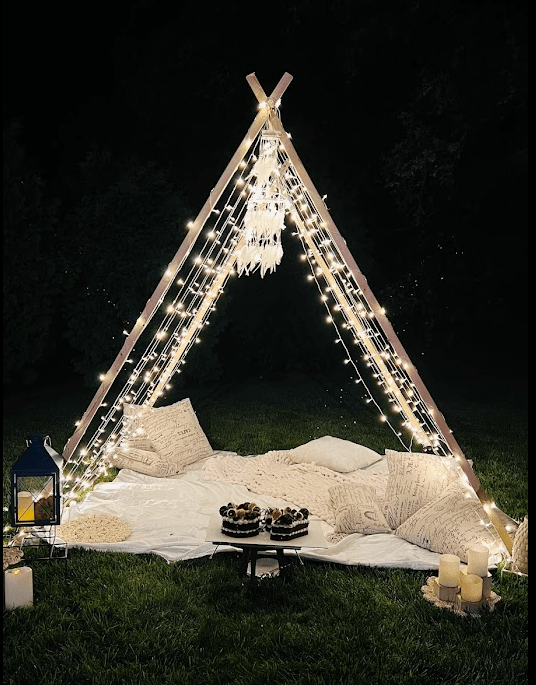
I tried this setup with a variation for my Brother in laws 40th birthday and it was such a hit! I used the same tent setup but just switched the directions and decked it with lights. This DIY is so versatile and can be customized so easily!! And it took us less than an hour to set this up! The only decor I used for the Variation 2 setup is
4 responses to “Easy DIY Glamping/Backdrop Idea”
-
Beautiful.
I want to try my hands on it. I’ve a small question – does the bottom not slide, I mean how does it remain intact?LikeLike
-
Beautiful.
I want to try my hands on it. I’ve a small question – does the bottom not slide, I mean how does it remain intact?LikeLike
-
Hey.. no it doesn’t slide if you are on ground. I had once set this up for my kids party and to be safe I just tied the front and back legs using a rope.
LikeLike
-
[…] blank canvas for creating the ambiance and aesthetic of your event. With the right decor elements, you can transform a simple tent into a stunning backdrop that reflects your theme and style. From elegant drapery and lighting to floral arrangements and furnishings, the possibilities for […]
LikeLike
Share this:

Categories: Beginner Friendly, DIY, Easy Build

Leave a comment