
Last year world saw the most unexpected times with COVID. After crazy initial few weeks we slowly got the hang of this new normal. Fast forward to end of the year, I came across THIS gorgeous chandelier by Pottery barn. But that price tag!! $800 before shipping and tax! No way!! Well.. It just stuck in my mind for weeks until I decided to act on it. With holidays approaching and no where to go I thought I could totally DIY this.
I researched a lot and found few posts that helped me draw myself more towards giving this a shot! I knew this involved a lot of sewing, so well with Christmas holidays approaching I knew the right crew to help tackle this. aka Kids 😉
I have summarized things that worked for me and tips and tricks I learnt on the go!

Materials
10 mm wooden beads 4 packages of 1000 (there will be leftovers but this is cheaper)
14 mm wooden beads 6 packages of 200
16 mm wooden beads 4 packages of 200
20 mm wooden beads 5 packages of 100
25 mm wooden beads 7 packages of 50
Baker’s twine or cotton yarn in at least 400 feet
Scissors
Two 18″ quilting hoops (I found these cheaper at Hobby Lobby)
Two 23″ quilting hoops
Sewing needle with large eye
Small saw (to cut the embroidery hoops with)
Clamps (4-6 per hoop- you can always do one at a time, too.)
Two 1/4″ metal rods (I found these at Home Depot in the dowel section)
Black chain – I used about 20 inches, but take into account how much you will need.
Optional lights:
Lightbulbs
Okay, let’s get started!
Getting Started
I used the instructions from The House that Lars Built has created, but have also pictured all details below.
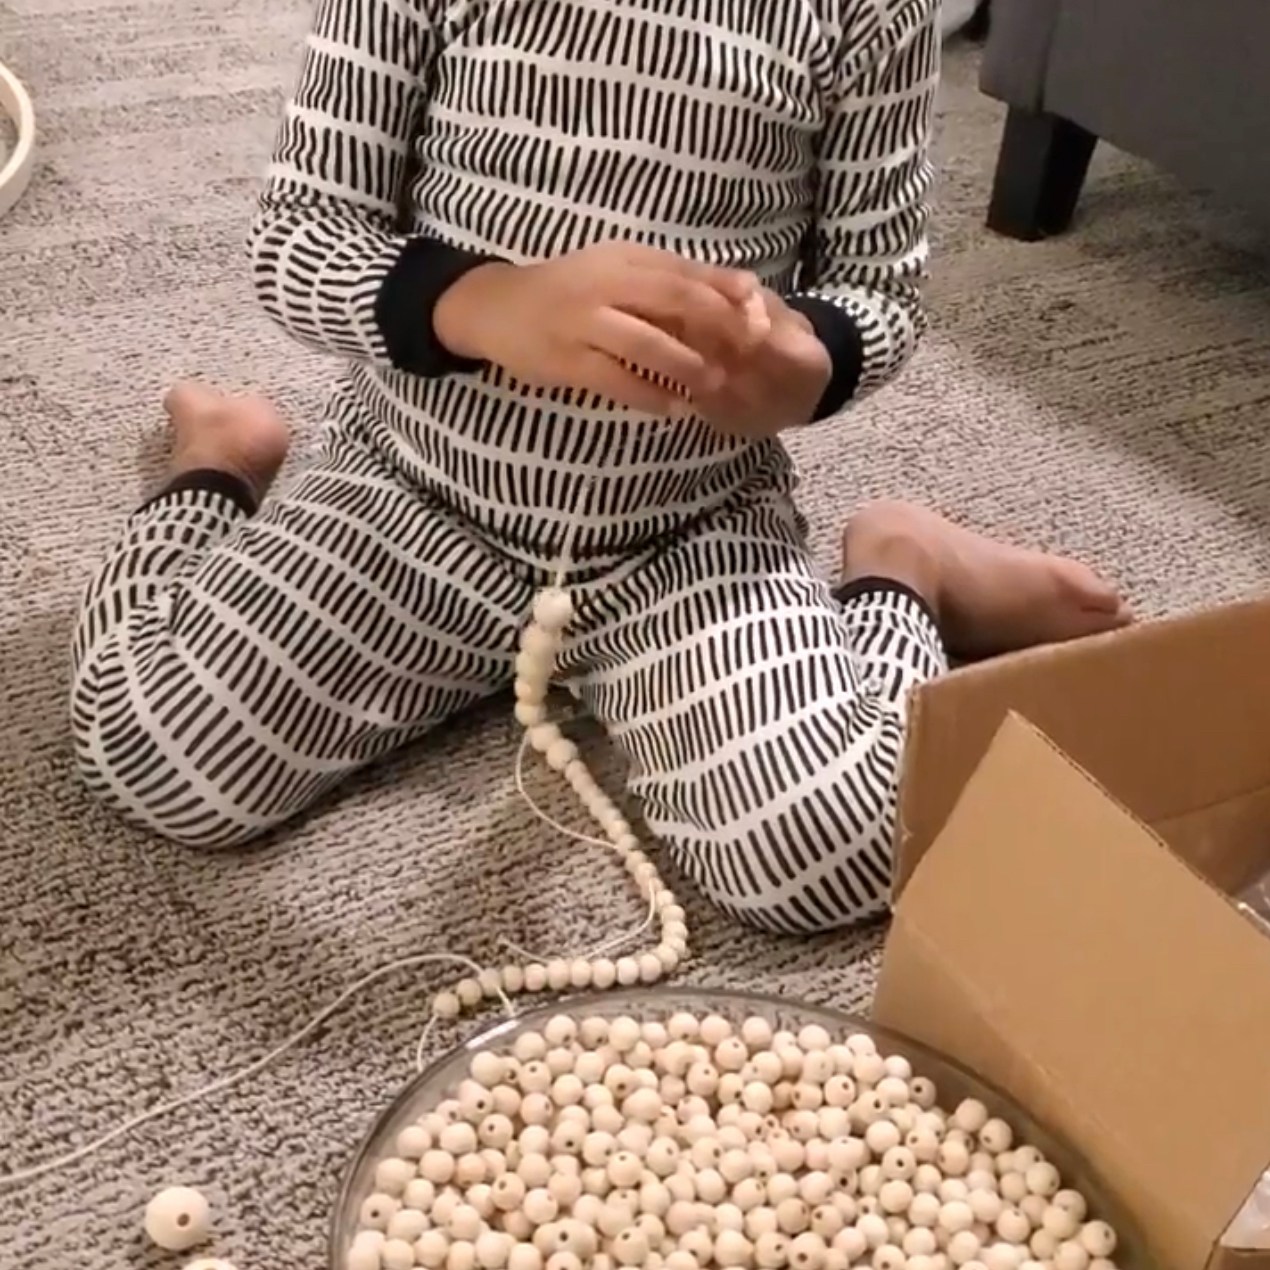
- First sort all the beads in it’s respective bowls, I found it easier to do it that way so I could quickly pick and sew them.
- One string of beads is called a Strand.
- Every U-shaped section of five strands (One in each size) is called a Swag.
Gather your crew and let this party roll!
Pattern for 23″ hoop.
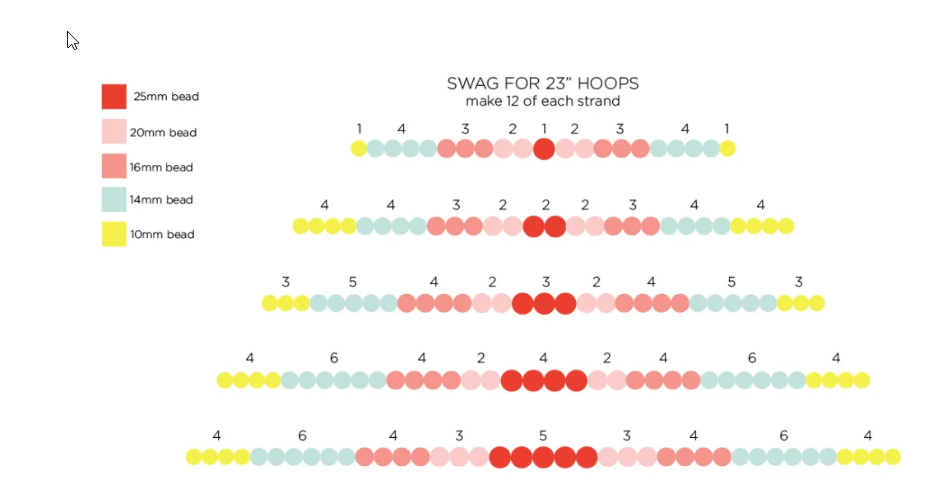
Pattern for 18″ Hoop:

- Prepare the swags.
- Start with making the patterns listed above. You want to make sure that there is atleast 6″ twine left on the ends to tie on the hoop later.
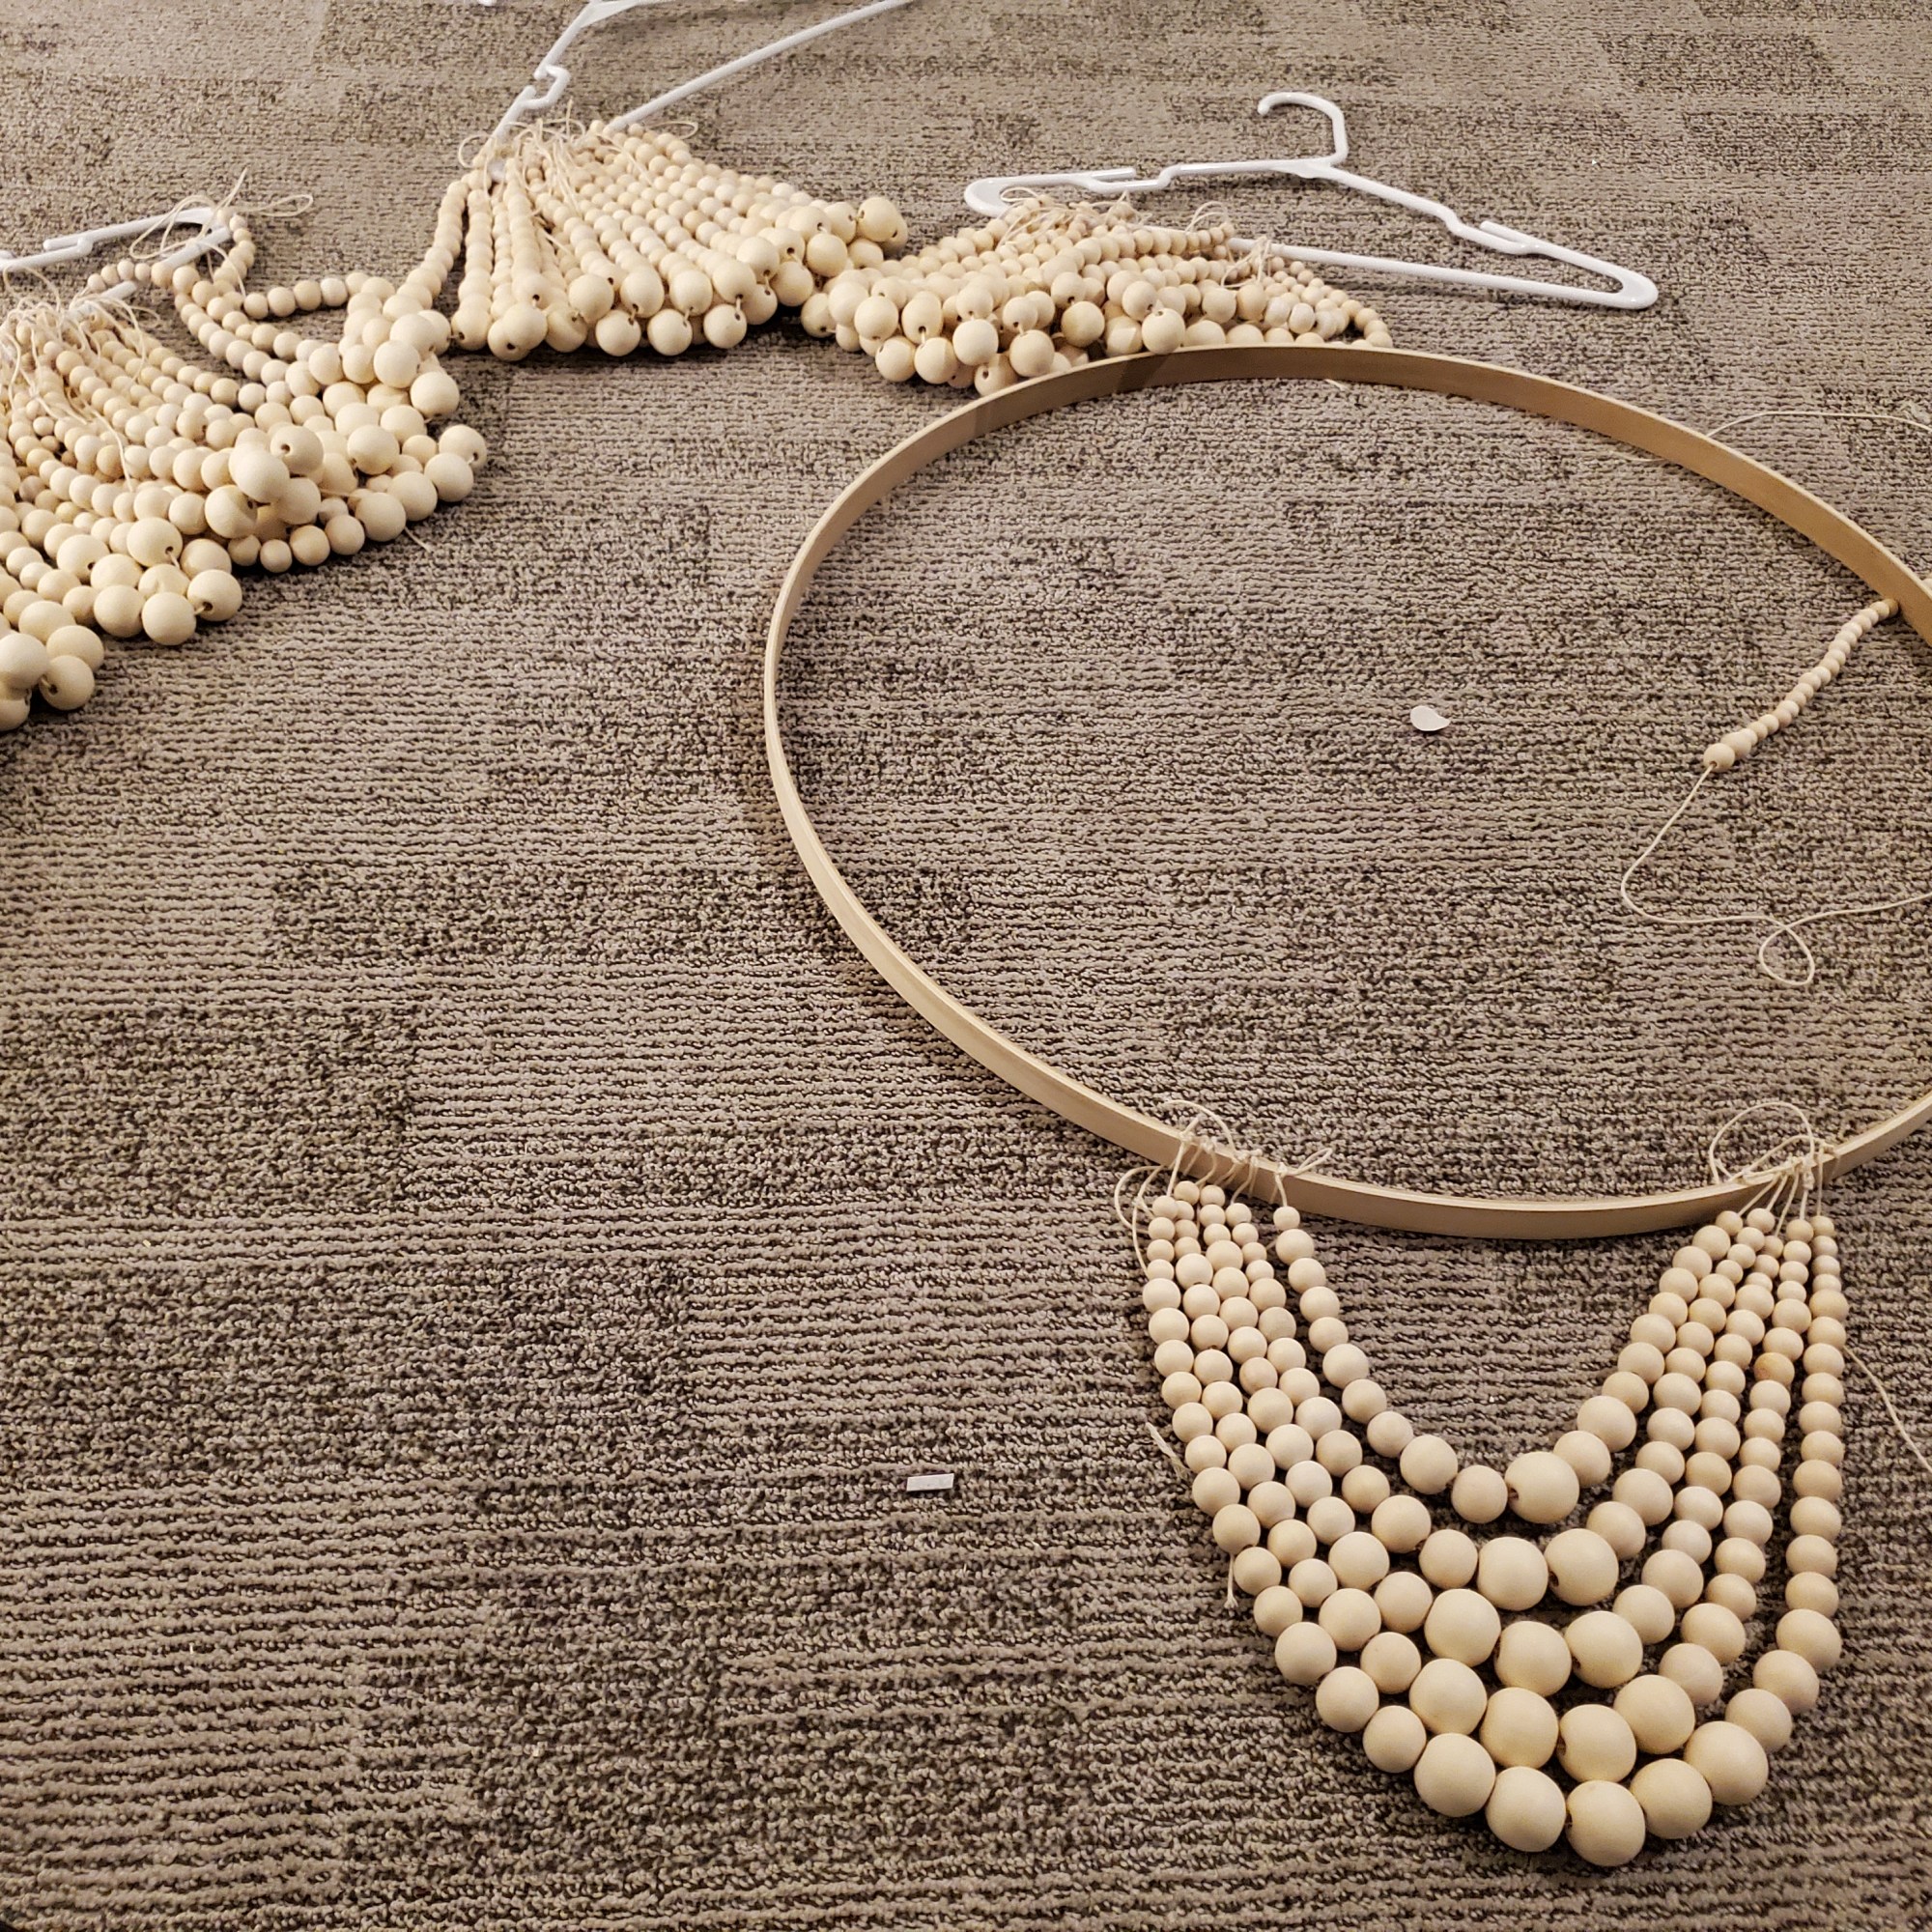
- I found it easier to tie all the finished strands on a hanger together.

- Prep the hoops
- Take your quilting hoops, separate them so that you have one closed hoop that does not open, and one open hoop that is adjustable (and has the clamp on the outside.) So you should have four hoops in each size once you take them apart. Set aside one adjustable 18″ hoop and one adjustable 23″ hoop (the one with the clamp) as you will not need these. You will only be using two closed hoops and one open hoop for each size (18″ and 23″). Now remove the clamps from the hoops, mine came out with little force using other end of the hammer.
- Put your hangers of strands of beads close to you in the order you will be using them as it will make this step go faster. (check my pic above)
- Tying the strands.
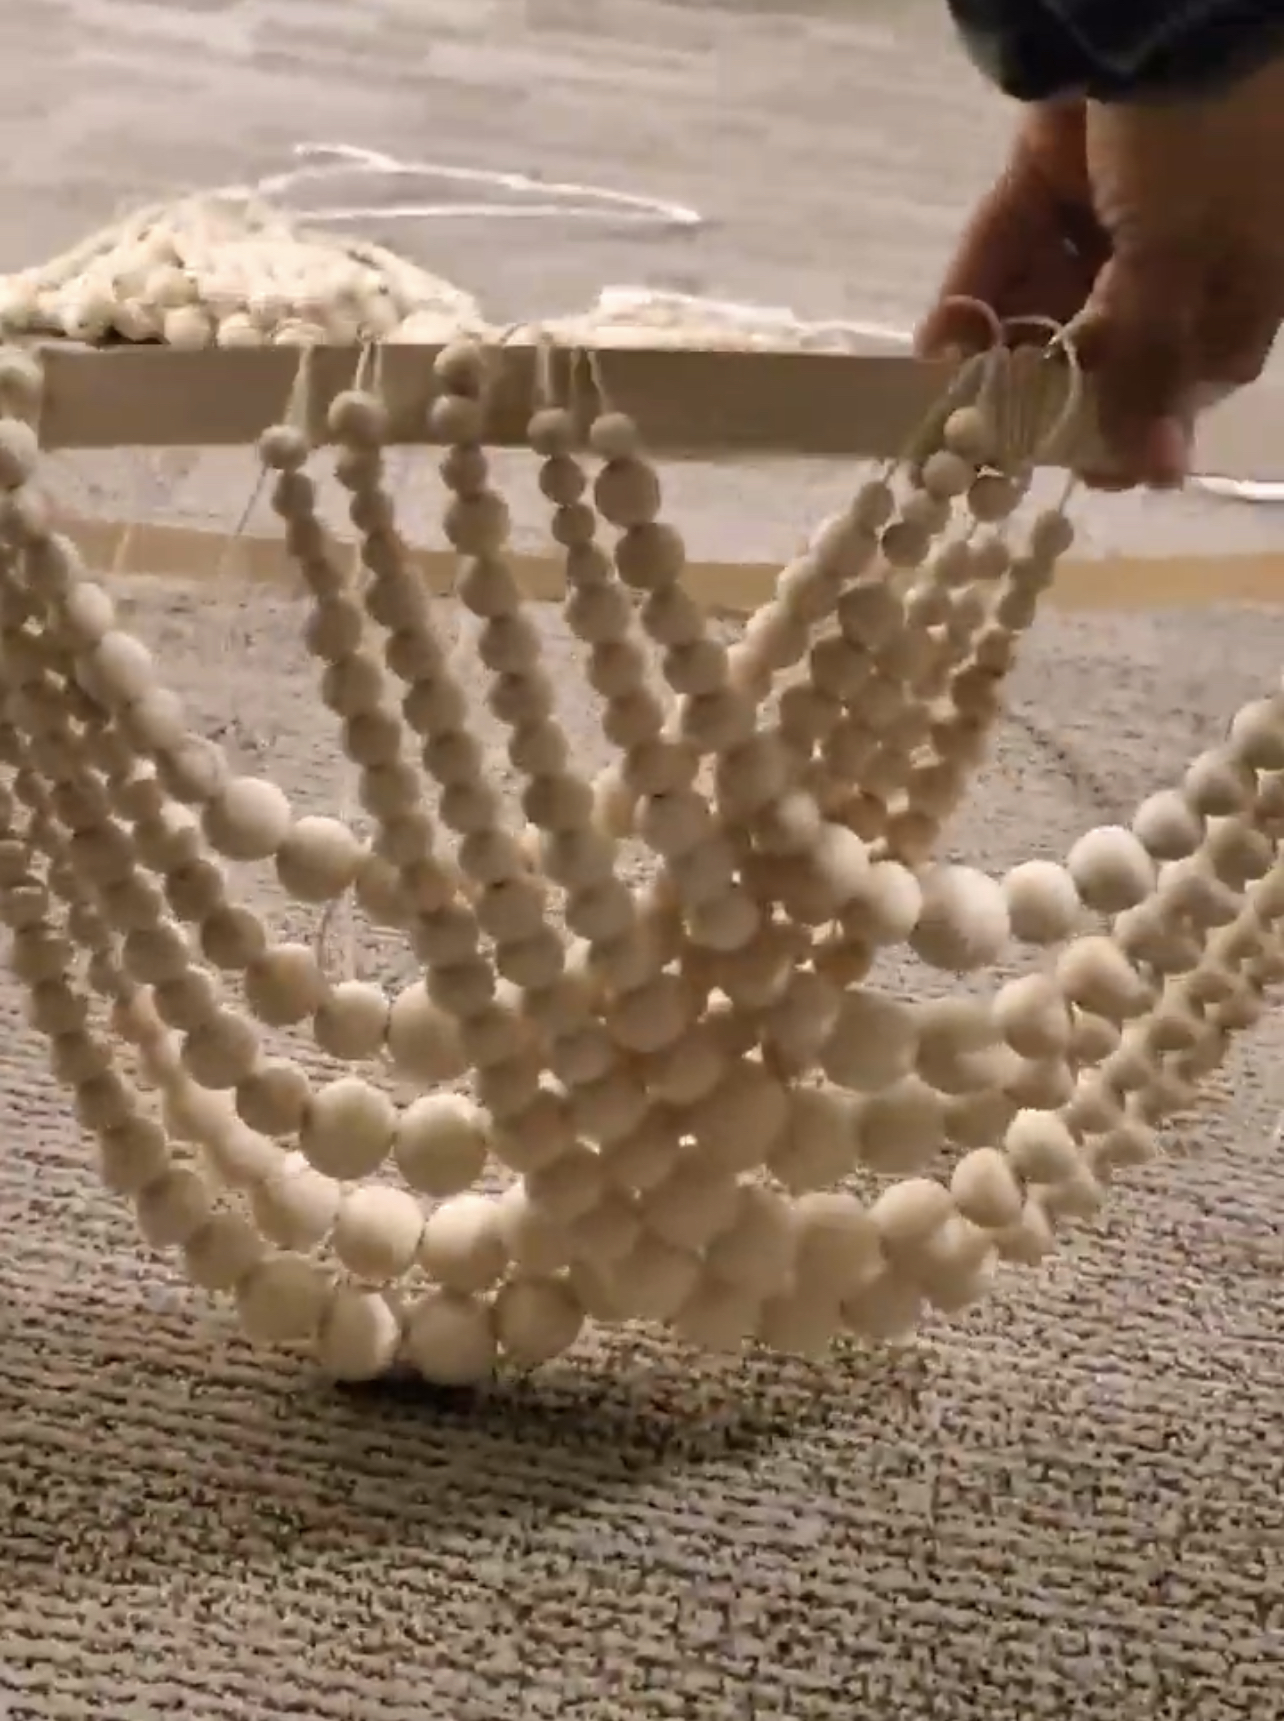
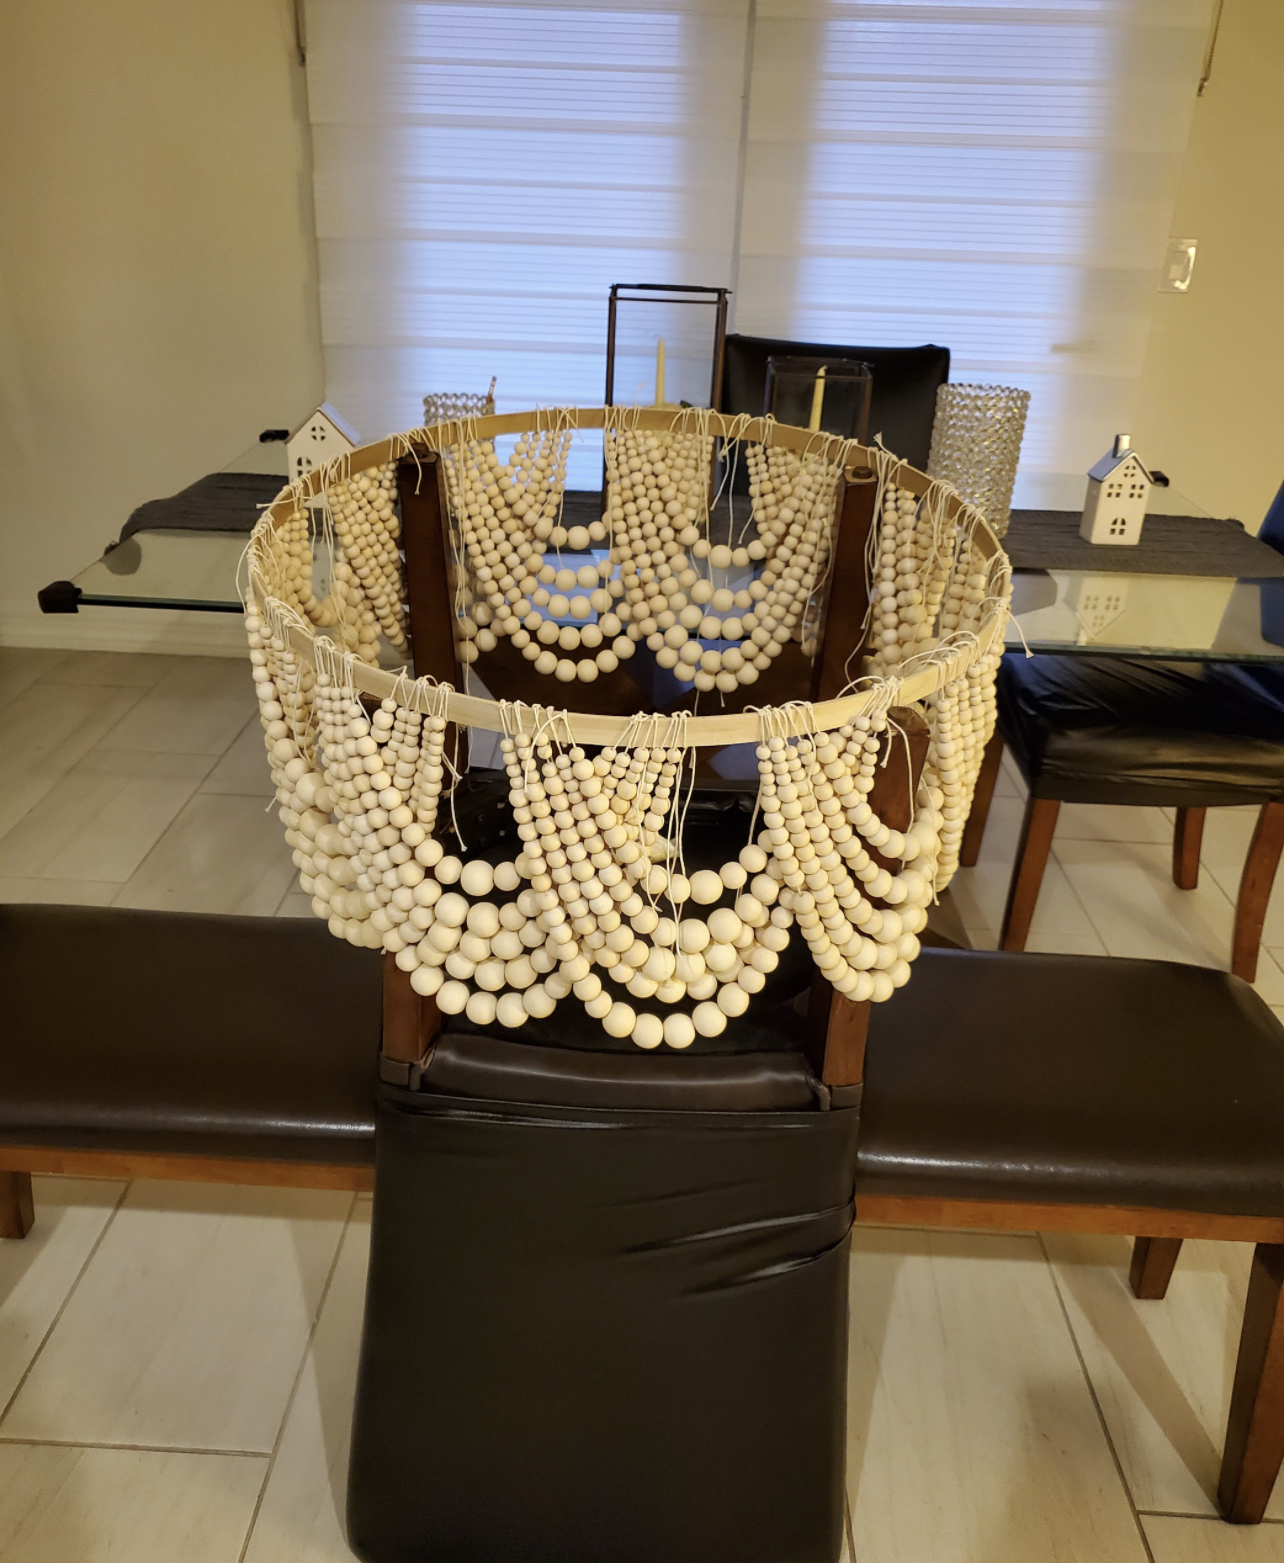
- Pick the smallest strand and tie the strands of beads to one of the closed 18″ hoops with double knots one swag at a time one in each size. We will glue other two hoops one on the outer side and other on inner side so make sure the knots are sitting on the top edge of the hoop (so that once you glue the hoops together, they glue flush to each other.) Start tying the strands for the next Swag close to the middle of the U-shape of your previous swag to form a crossover pattern until you have gone all the way around the hoop using all of your 12 Swags. (refer my pic below)
- Repeat the same for for the 23″ hoops
- Assembling the hoops
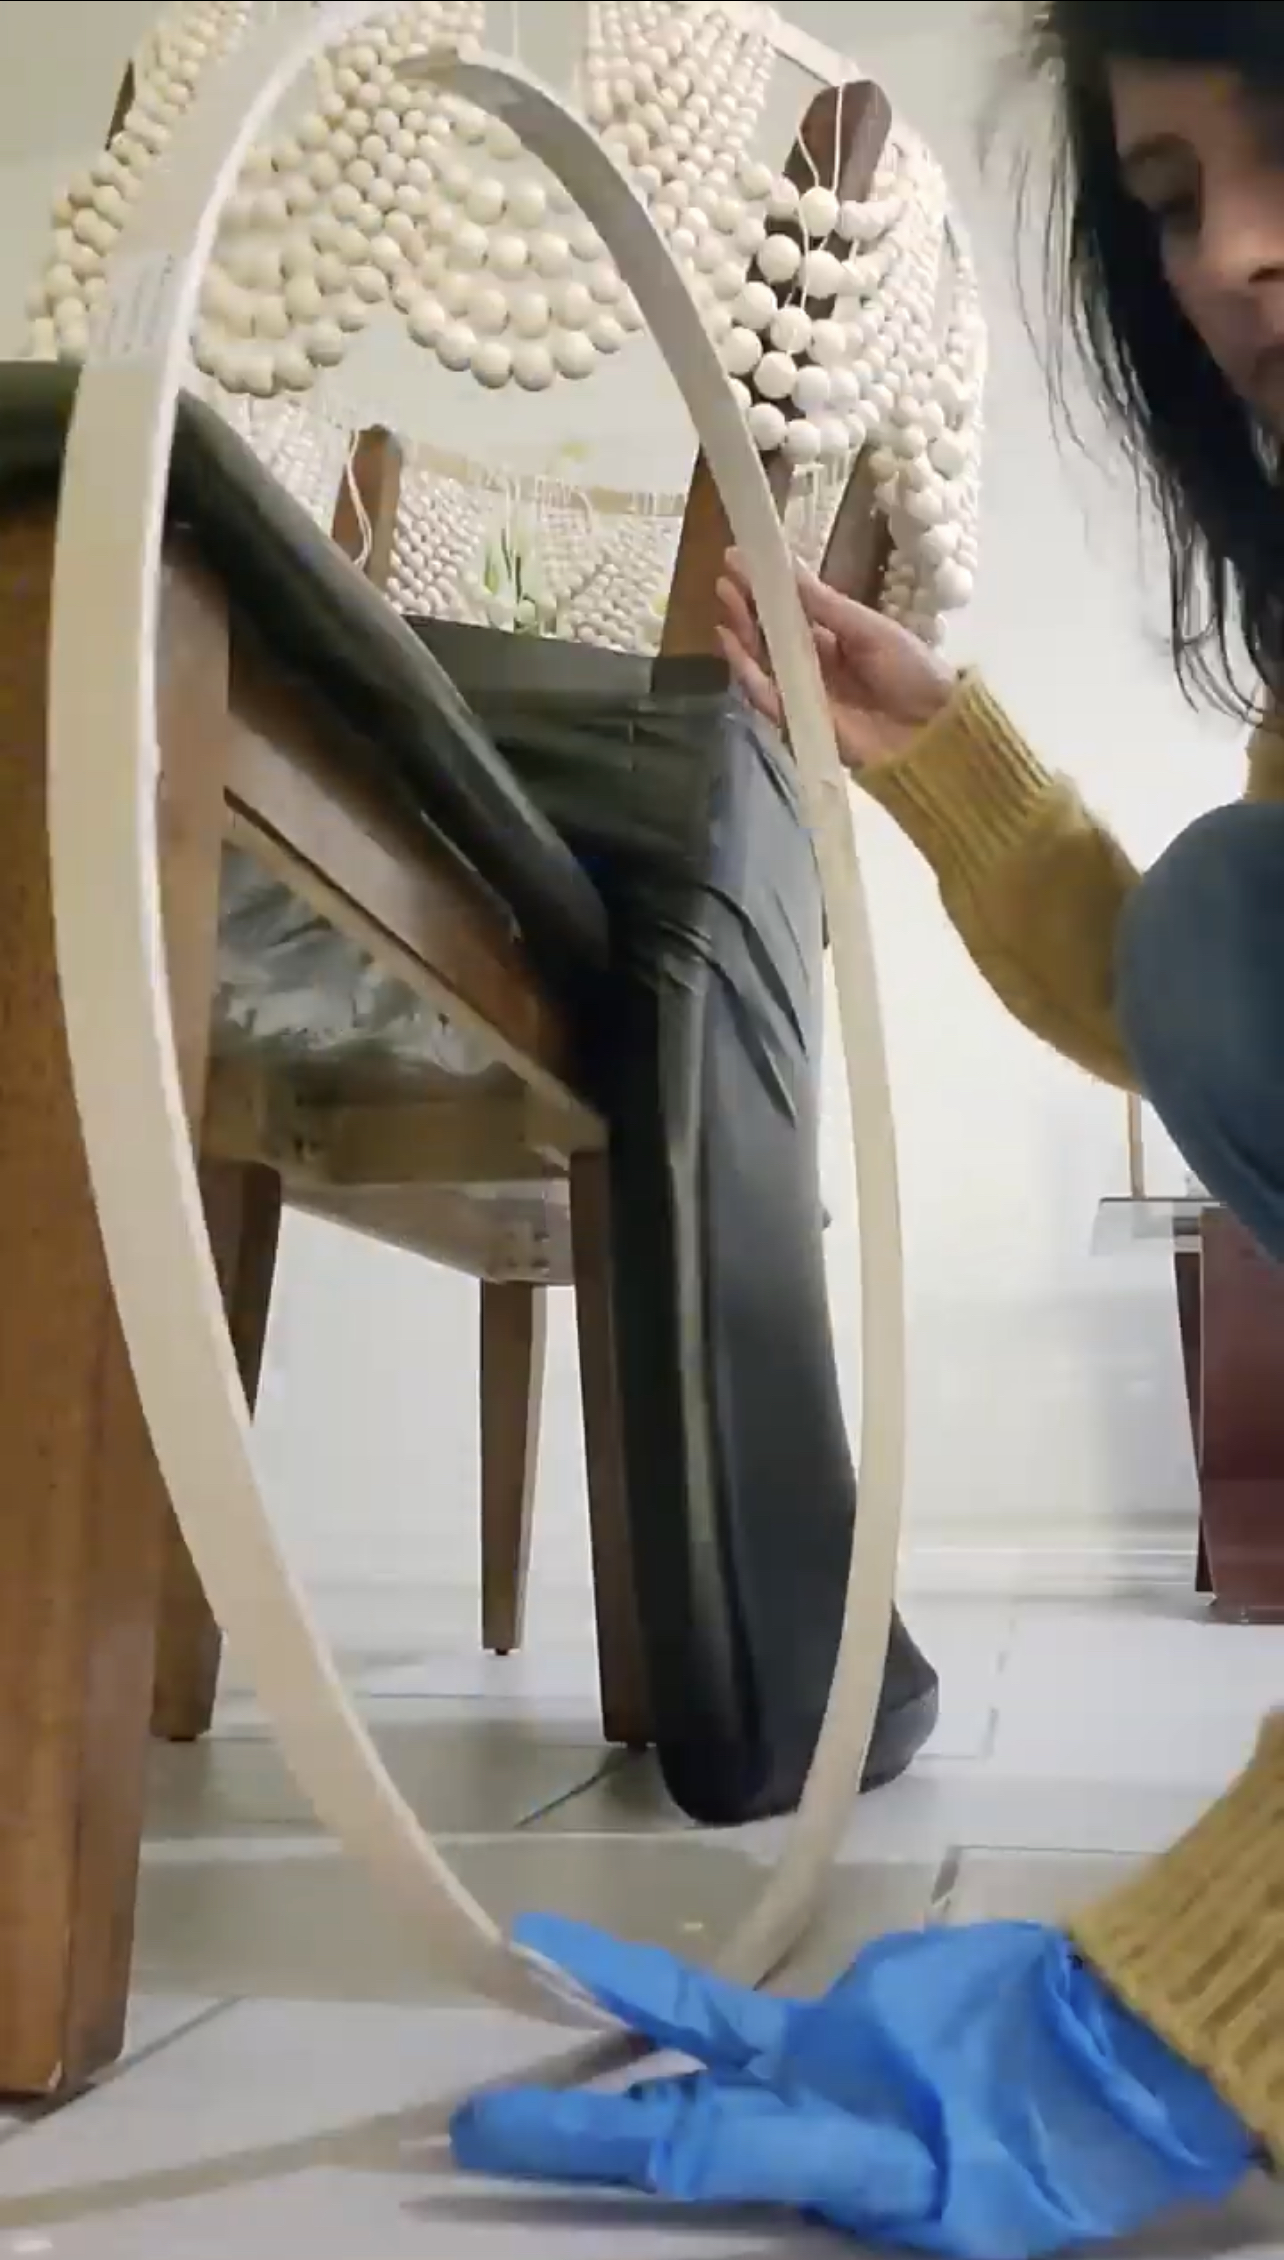
- Start with the 18″ hoop. Space out all the swags so they are properly placed, all beads are below the hoop and knots stay on the top. Now take the adjustable hoop, apply wood glue on the inner side. Glue it on the outer edge. Secure with some clamps until the glue dries.
- We are going to basically sandwich the hoop with beads between our other two hoops.
- With the second hoop I glued both inner and outer hoops together. Cut the inner hoops slightly using the saw so it fits correctly inside.
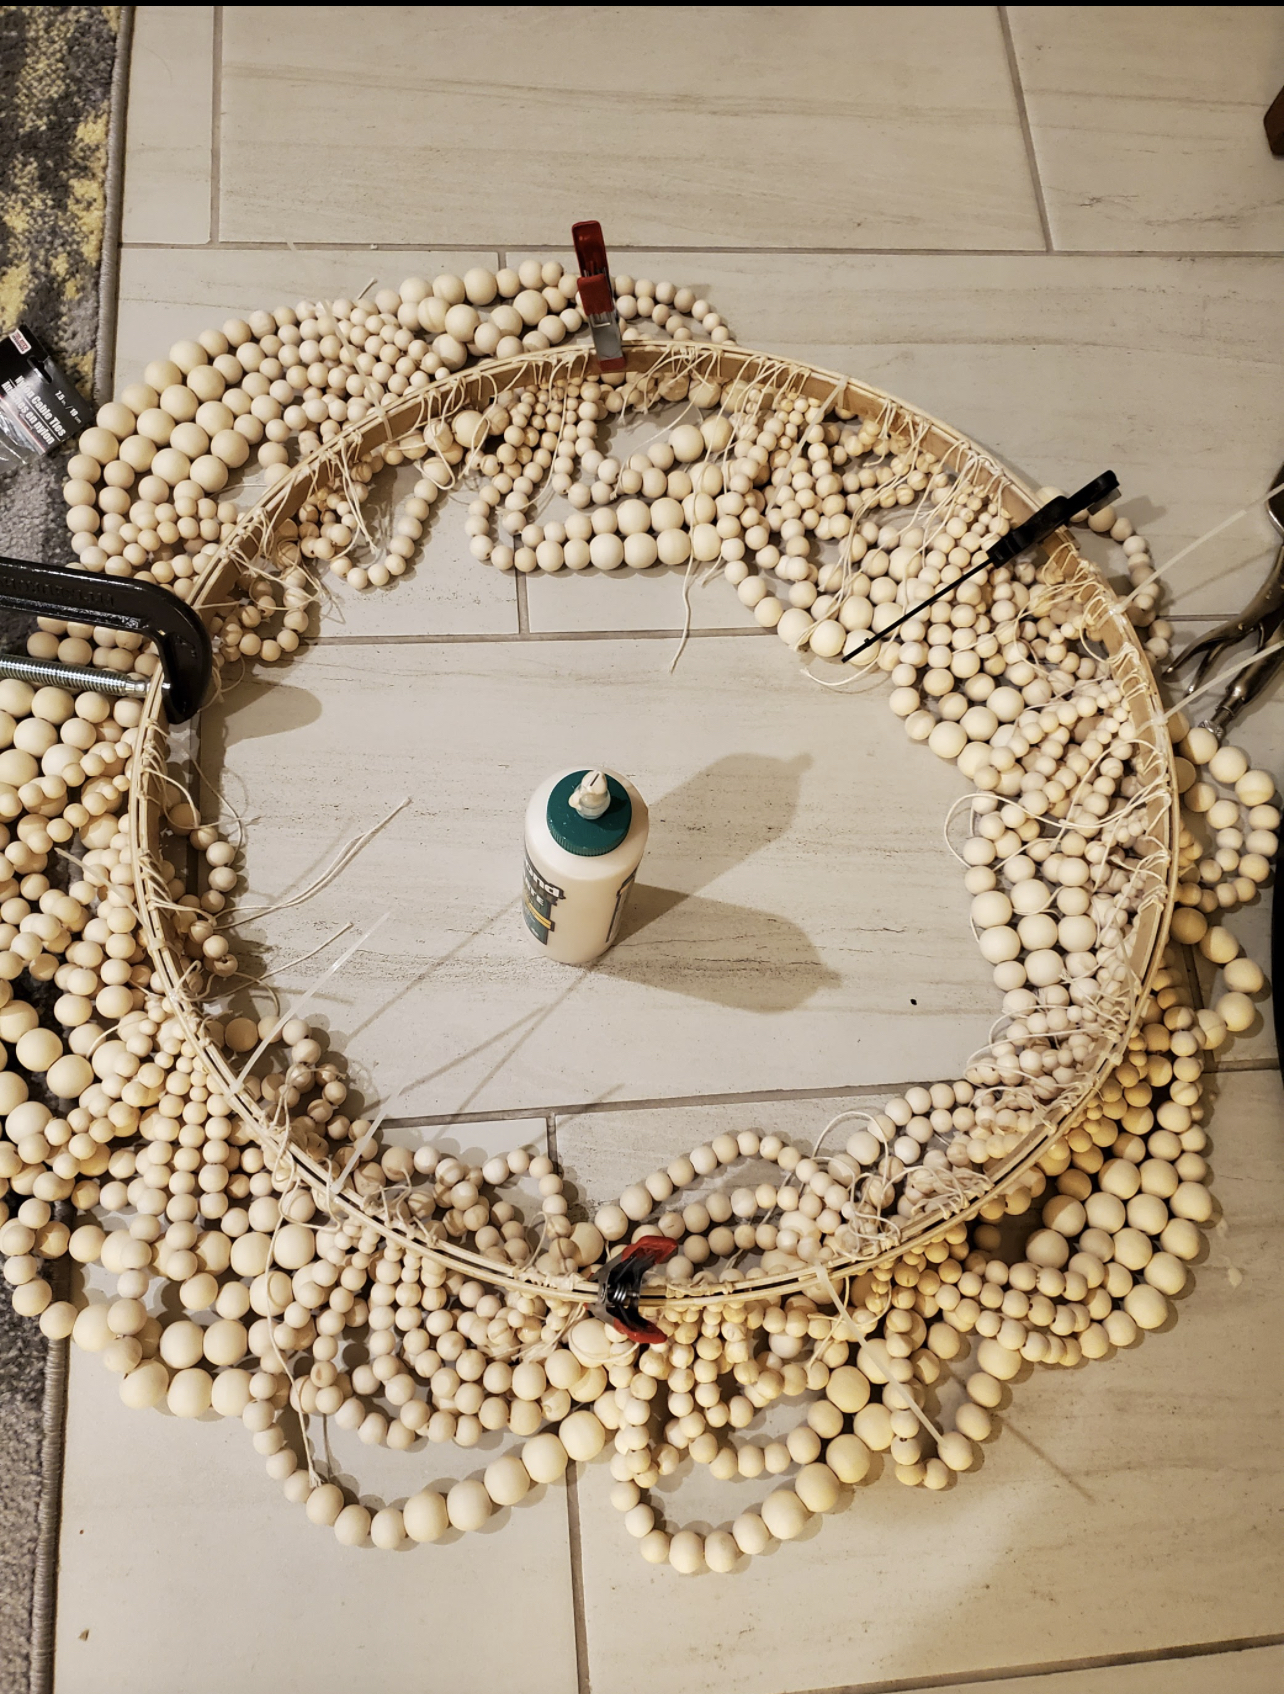
- Cut the excess twine. We also added some glue on the strings to make it super secure.
- Now repeat the same with 23″ hoop.
- You should now have two hoops with swags ready to be assembled together!

- Final Assembly!
- Yay! We are almost to there!
- Time to get this beast together! Place the rods in the shape of an X and measure to make sure they line up evenly and mark the spots where you will need to drill. Drill 4 holes such that they go all the way through the inner hoop, but only three-forth way through the outer hoop.
- Cut the rods down to size (about 1/4″ shy of the diameter of the biggest hoop)
- Once the holes are all drilled, add the chain such that it stays on the outer circle. Now put the rods through the smaller hoop and fit it tightly into the larger hoop. Add the other end of the chain on other side of the outer circle before sliding it tightly on the forth hole. (check pic below)
- In the middle the rods will overlap each other but since they are so thin, they will bend slightly so that you are able to maneuver them and get them in the holes.
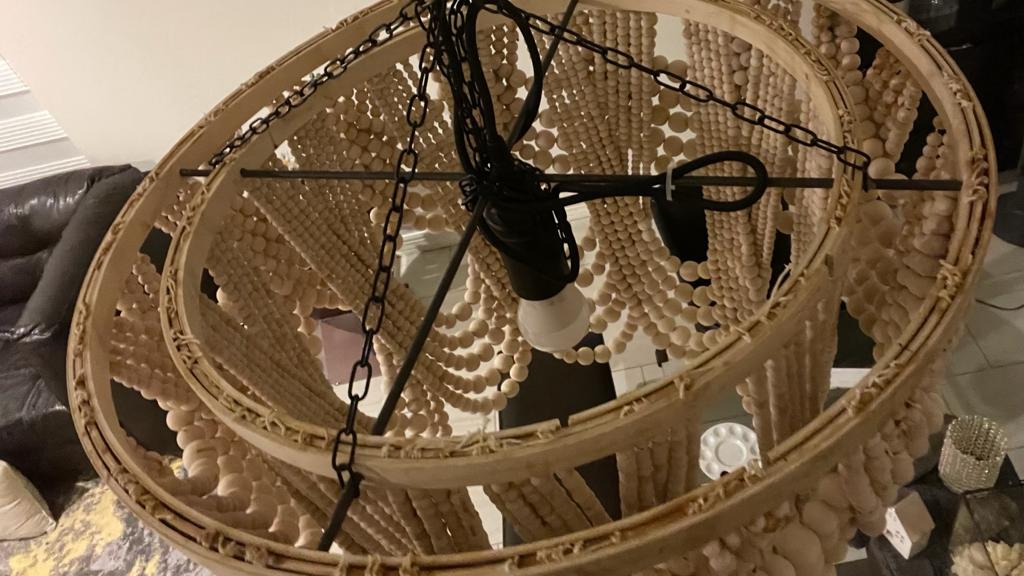
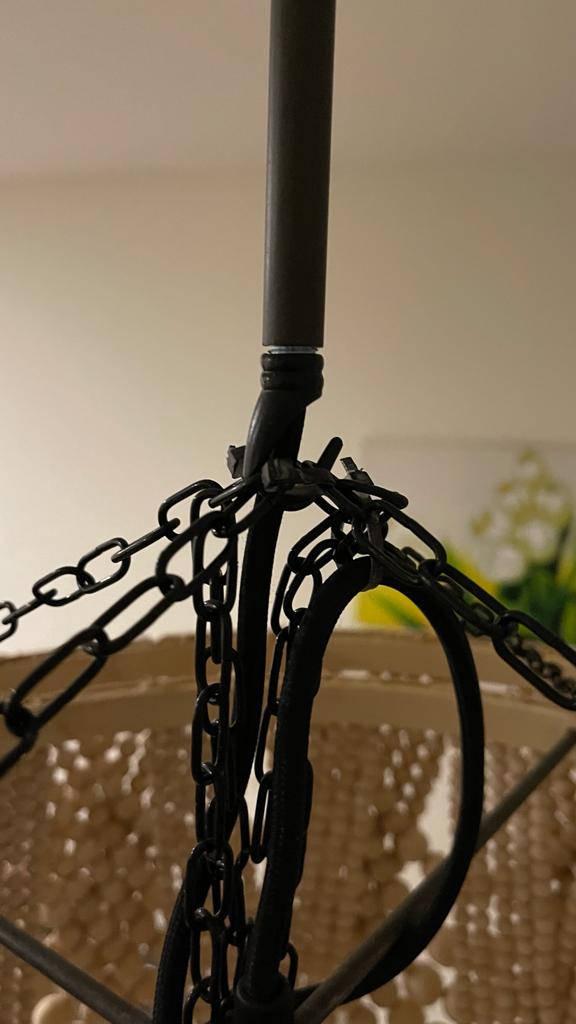
- Light fixture
- Once the chandelier was assembled, we moved to adding the light fixture. We had a mounting rod from previous light fixture which we used. Then we removed the hook from mounting plate and added it to this rod.
- We attached the chain onto this hook making sure it was aligned. We also added some zip ties to hold the chain and the extra wires and make it stay perfectly straight!
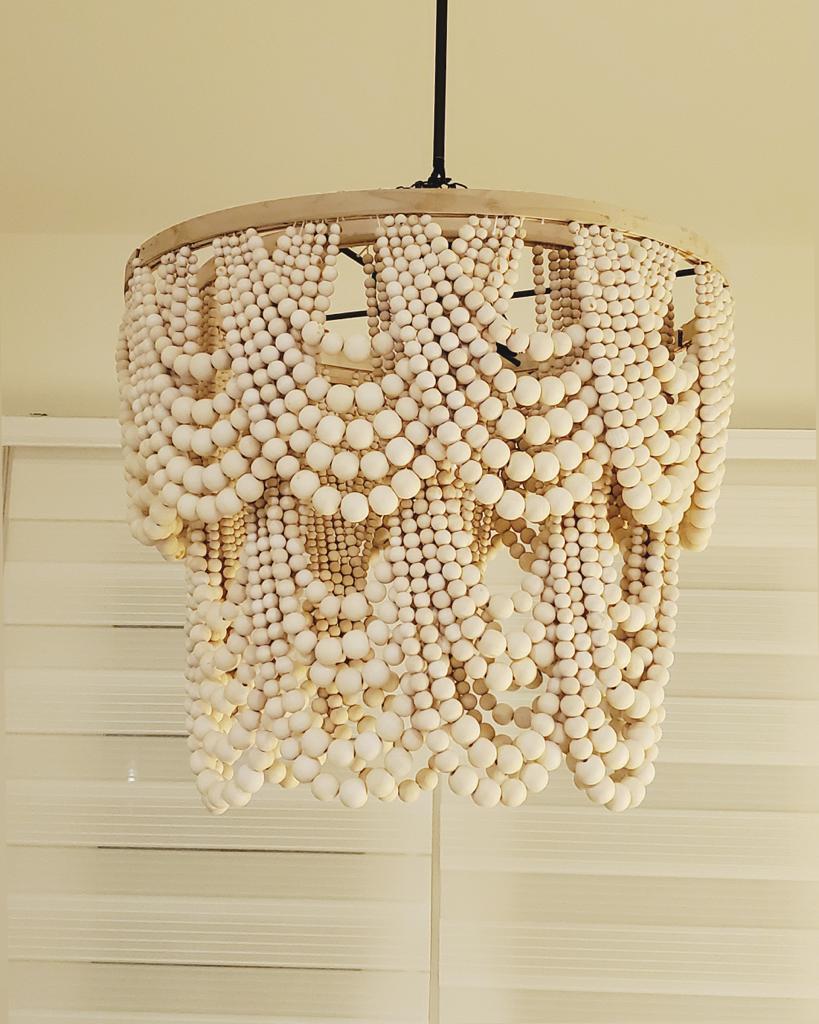
Here is the final look.
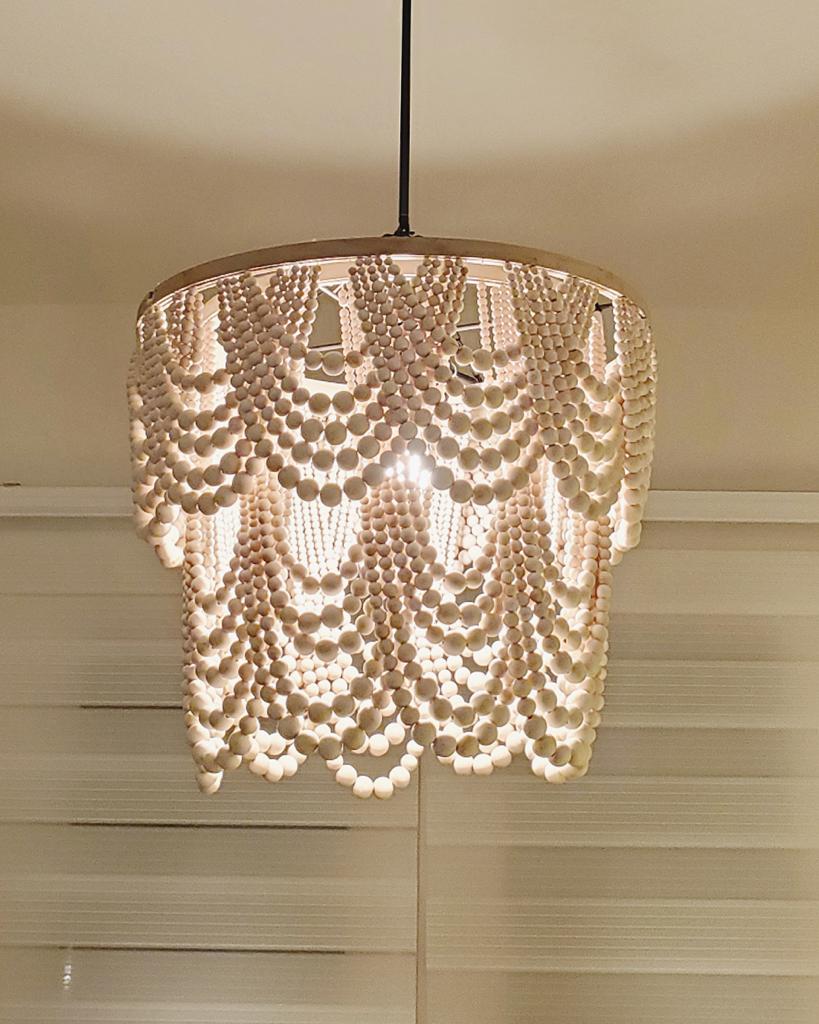
With lights on
Did I tell you that we almost used 6500 beads on this one?!! I wont lie, this is a LOT LOT of work. Get yourself a crew and sew away! I would admit my kids sew way more than me.. lol.
Let’s talk cost.. This would have costed aprox $960 with shipping and tax and I made it for little over $200. That is a huge saving and makes me so dang proud! It is hanging in our living room and is a conversation starter! Also, everytime I see it makes me so happy.. because I made it! I would highly encourage you to give this a try and if you have any questions dont hesitate to ask!!
A huge thank you to The House That Lars Built for the original tutorial. I wouldn’t have been able to do it nearly as easy without it!
Thank you for being here!!
One response to “DIY Wood Beaded Chandelier (Pottery Barn – Inspired )”
-
[…] Do you want the luxury of a statement-making chandelier without a large investment? With some simple materials, you can make your own DIY wood beaded chandelier that looks pottery barn inspired. You will need 10mm, 14mm, 16mm and 20mm wooden beads, 18″ quilting hoops, 23″ quilting hoops, baker’s twine or cotton yarn, ¼″ metal rods, and a black chain – the basics for this beautiful craft project. Make each hoop its beaded chandelier, or connect them all to make an even bigger statement piece. Show off your creativity with this phenomenal DIY wood beaded chandelier! sprucenspice […]
LikeLike
Share this:

Categories: Beginner Friendly, DIY, Home Decor

Leave a comment